
Tutorials
Disclosure: This post contains affiliate links and/or paid partnerships. This means that if you click on one of these links and make a purchase, I may receive a small commission or compensation at no additional cost to you. Rest assured, I only recommend products and services that I genuinely believe in and trust. Your support […]
Welcome to my first ‘behind the scenes’ blog post. I am going to be sharing some behind the scenes images and the stories behind the cakes, starting with July 2021! After such a long time in lockdown without any weddings, it has been so lovely to get back to making cakes, but wow, its been […]
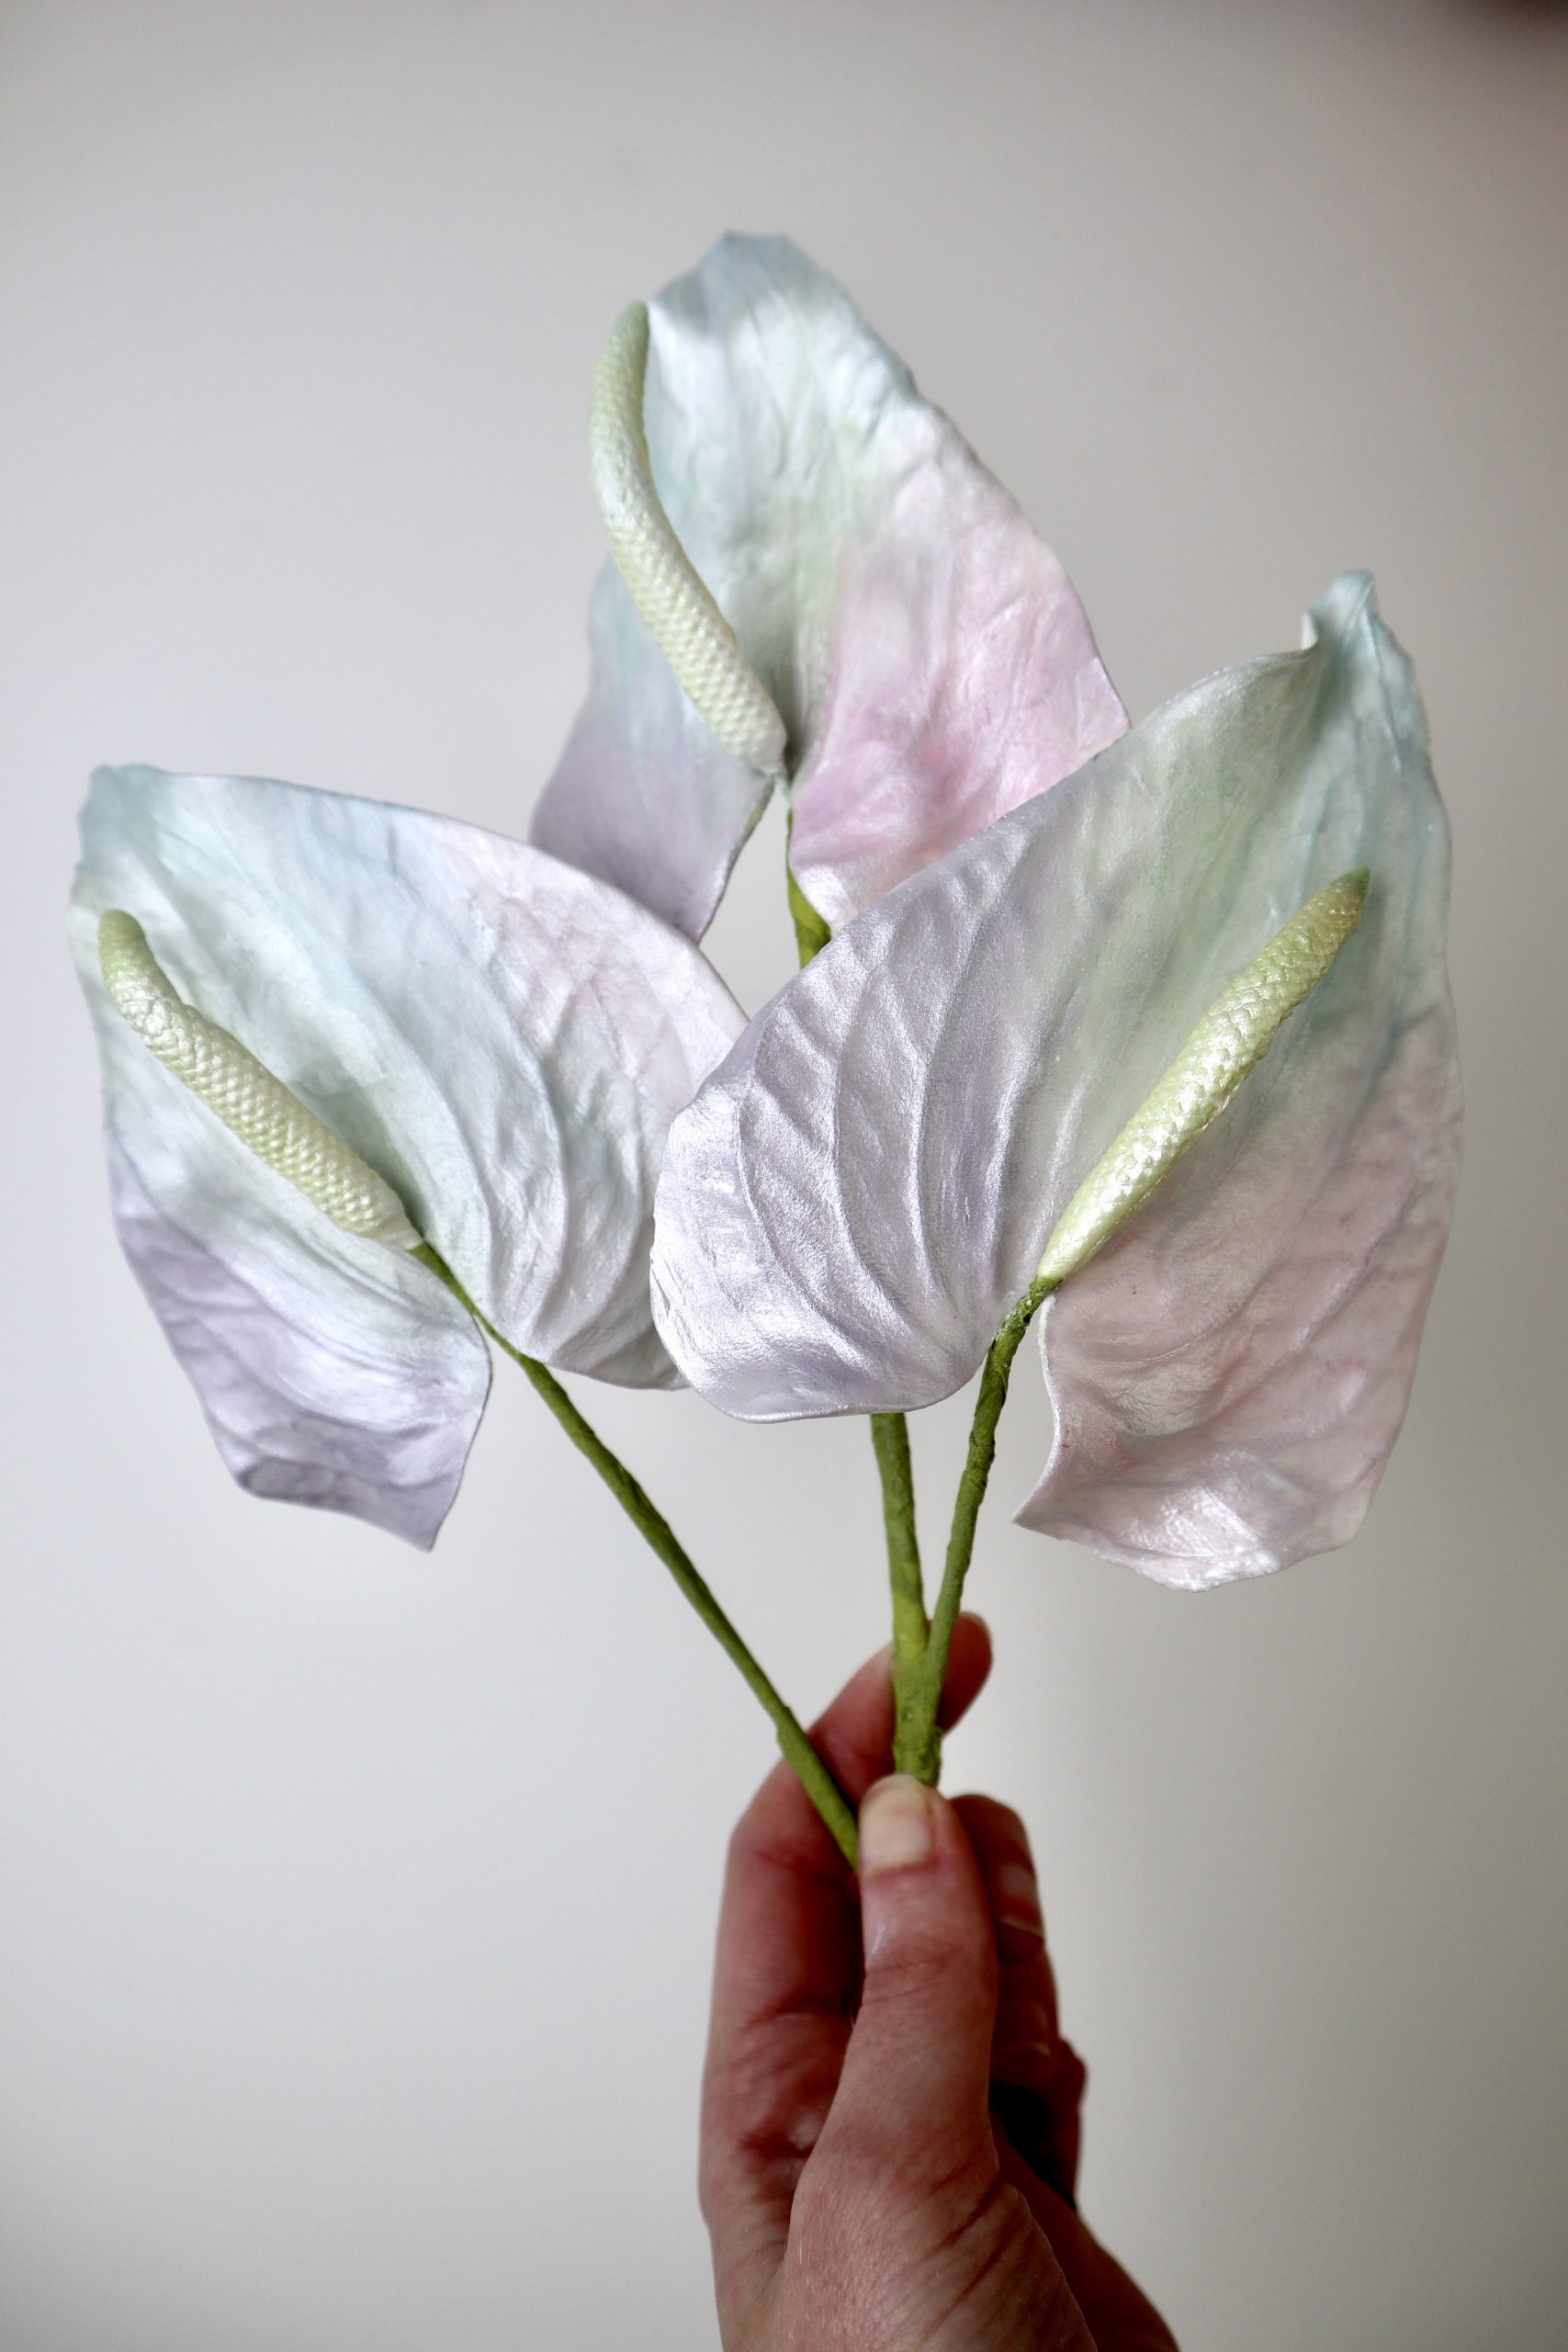
Today I’m sharing our brand new iridescent anthurium sugar flower tutorial. A FREE step by step video tutorial on how to use petal and lustre dusts to create a iridescent effect on sugar anthurium flowers. Also know as unicorn anthuriums, these are such a fun flower to make and colour. I first saw these flowers […]
Earlier this month I took part in the #meetthemaker challenge over on instagram. A 6 day challenge designed to tell you a bit about the story of my business, with a new prompt each day. Say Hello The first prompt in the #meetthemakerweek challenge was ‘Say Hello’. So I’m saying hello and telling you a little about […]
Today we’re going to be talking about sugar flower inspiration. I’m going to be sharing some of the different ways I find inspiration for my sugar flowers and cake designs and we’ll also be chatting to sugar flower artists Maggie Austin, Arati Mirji and Jacqueline Butler about the inspiration behind their beautiful work. About 8 […]

When I was just starting out in my cake business and I was a brand new cake maker, I thought that I needed every single piece of equipment to help me make beautiful sugar flowers. I could see all the amazing products available and thought I needed them all! Can you relate! ? If you’ve […]


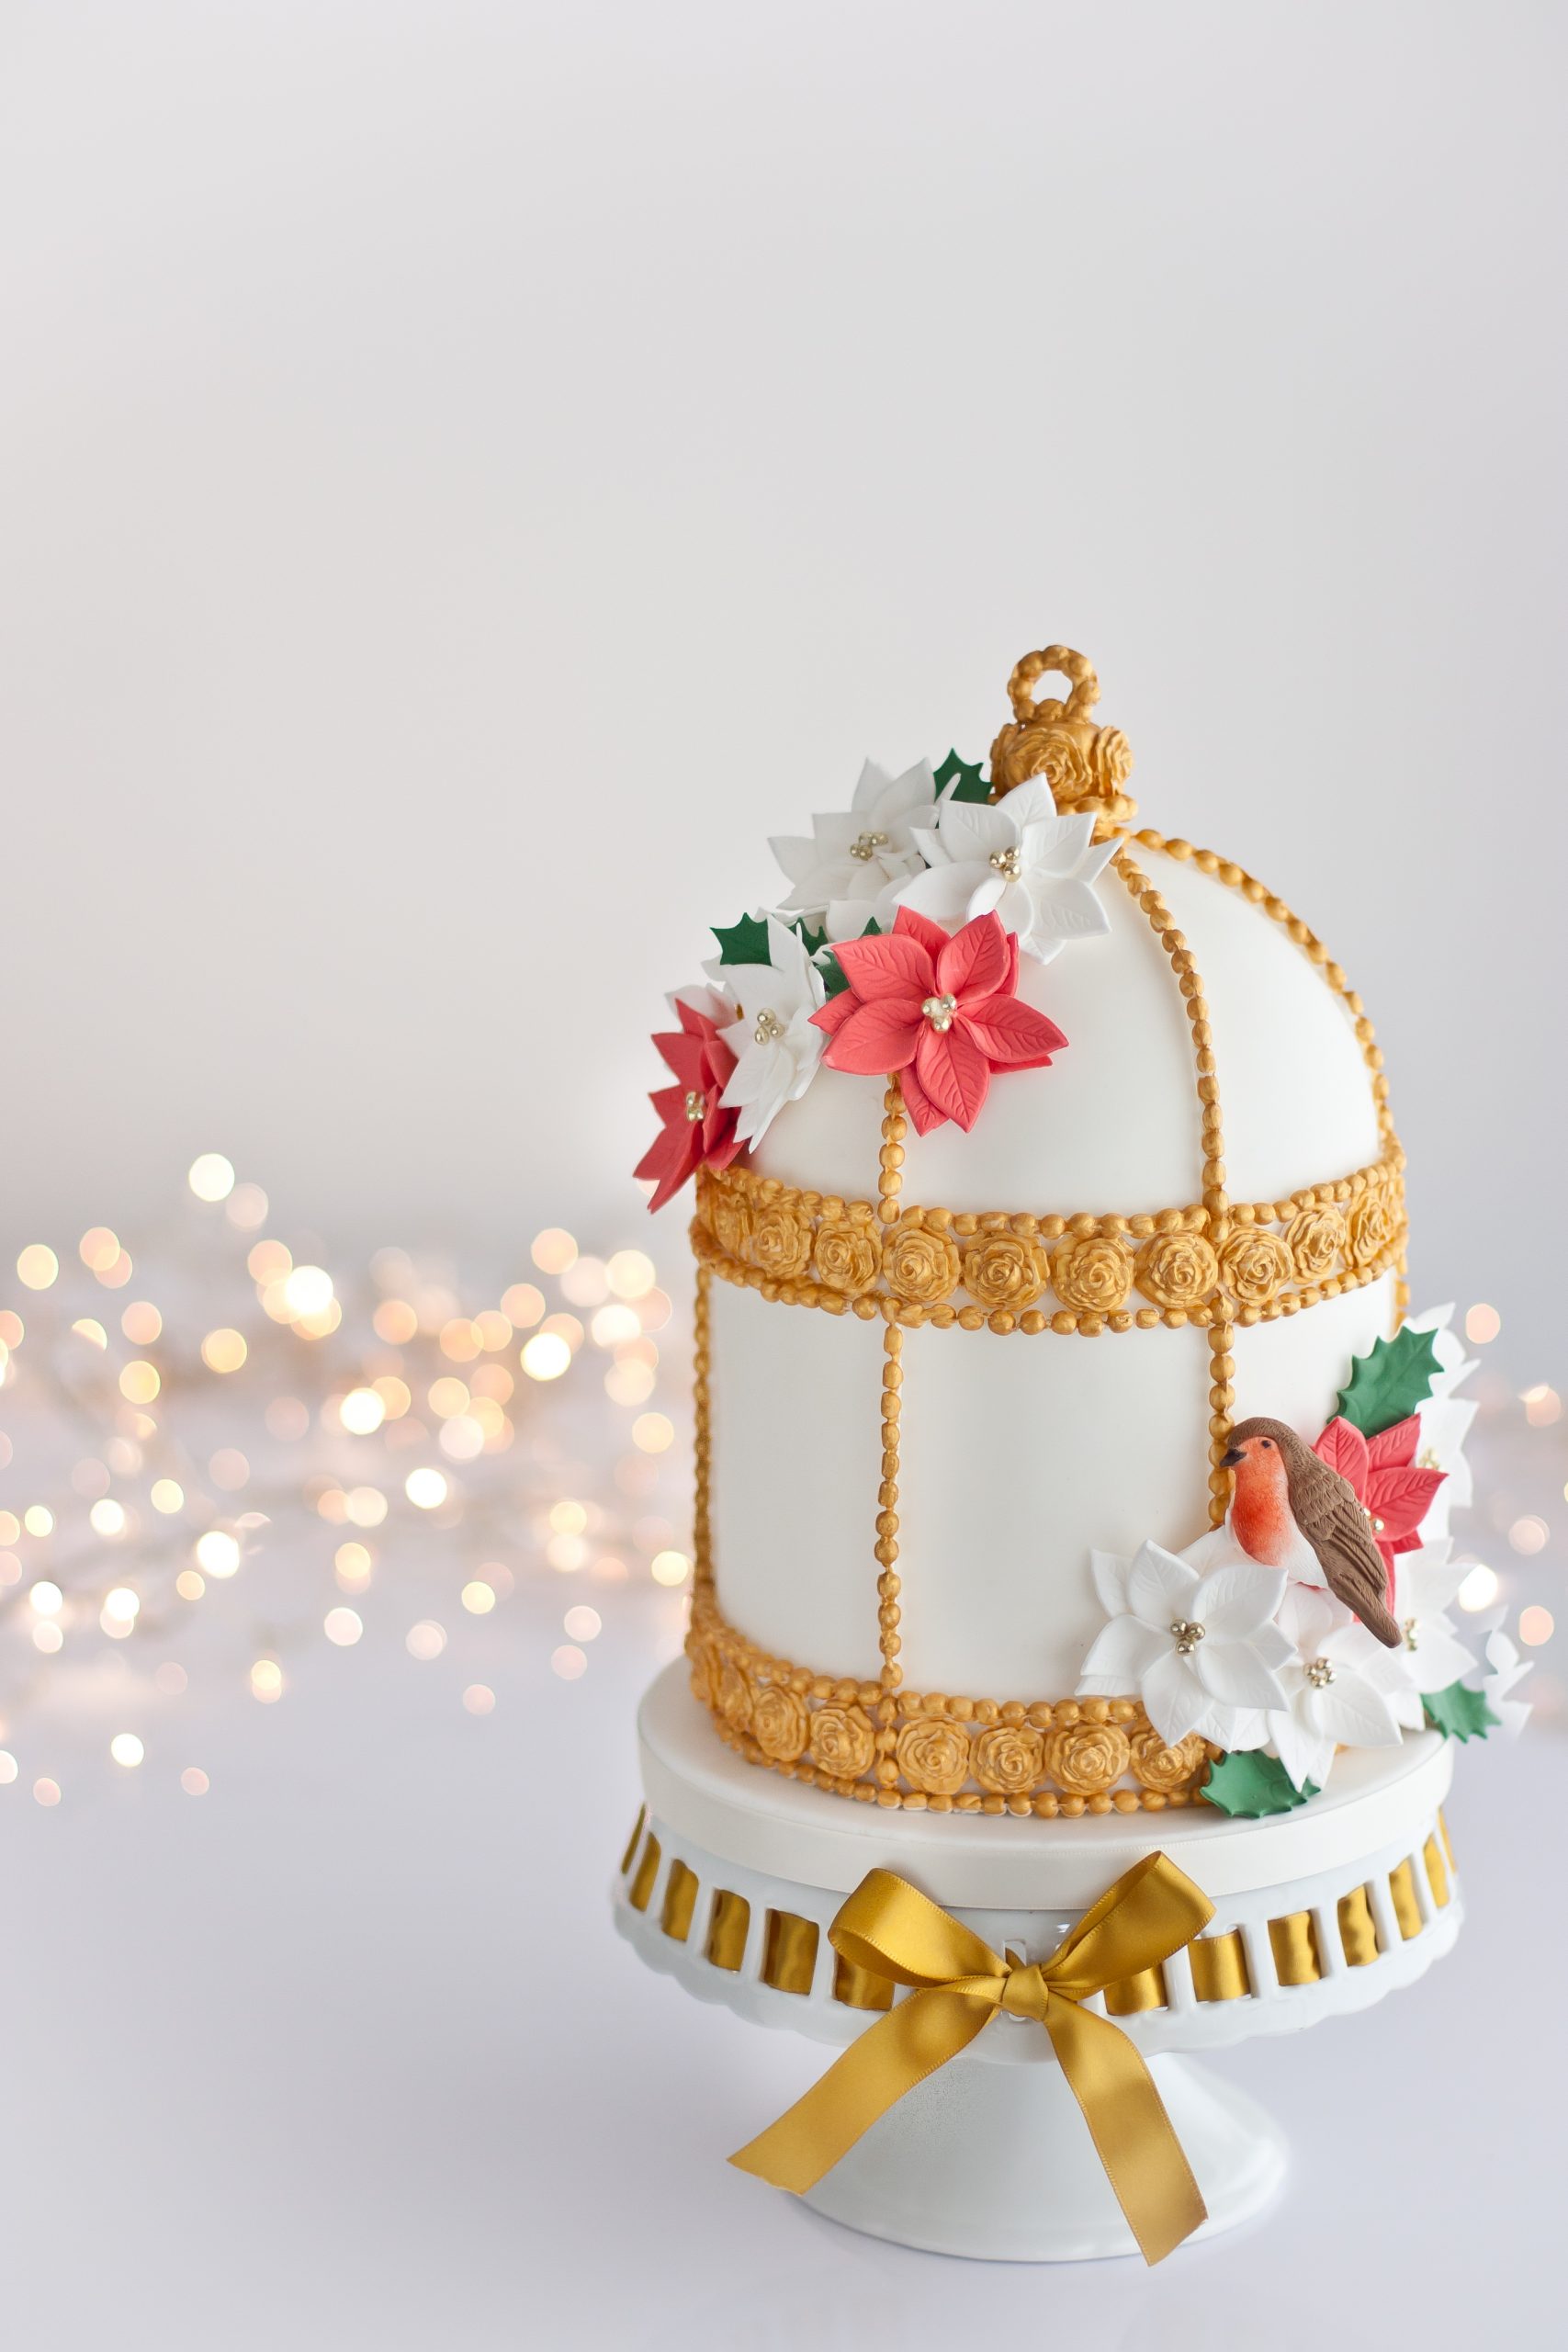
In this tutorial I will be showing you how to make this birdcage Christmas cake, with a cute little robin, poinsettia flowers and Christmas roses. It is a really lovely Christmas cake idea, which is simple yet really effective. It would look beautiful as part of a Christmas celebration or even a Christmas wedding. You […]
Today I am sharing one of my most popular tutorials. My wisteria sugar flower tutorial. Click on the link above to download your free copy now! Are you looking for a new flower to add to your sugar flower skill set? With my wisteria sugar flower tutorial you will learn something new and different that […]
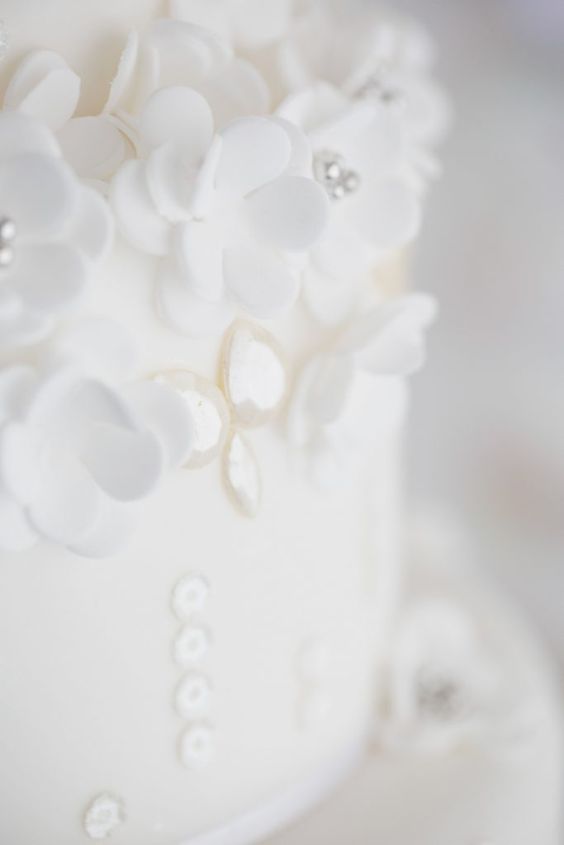
Did you notice the pretty edible jewels on the wedding cake that I shared last week in my Sugar Sequin Tutorial? Well this week I am sharing exactly how I made them, and the best part is that they are made with white modelling chocolate so they are really delicious as well as looking pretty. […]
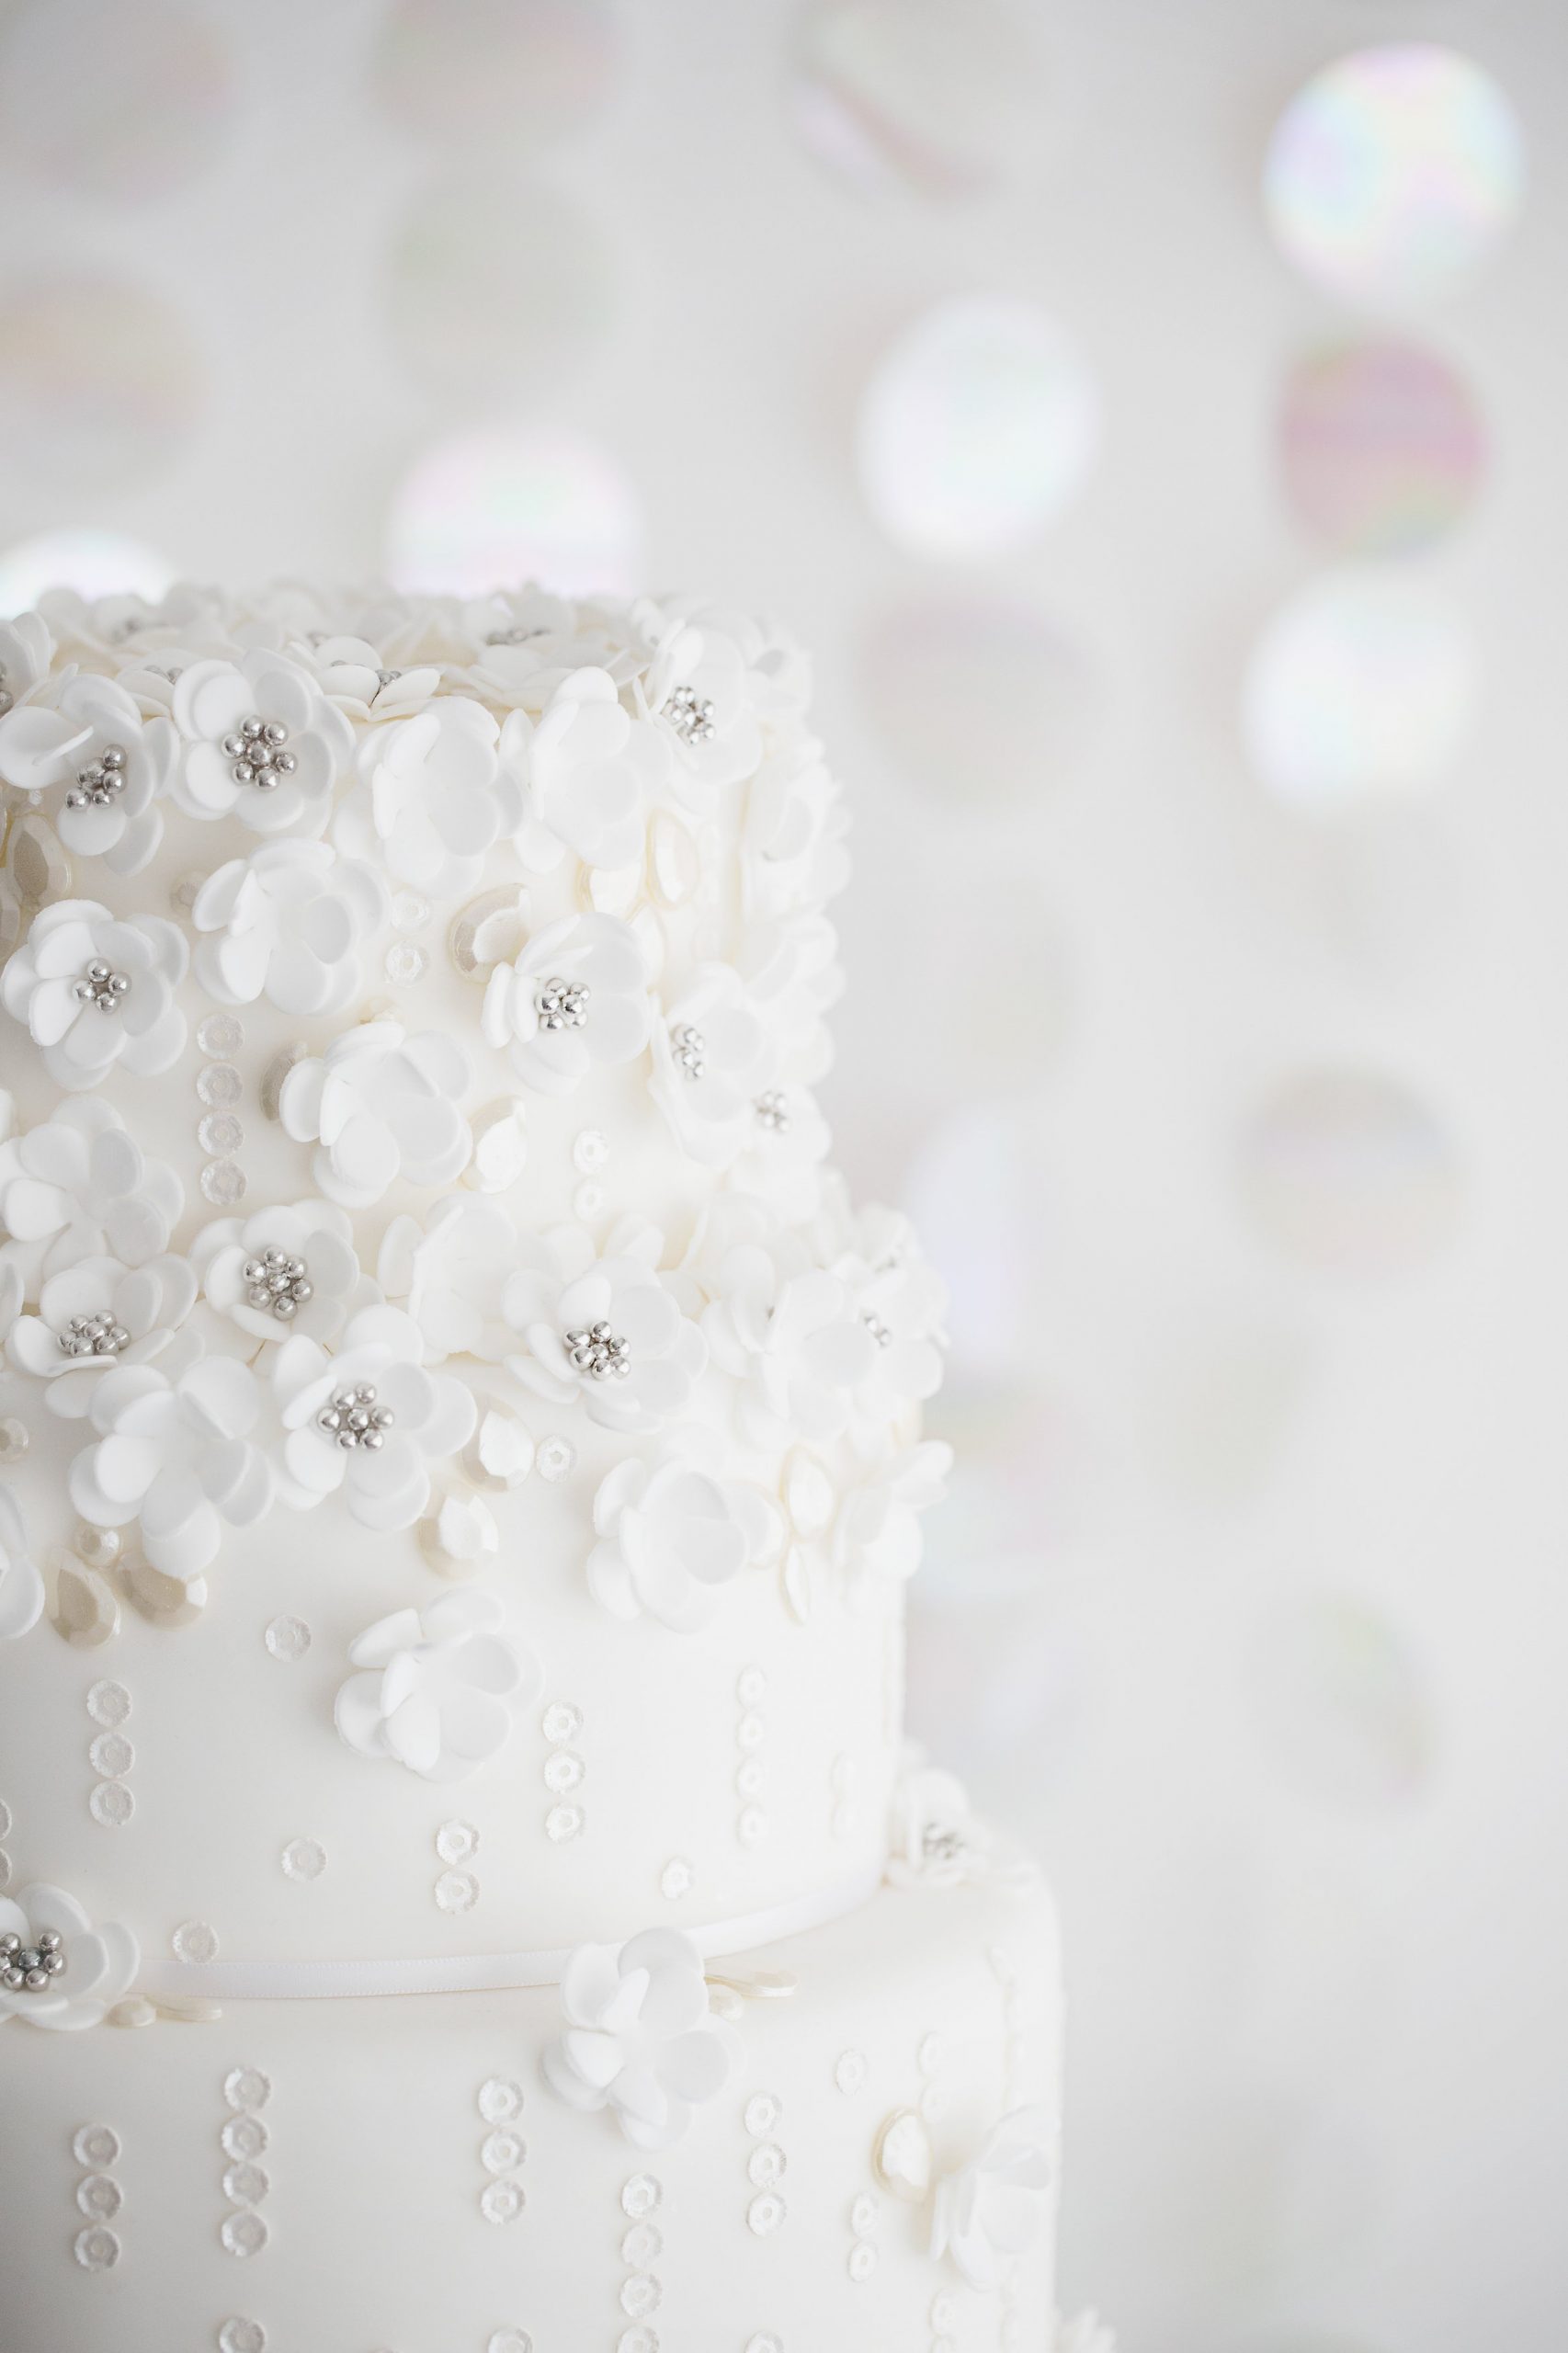
Sugar sequins look so pretty on wedding cakes, they add such a lovely delicate sparkle. I love to use sequins on wedding cakes to embellish sugar lace and to add some extra sparkle to designs. Today I’m going to show you how to make sugar sequins using cake lace. In this sugar sequin tutorial I […]
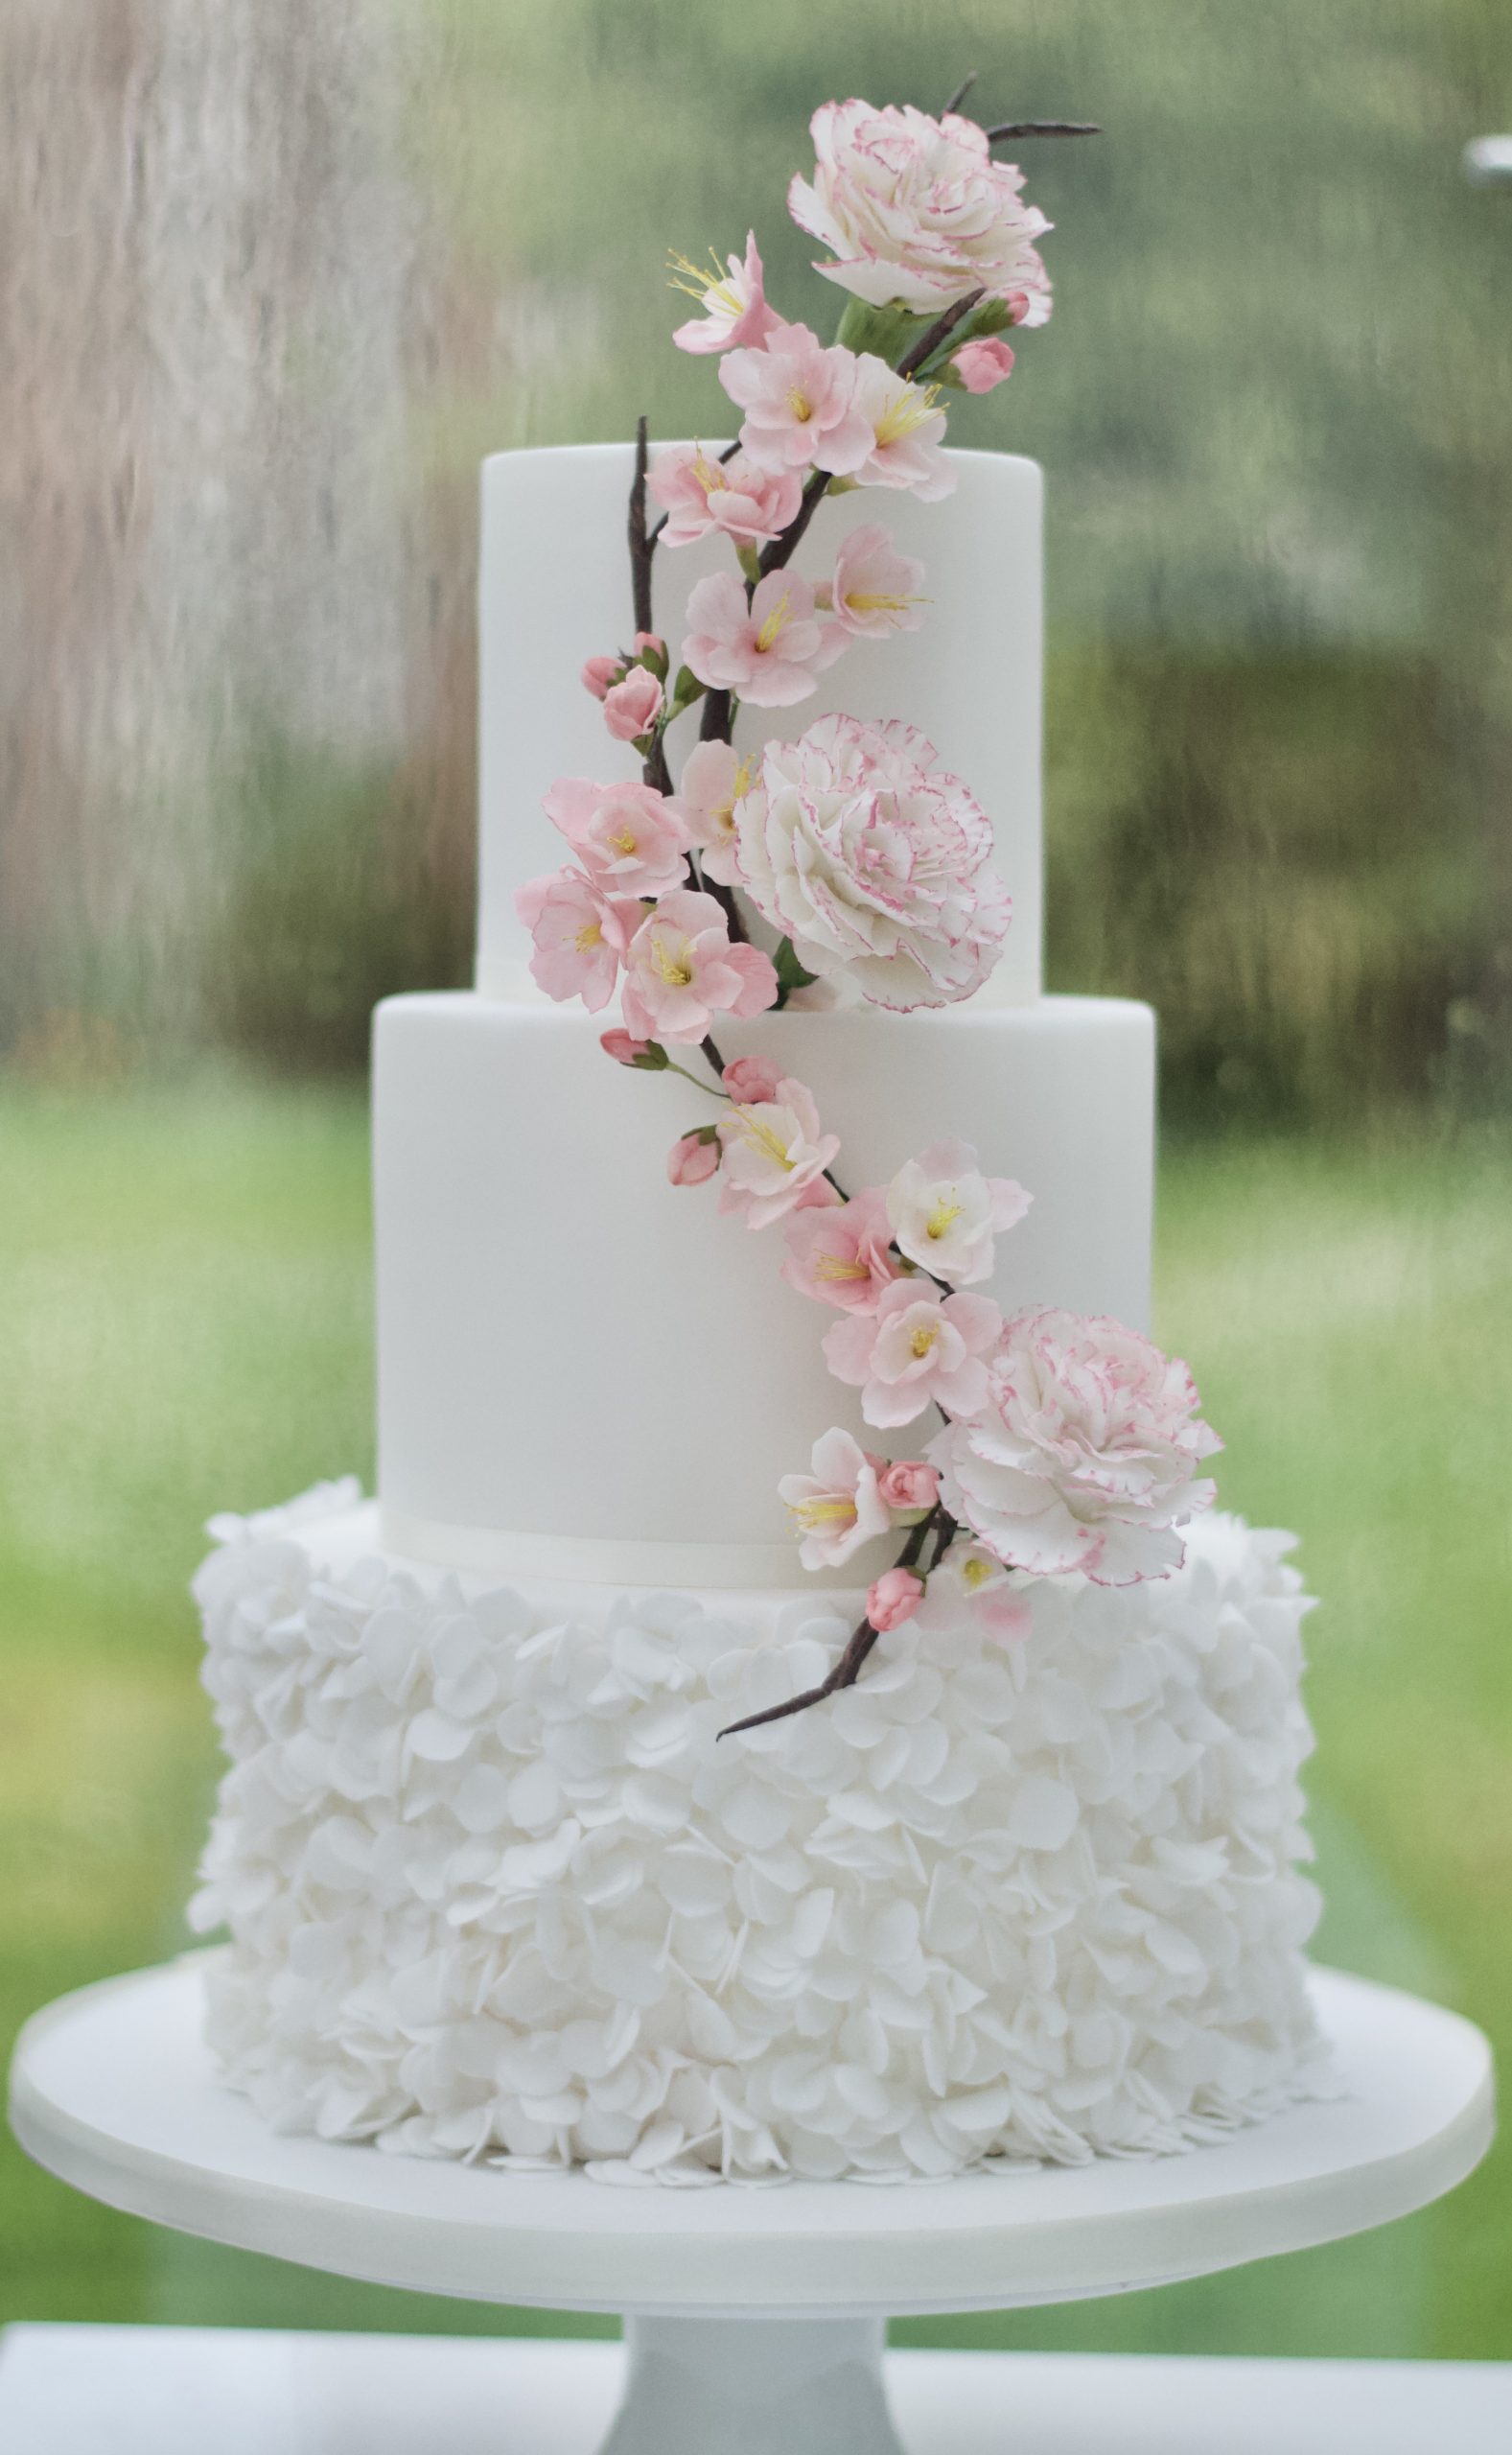
Today I am sharing a petal ruffles cake tutorial with step by step instructions. I have also included my cherry blossom sugar flower tutorial as a free download so that you can create our entire cherry blossom and petal ruffle wedding cake design. Petal ruffles are one of the most popular design elements amongst my […]
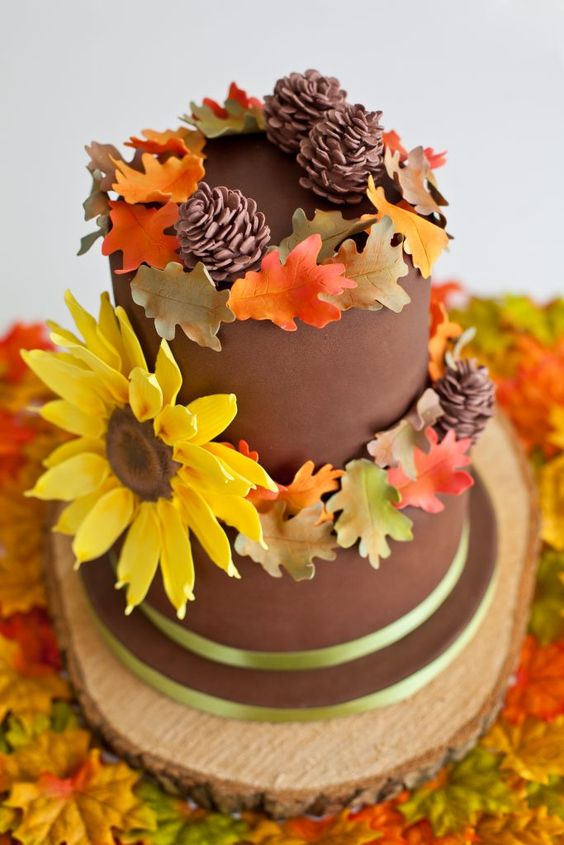
Sugar Pinecone Tutorial Today I am sharing a tutorial showing how to make sugar pinecones. They look really effective on autumn and winter themed cakes. Download our full tutorial if you would like to see how we coloured our leaves with petal dusts to create a lovely autumnal effect and how to create our large […]
Take a look at our online sugar flower classes, workshops and courses. Here you can learn how to create beautiful sugar flowers, as well as advanced petal dusting techniques and the art of sugar flower arranging. Join us in our community of sugar flower creators from around the world. Learn new skills, and create beautiful works of art!
For Sugar Flower Artists
Online classes
Read the Post
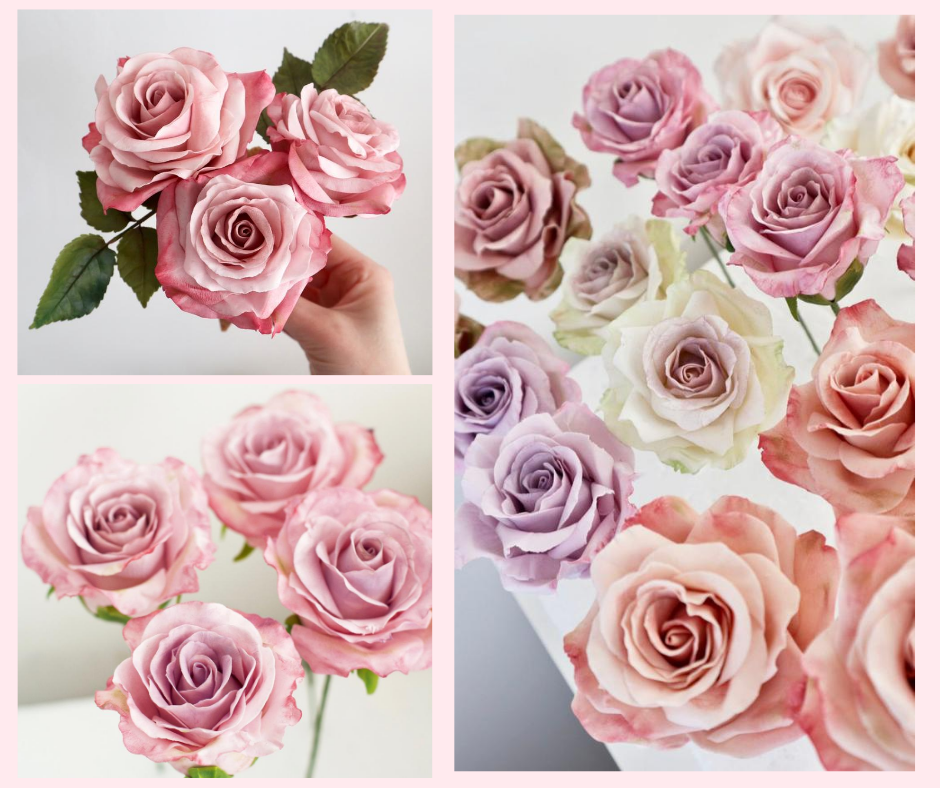
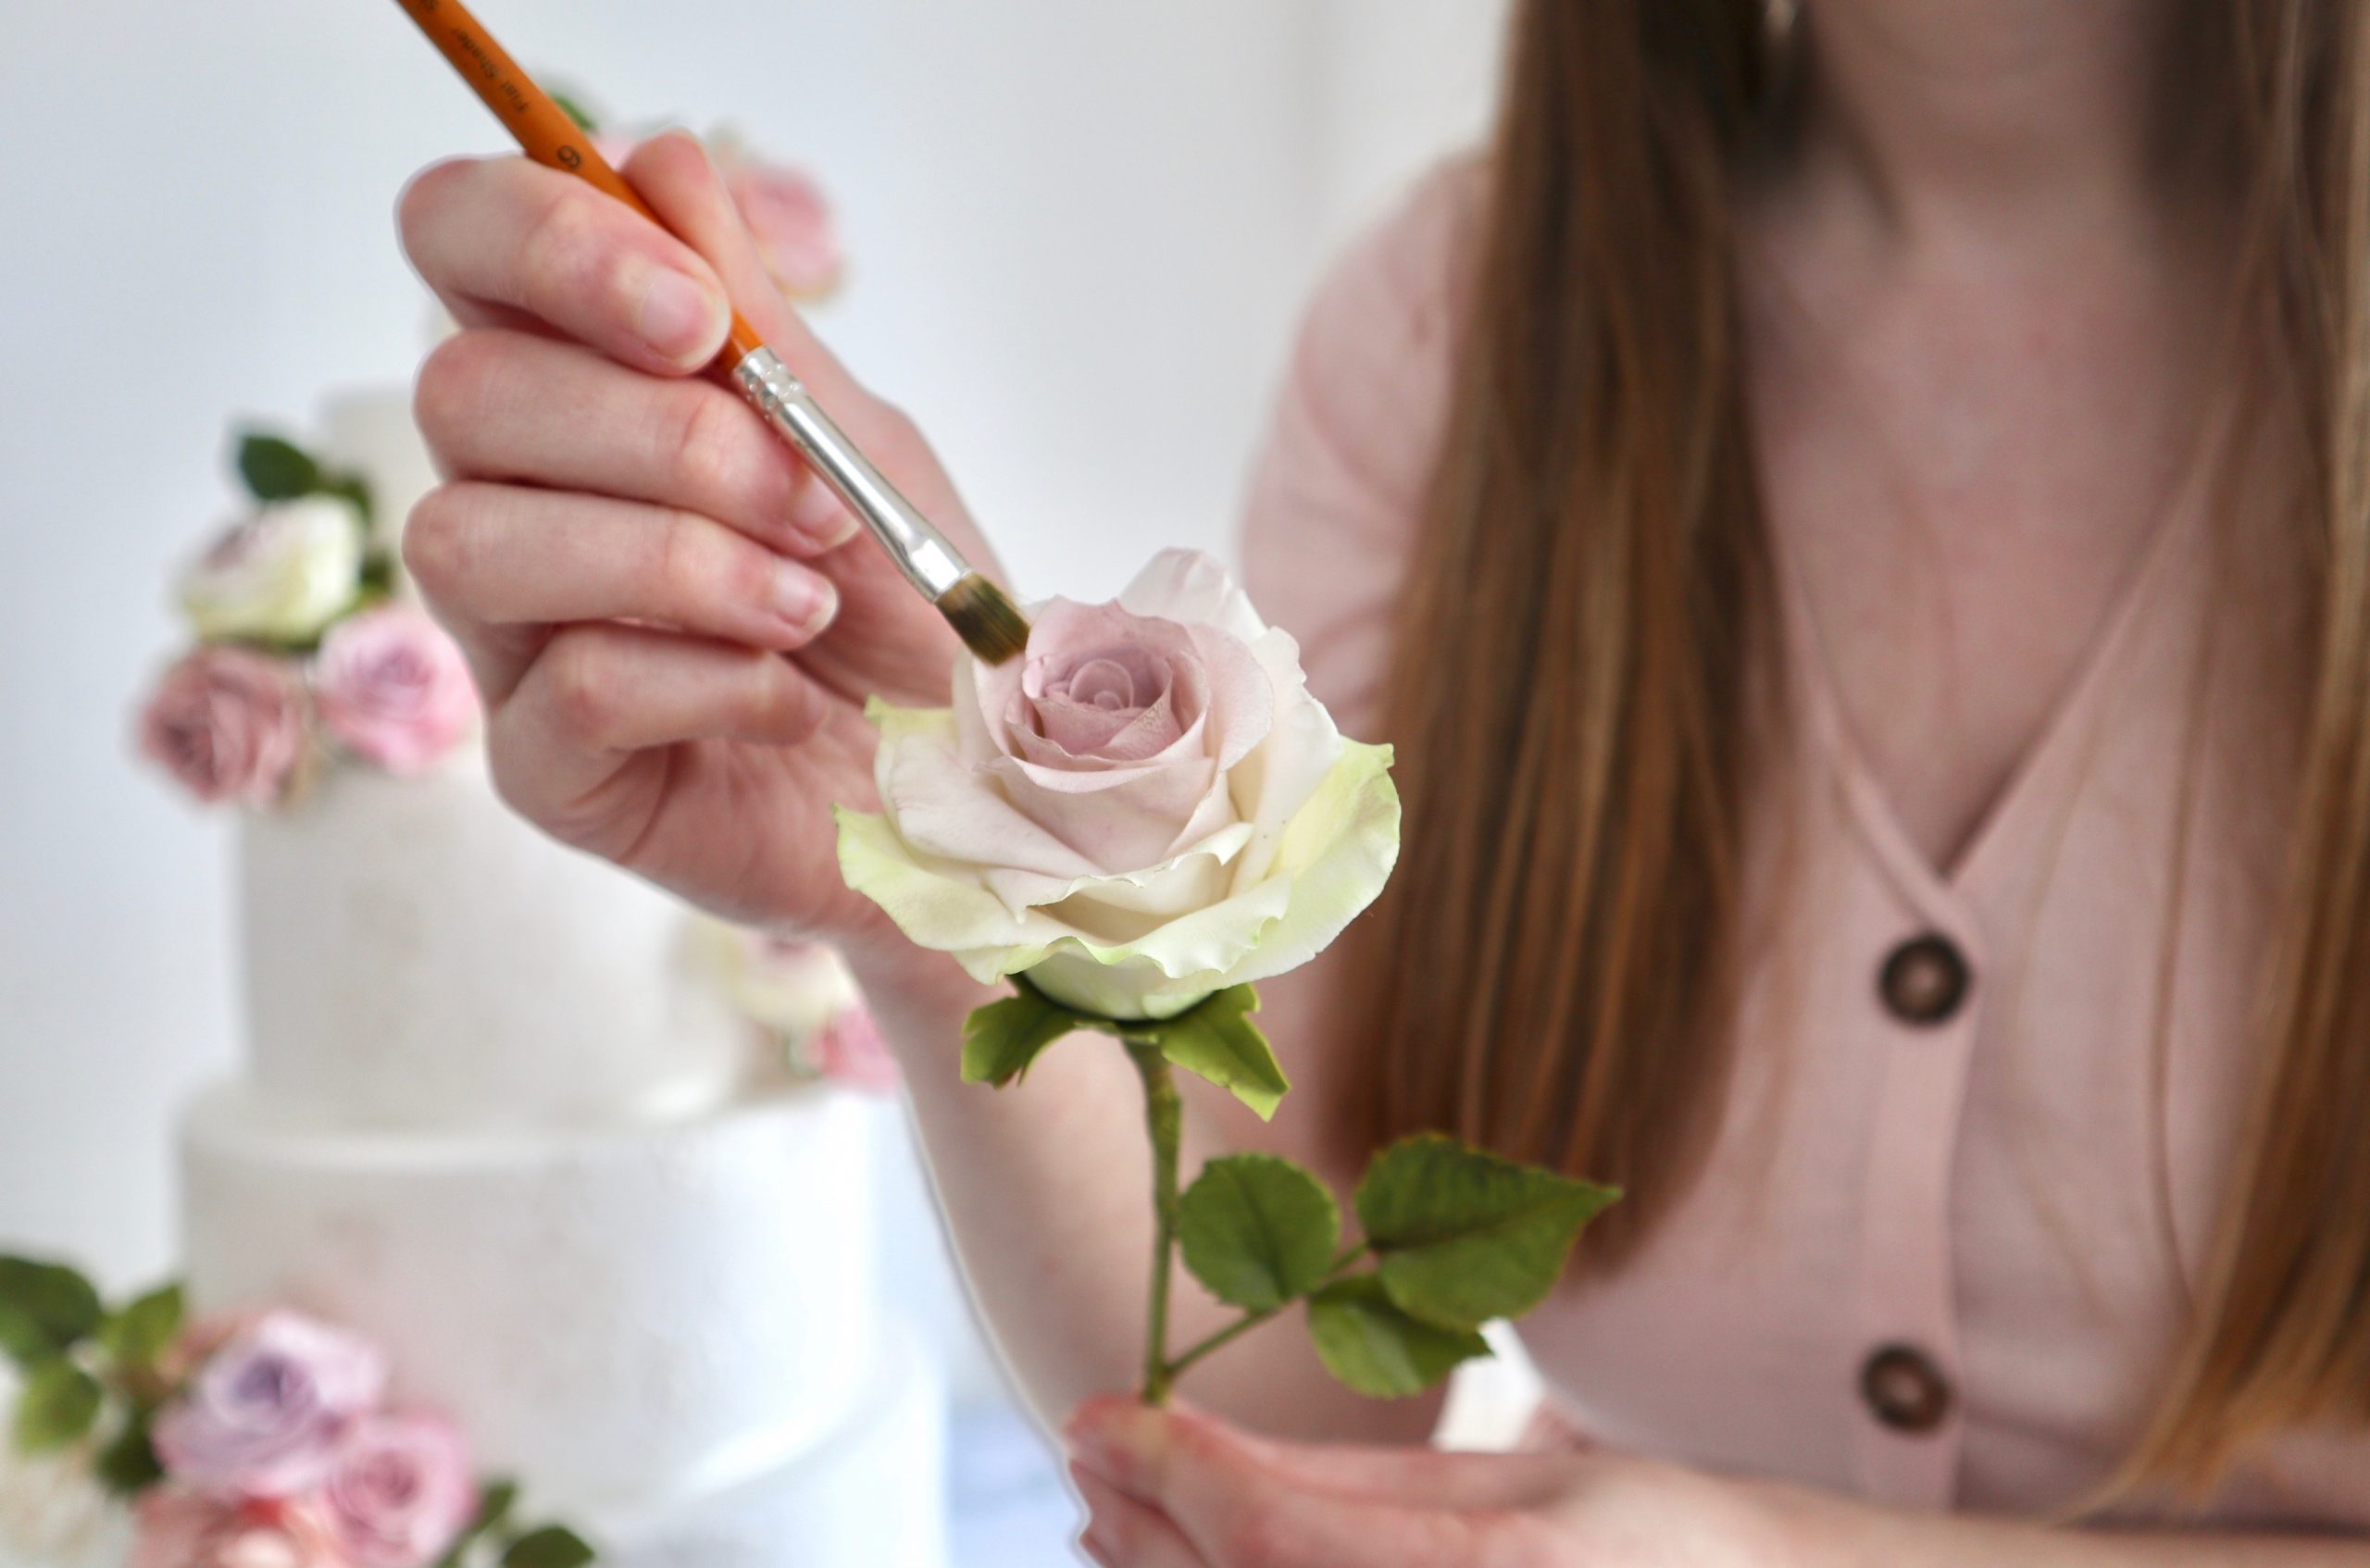
A guide to colour theory and how to mix the perfect shade of dusky pink for your sugar flowers.
How to mix dusky pink
tutorial


explore the classes
Read the Post
Step by step tutorial- How to make petal ruffles as well as some pretty cherry blossom sugar flowers
Petal ruffles & blossom
tutorial


Explore my favourites
explore my favourites
My Favourites
I've created a one-stop-shop for you to seamlessly explore all my favourite products. Everything from my sugar flower essentials, to online courses that I love, inspirational books and business tools.
Products for suagr flower artists and business owners
Read the Post
Step by Step tutorial- How to make wisteria sugar flowers and this scalloped lace design for wedding cakes.
wisteria wedding cake
tutorial


explore my favourites
Take a look at our online sugar flower classes, workshops and courses. Here you can learn how to create beautiful sugar flowers, as well as advanced petal dusting techniques and the art of sugar flower arranging. Join us in our community of sugar flower creators from around the world. Learn new skills, and create beautiful works of art!
For Sugar Flower Artists
Online classes
explore the classes
How to mix the perfect shade of dusky pink PDF
3.
Iridescent Anthurium-
Free Class
2.
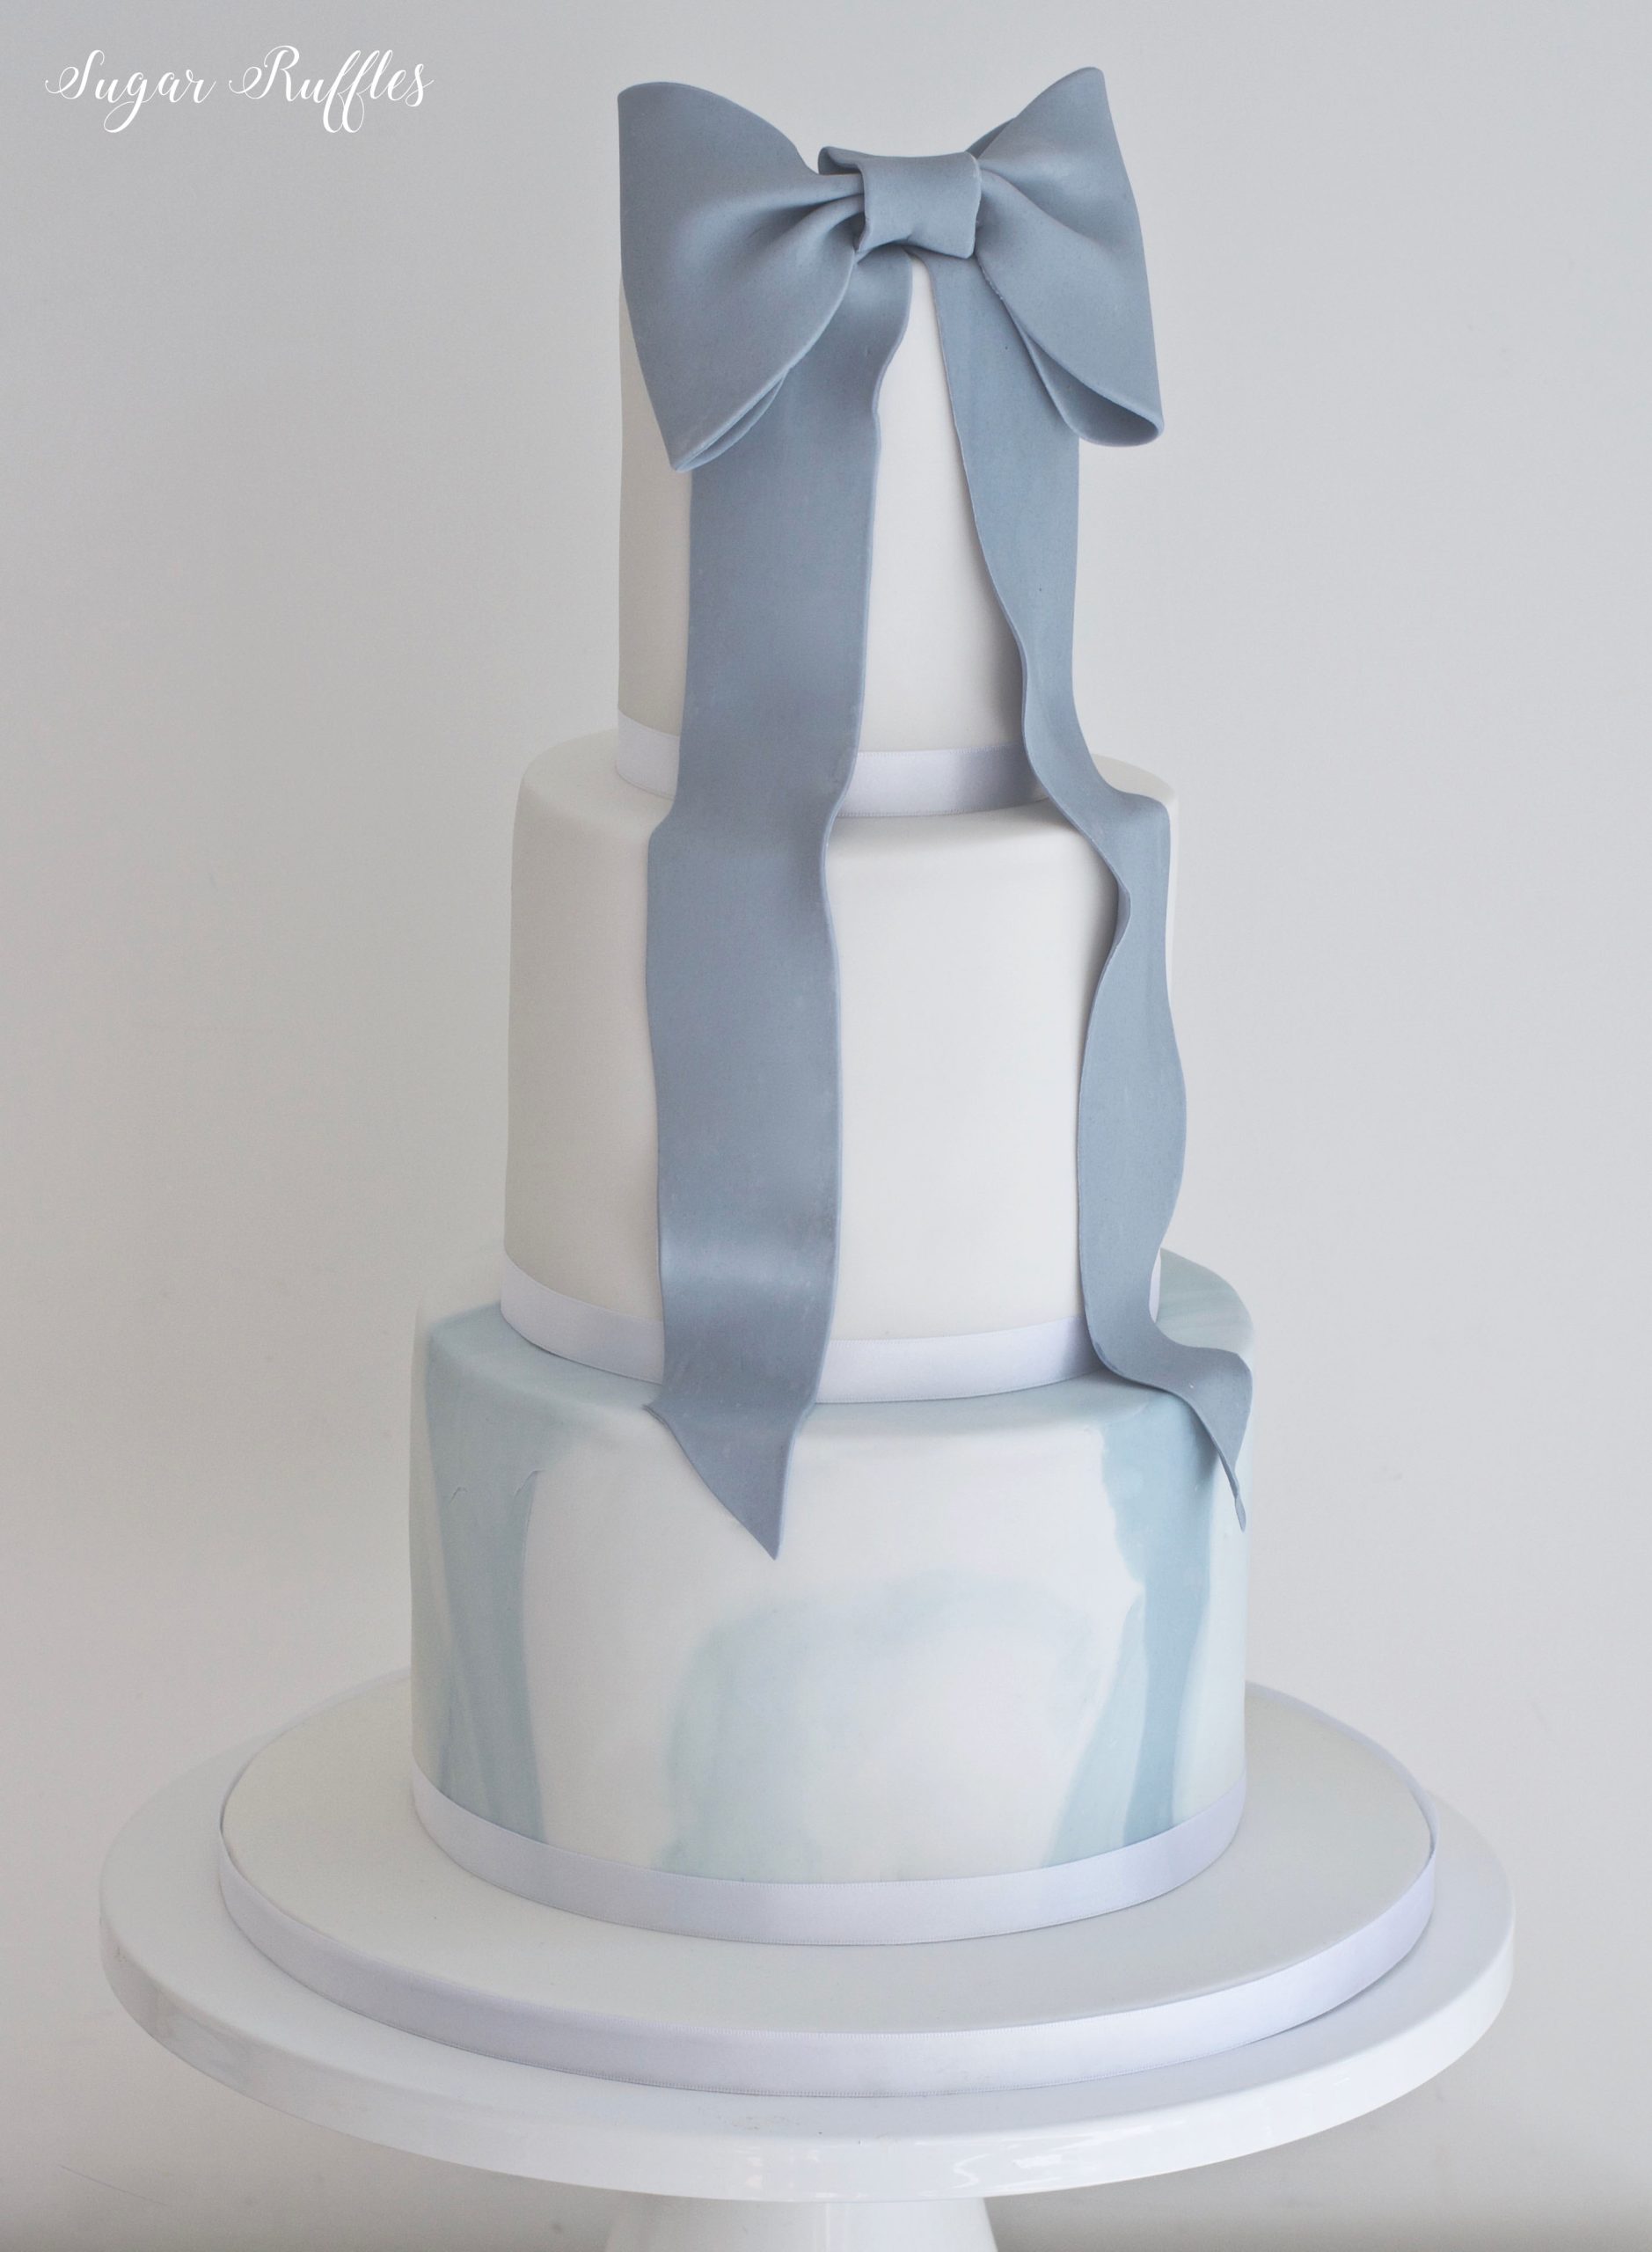
Watercolour Wedding Cake Tutorial PDF
1.
Resources for sugar flower artists and those who would love to learn how to make beautiful sugar flowers.
remember to take these
FREE RESOURCES


