
A Sugar Sequin Tutorial- How To Make Sugar Sequins
Welcome to this step-by-step tutorial on creating stunning sugar sequins for your cakes. Sugar sequins add a beautiful, shimmering texture that can elevate any wedding cake design.
What You Need
- Edible sugar paste or gum paste
- Circular cutters in various sizes
- Edible glitter or lustre dust
- Edible glue and a fine paintbrush
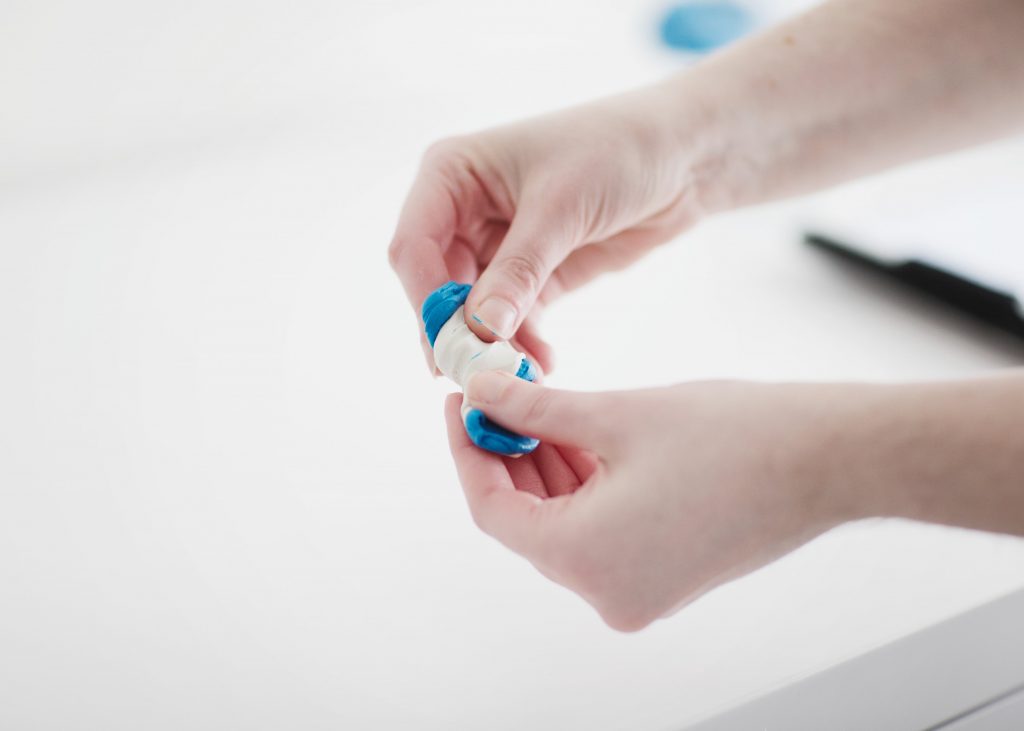
Step 1: Preparing Your Sequins
Roll out your paste thin. Use your small circular cutters to punch out numerous circles. While they are still fresh, you can choose to flatten them slightly with a rolling pin to give them that authentic 'sequin' look.
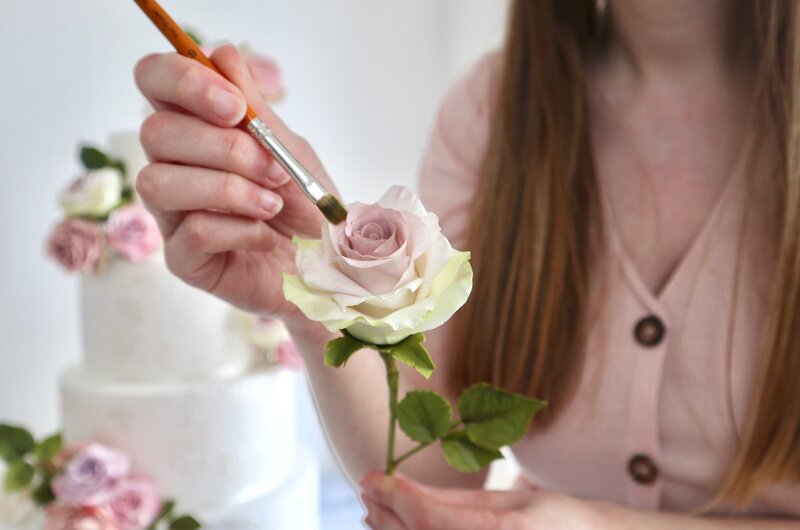
Step 2: Adding the Sparkle
Using a dry brush, apply your chosen lustre dust to the surface of each sequin. For a more dramatic effect, consider mixing two colors or adding a fine edible glitter.
Step 3: Attaching to the Cake
Starting from the bottom of your cake tier, apply a tiny dot of edible glue to the back of each sequin and press gently onto the cake. Work your way up, slightly overlapping each row to create a seamless, cascade effect.
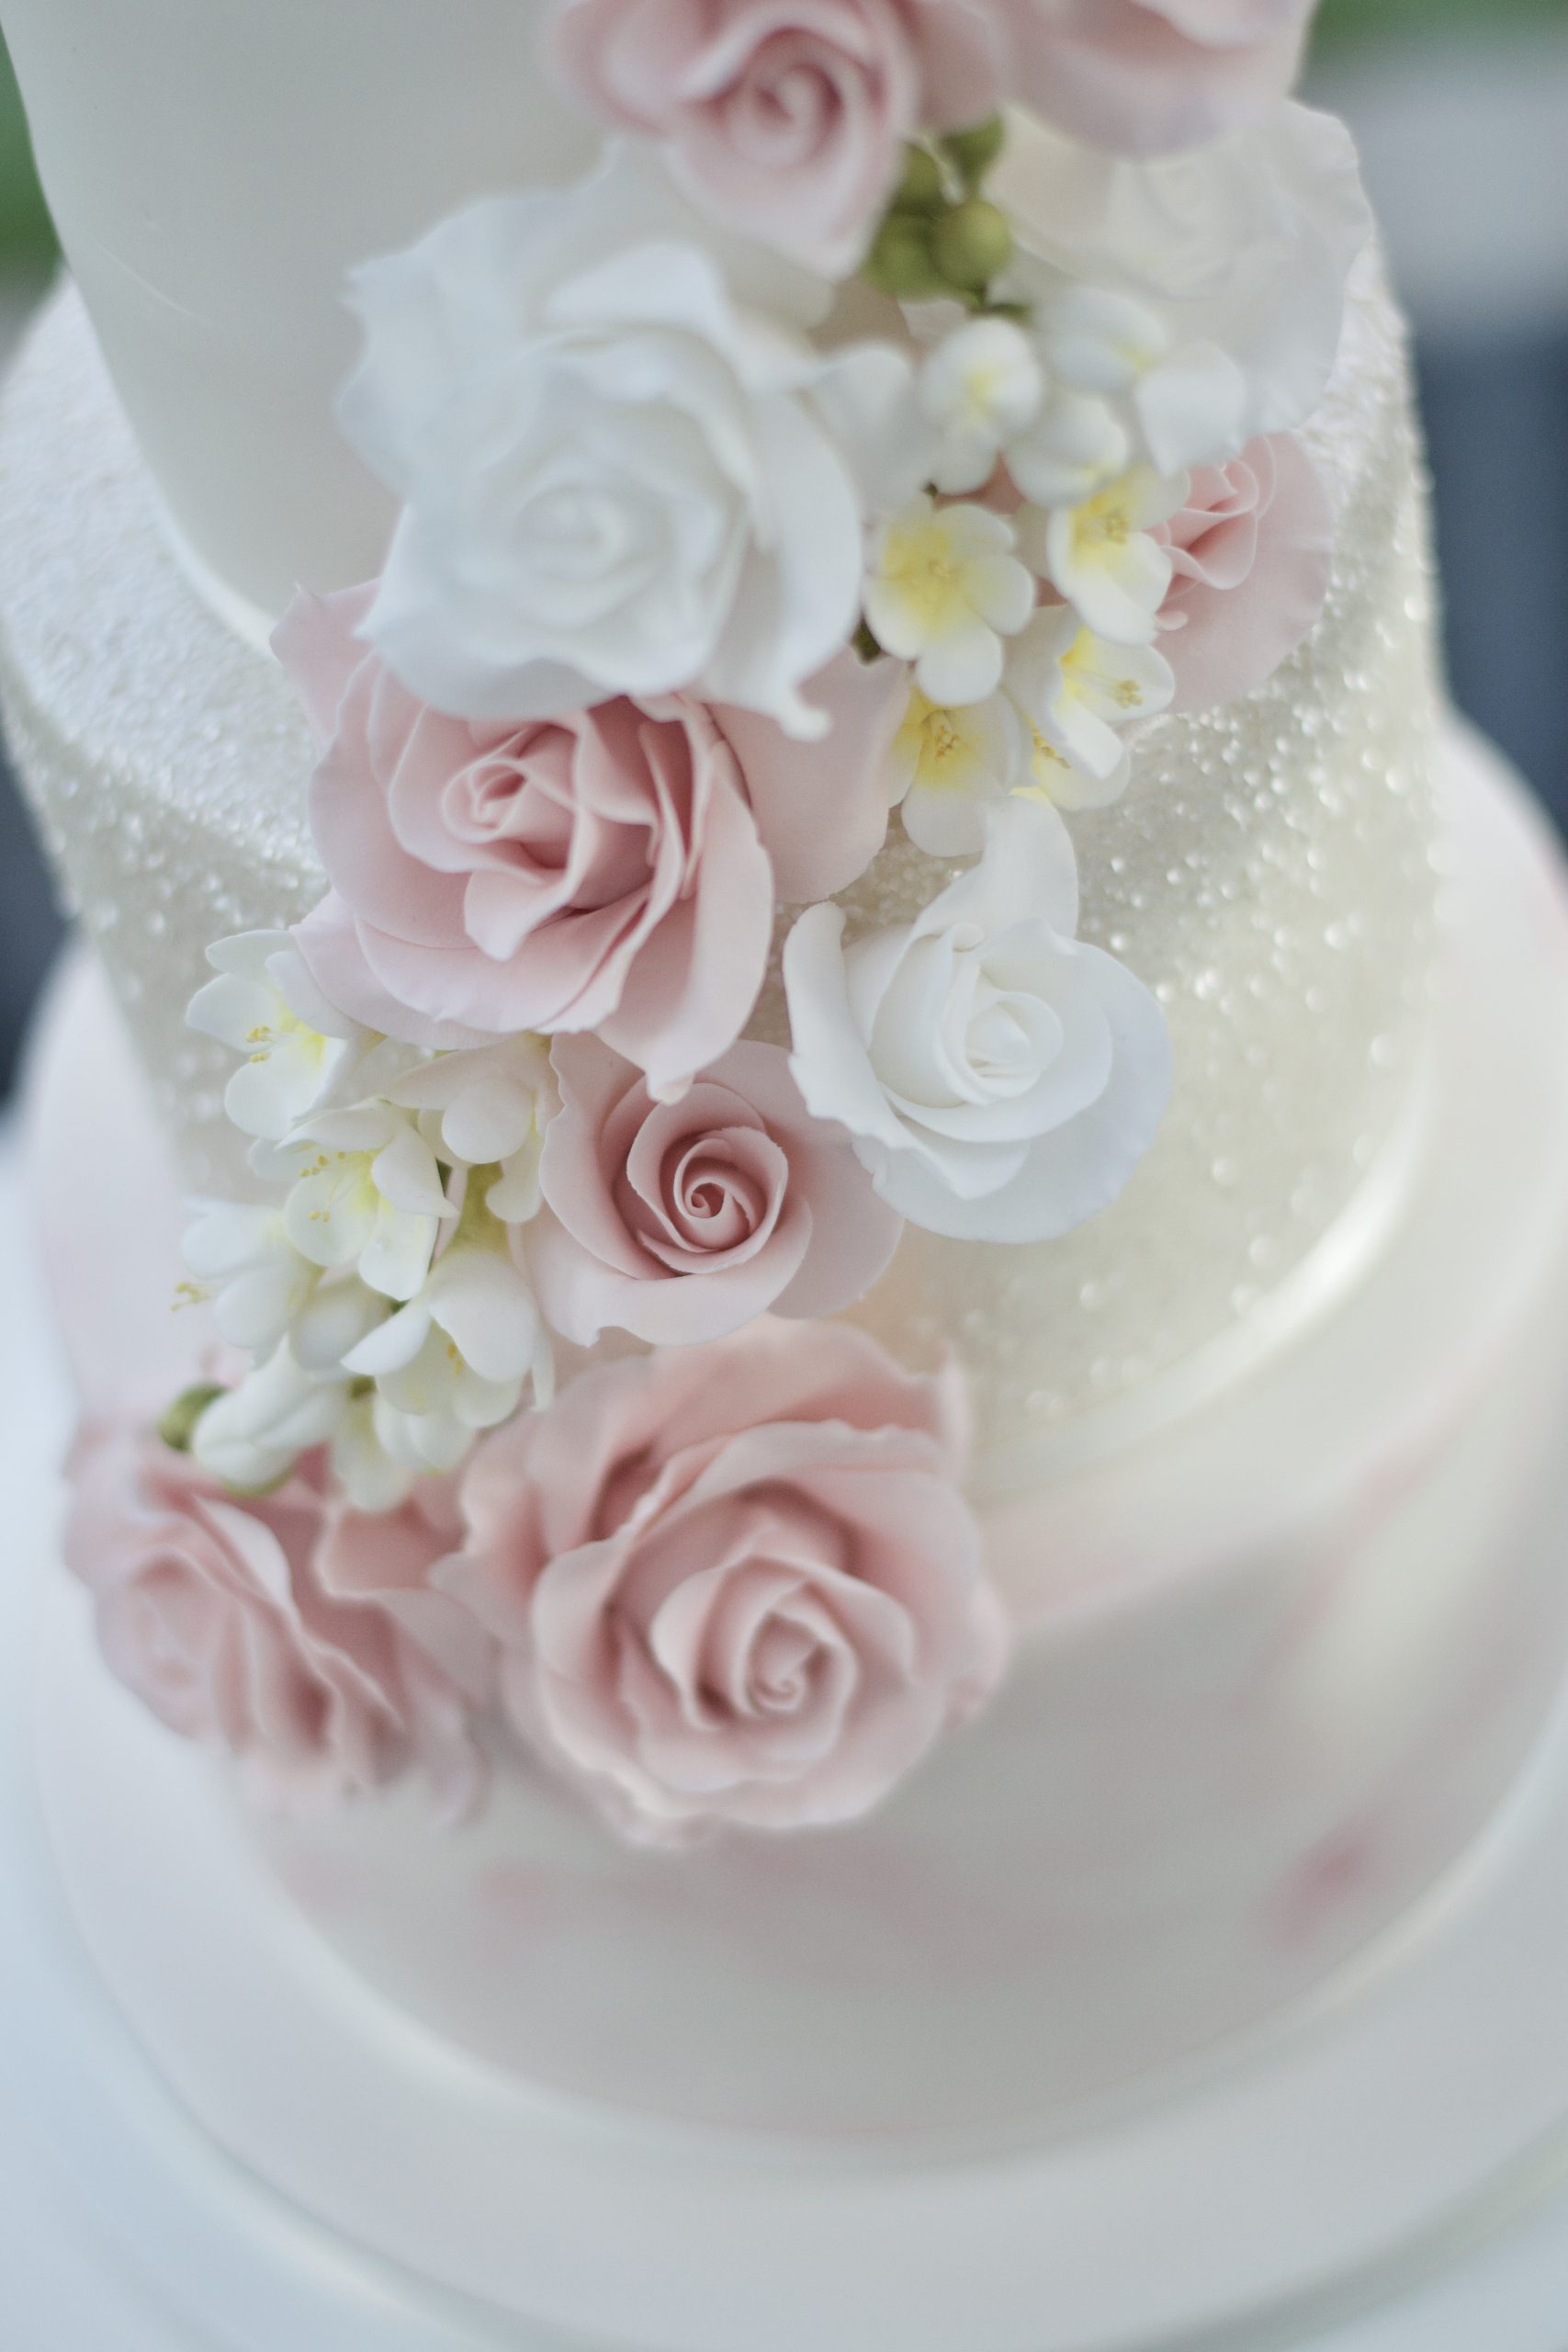
Be patient with this process—it takes a little time, but the resulting finish is incredibly luxurious and worth the effort!