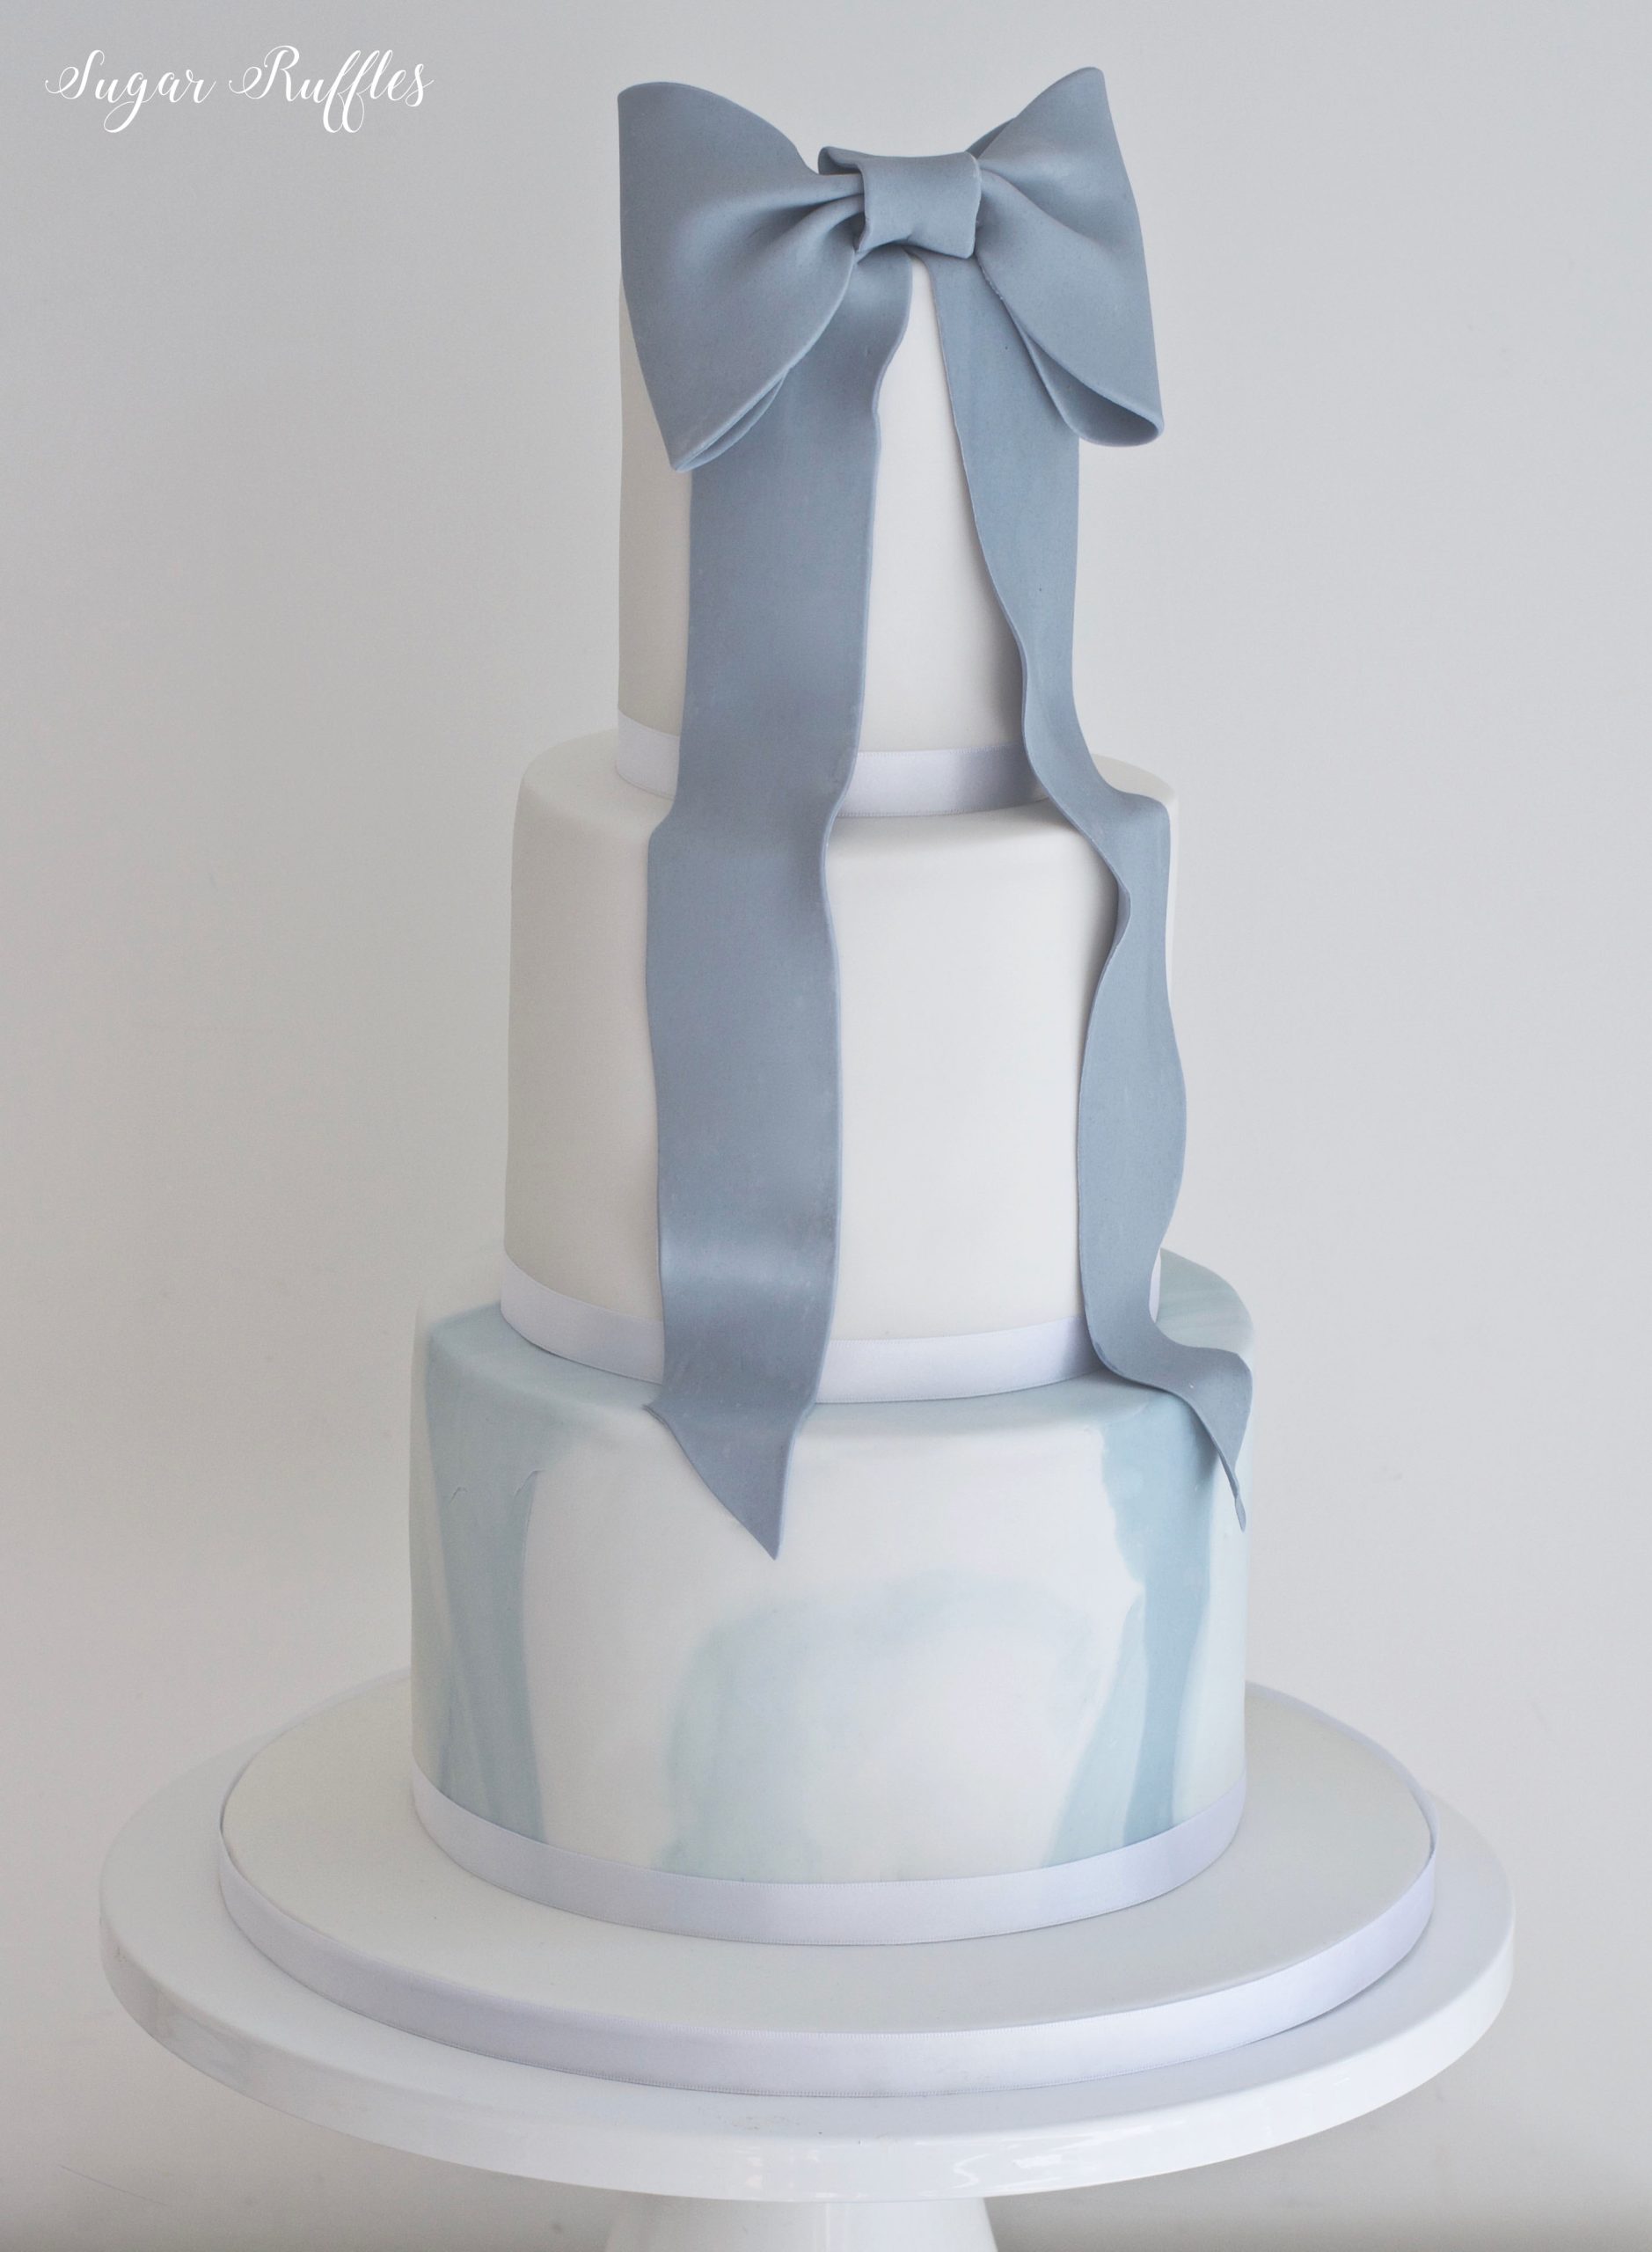
Today I will be giving you a closer look at two of my new wedding cake designs.
I’ll also be sharing some top tips for stencilling on cakes from stencil designer and cake artist Silvia Favero. If you are feeling frustrated with using stencils, definitely check them out below.
Stencilling is not a technique I use very often in my cake designs but after seeing Silvia Favero’s beautiful double barrel stencils, I wanted to incorporate some stencilling into my new designs.
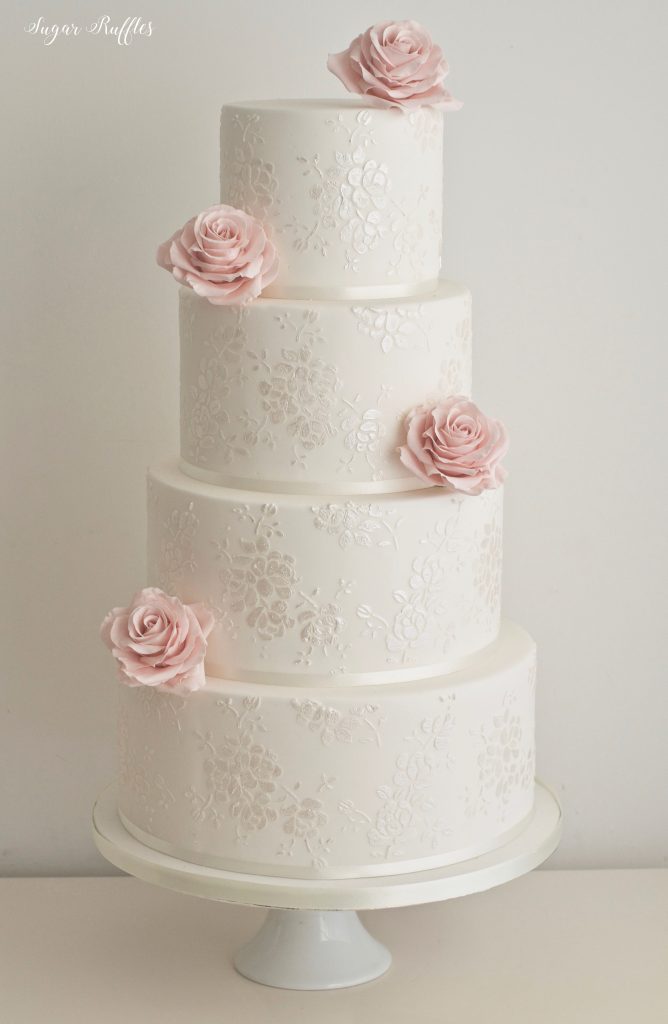
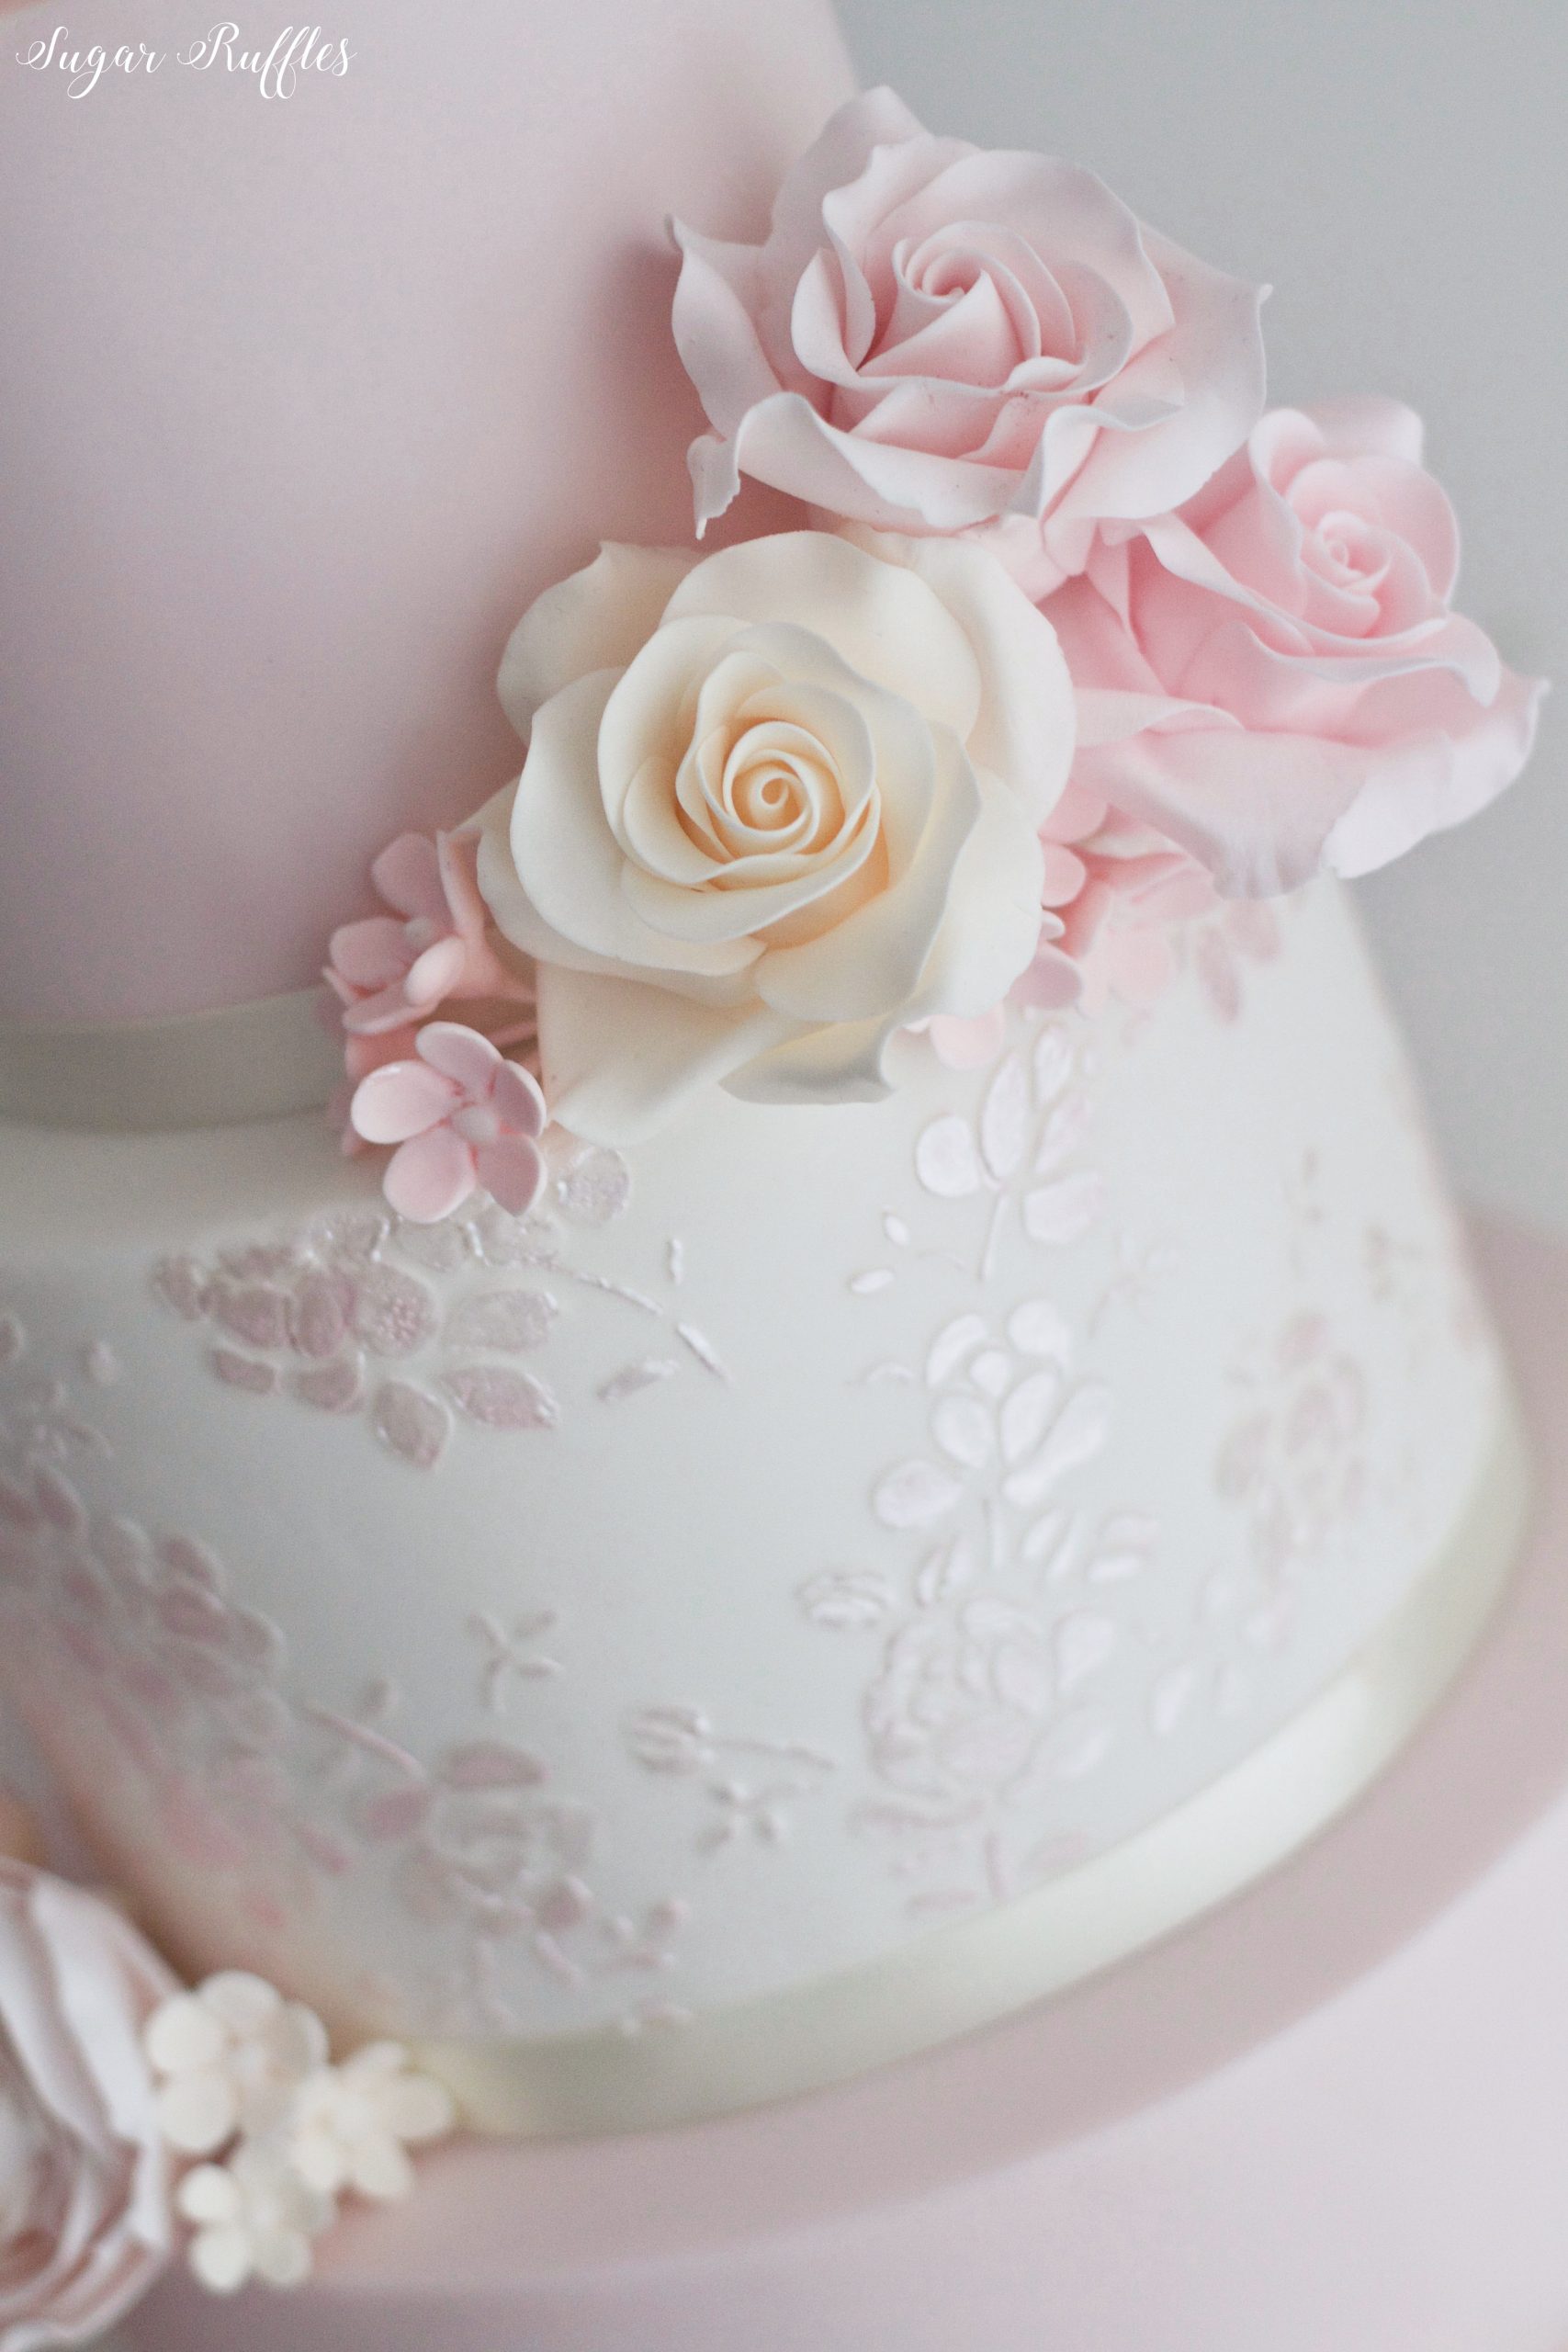
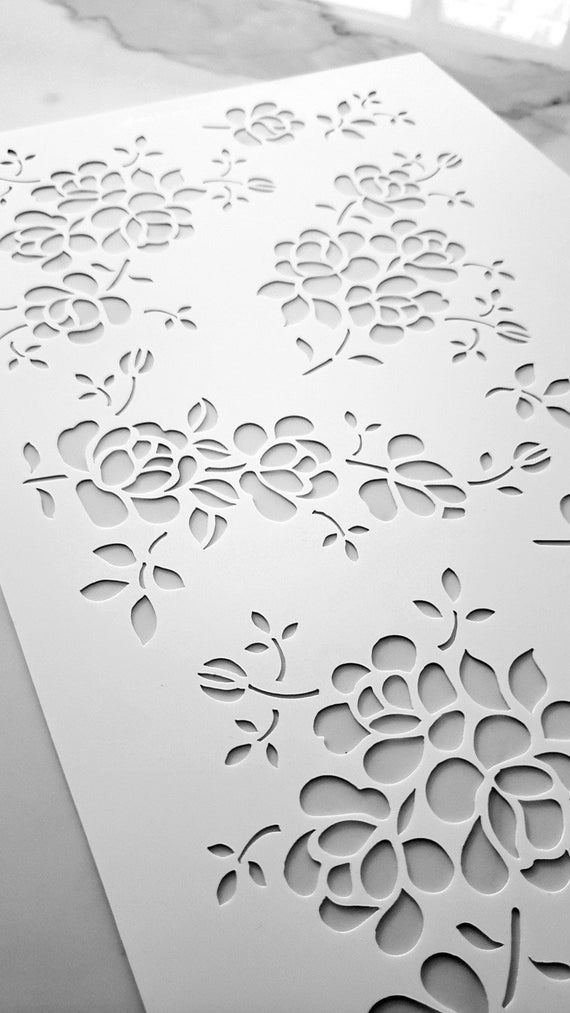
I tried the Silvia Favero ‘Florence’ stencil and found it really easy to use. I was really happy with the results! I used royal icing for the stencilling and then to complete the design painted a lustre over the top.
One of my followers on Twitter noted that it looks like a brocade effect, which I thought was a really good description for this look!
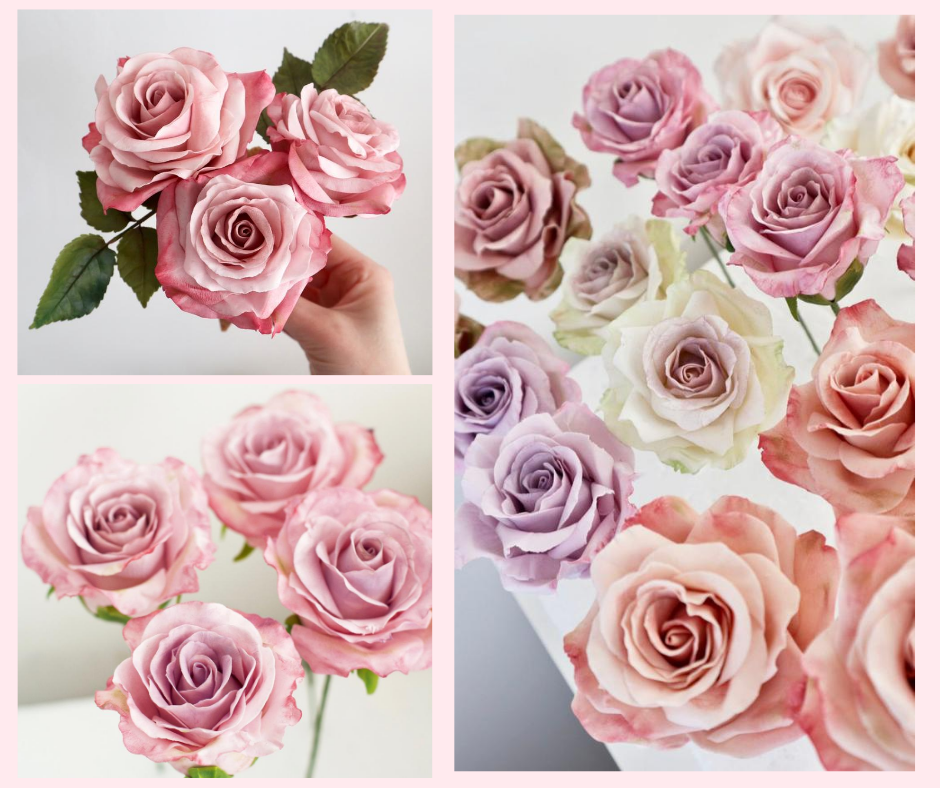
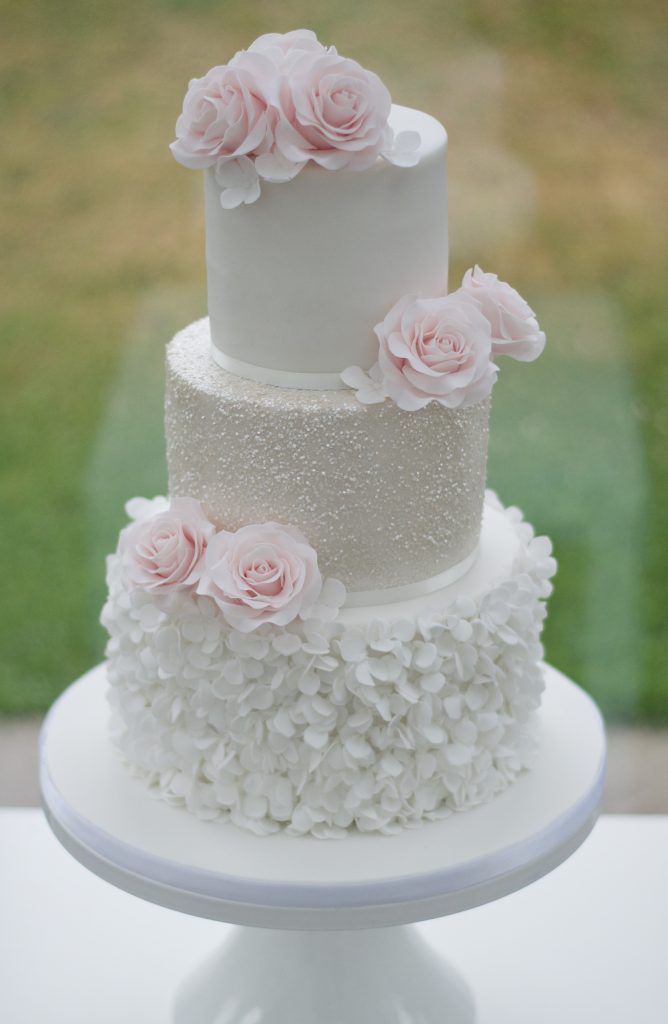
The detail on this design is so pretty, I wanted to keep the rest of the cake really simple, and so I added a single pink sugar rose on each tier.
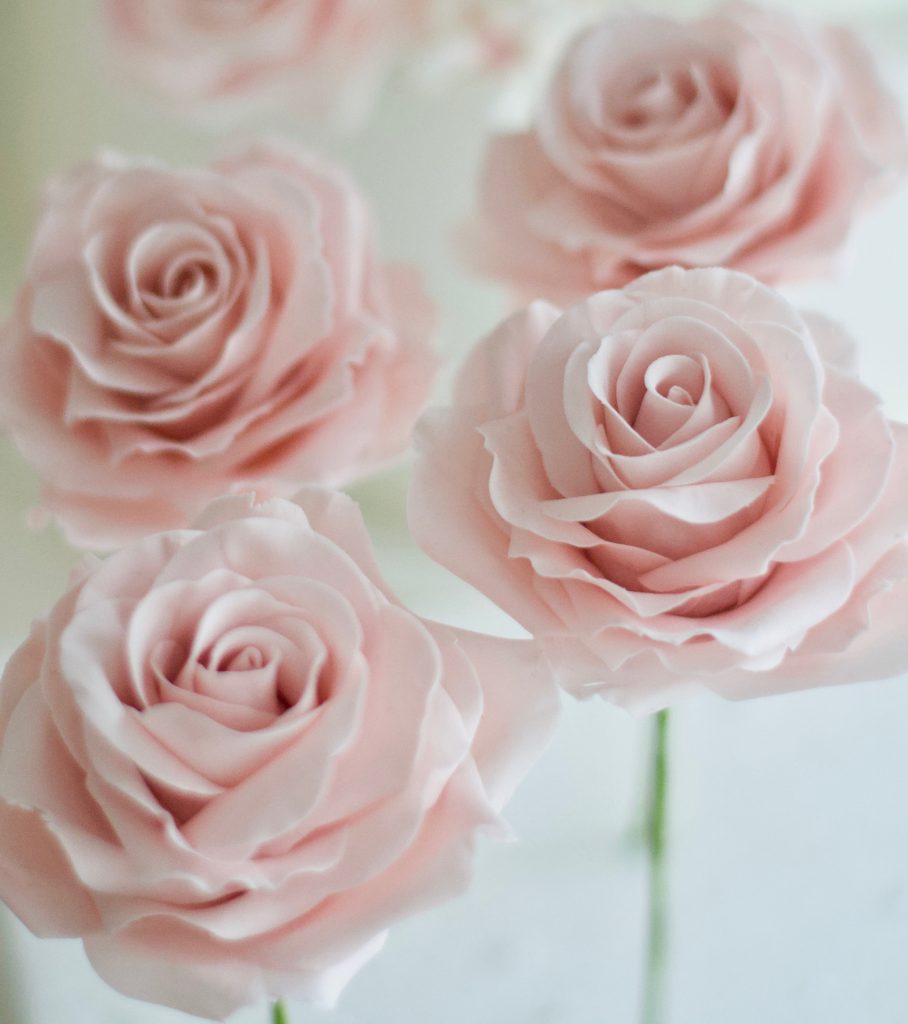
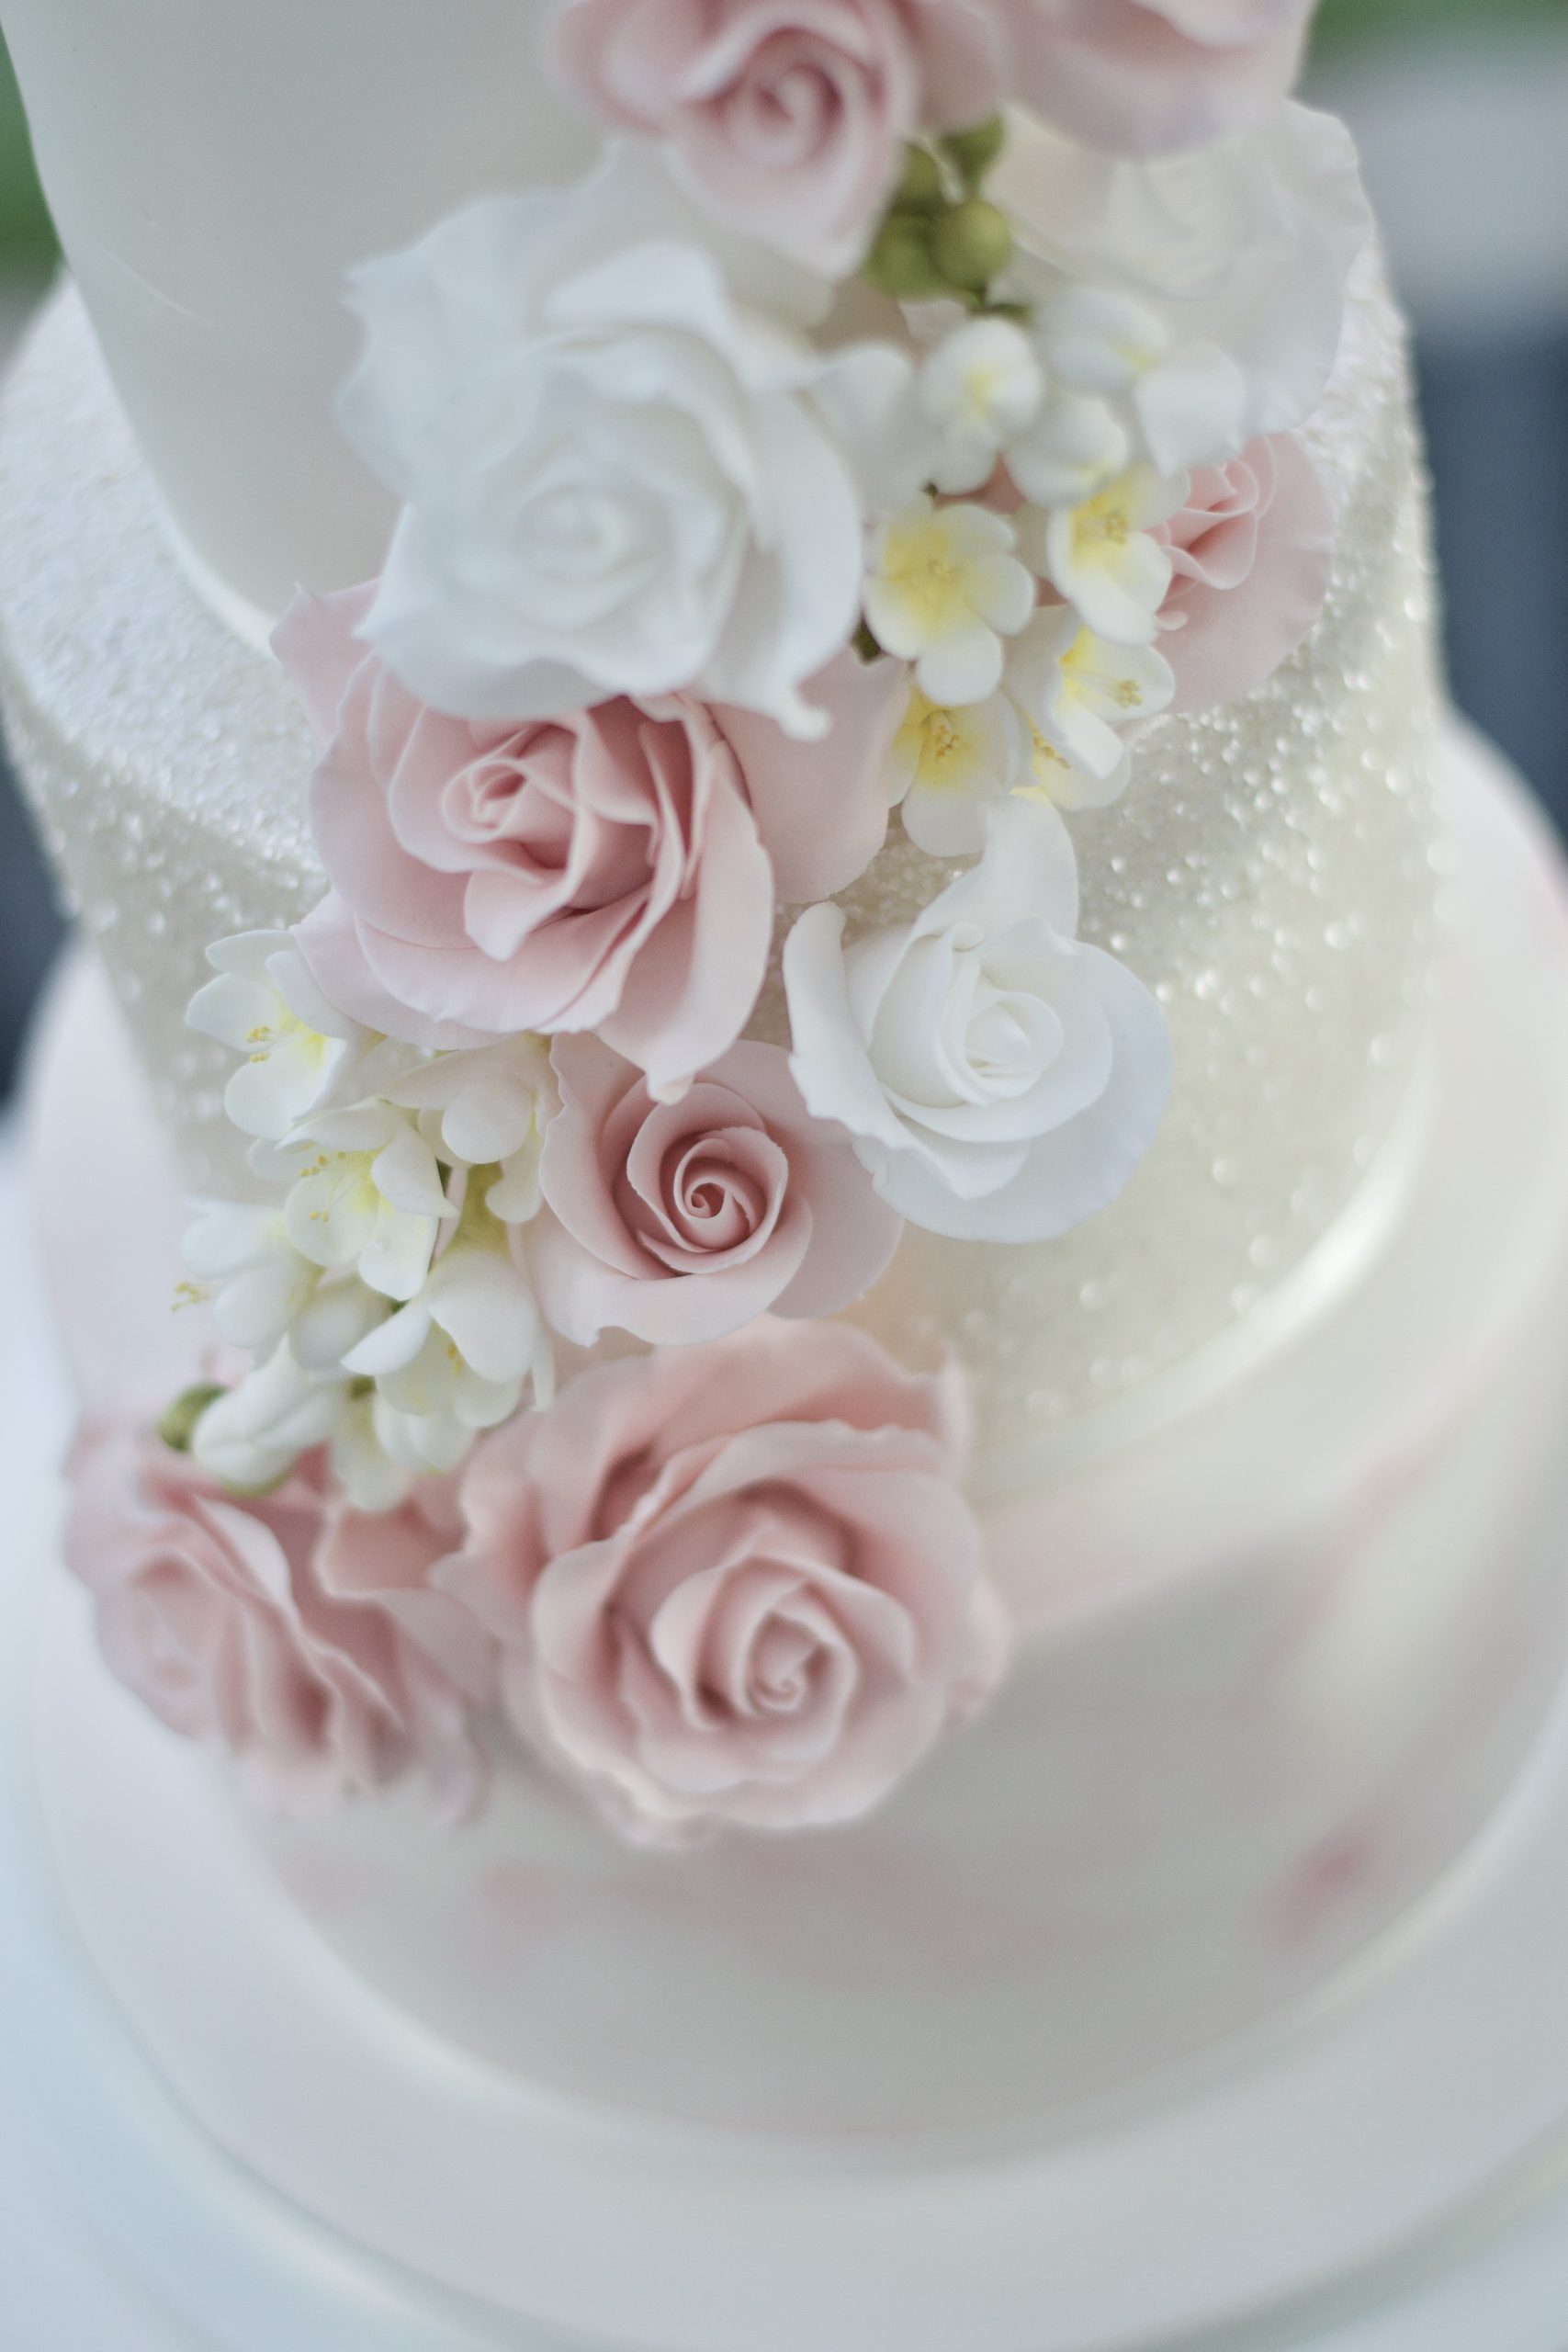
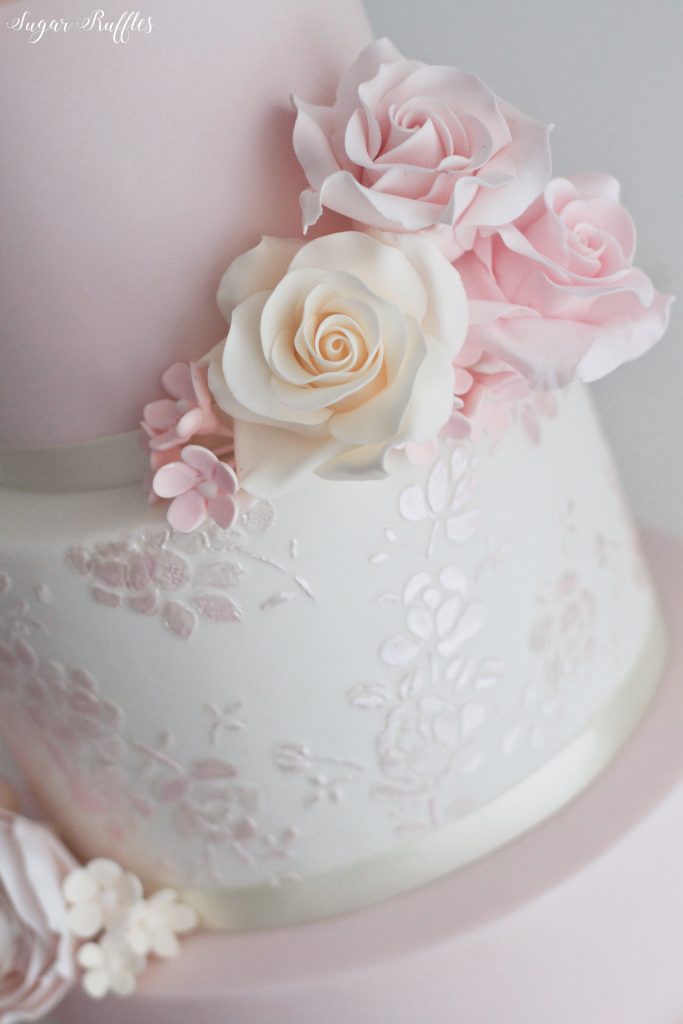
For my next design I incorporated a stencilled tier with a subtle pink lustre, along with sugar flowers and petal ruffles. You can find my tutorial for how to create these petal ruffles here.
Again I used the ‘Florence’ stencil and used royal icing for the stencilling and then painted a pink lustre over the top.
Internationally renowned cake artist Silvia Favero is the creator of the beautiful ‘Florence’ stencil that I used in my cake designs.
She has created a stunning range of food grade, double barrel, cake stencils. You can view the full range of stencils here store.silviafavero.com.
Today she is sharing her 5 Top tips for stencilling on cakes with Sugar Ruffles blog.
1. Choose the correct stencil design depending on your skills. If you are a beginner, choose designs that have small holes. This prevents making mistakes when using royal icing or buttercream. Almost all of my stencils have small holes, so that anyone can use them.
2. For the perfect stencilling the most important thing is how perfect your cake is. Make sure that your cake is straight and even and that the stencil is in complete contact with your cake, without gaps. The taller your cake is, the more gaps that could appear. If that happens, try to press the stencil to the cake and put the icing on just once. If there are a lot of gaps, use the stencil you like for making a border or to cover parts of your cake (I see many cakes nowadays using that modern design).
3. There are many ways to put the icing on for stencilling. My favorite is using a plastic card (like a credit card), they are small and flexible and they allows me to go little by little putting the icing on and removing it at the same time, so I have more control in my stencilling.
4. When using on fondant, I wrap and pull the stencil tight against the cake, and use a piece of paper and masking tape to tape both sides of the paper to the stencil. I prefer that instead of using pins (I don’t like holes) or butter on the cake (I don’t like the greasy effect).
5. If you use a good quality cake stencil, use the royal icing to fill the openwork of the stencil and leave it the same thickness as the stencil. The design will look more elegant and neat, and prevents you from having spikes of royal icing. Remember to take out the stencil quickly before your royal icing begins to dry.
Thank you so much to Silvia for sharing her tips for stencilling on cakes! You can view the full range of stencils here store.silviafavero.com.
