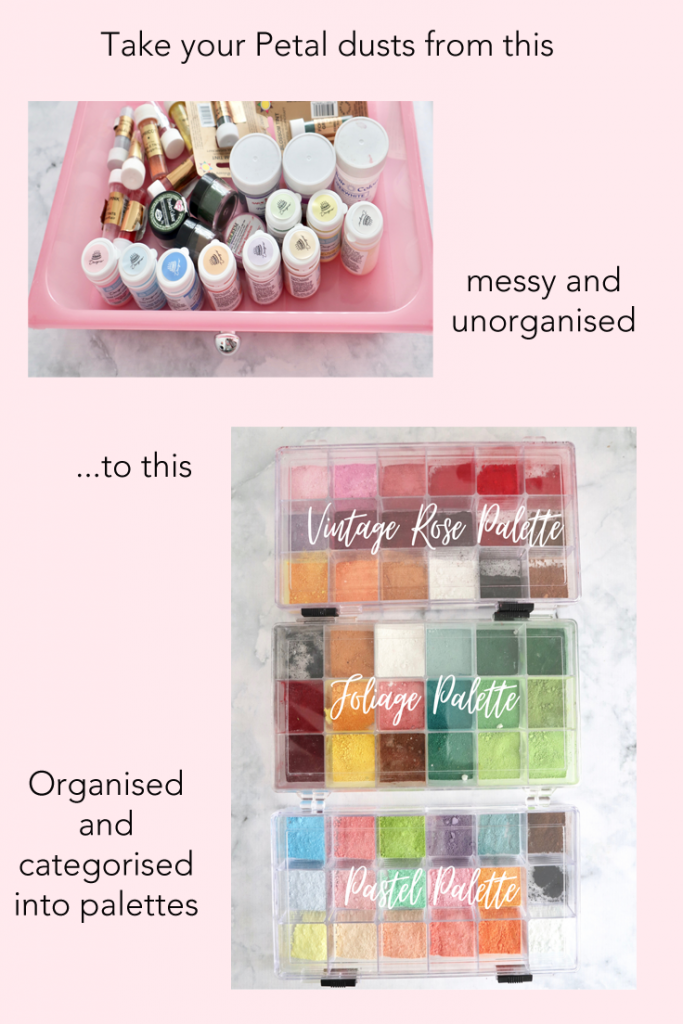
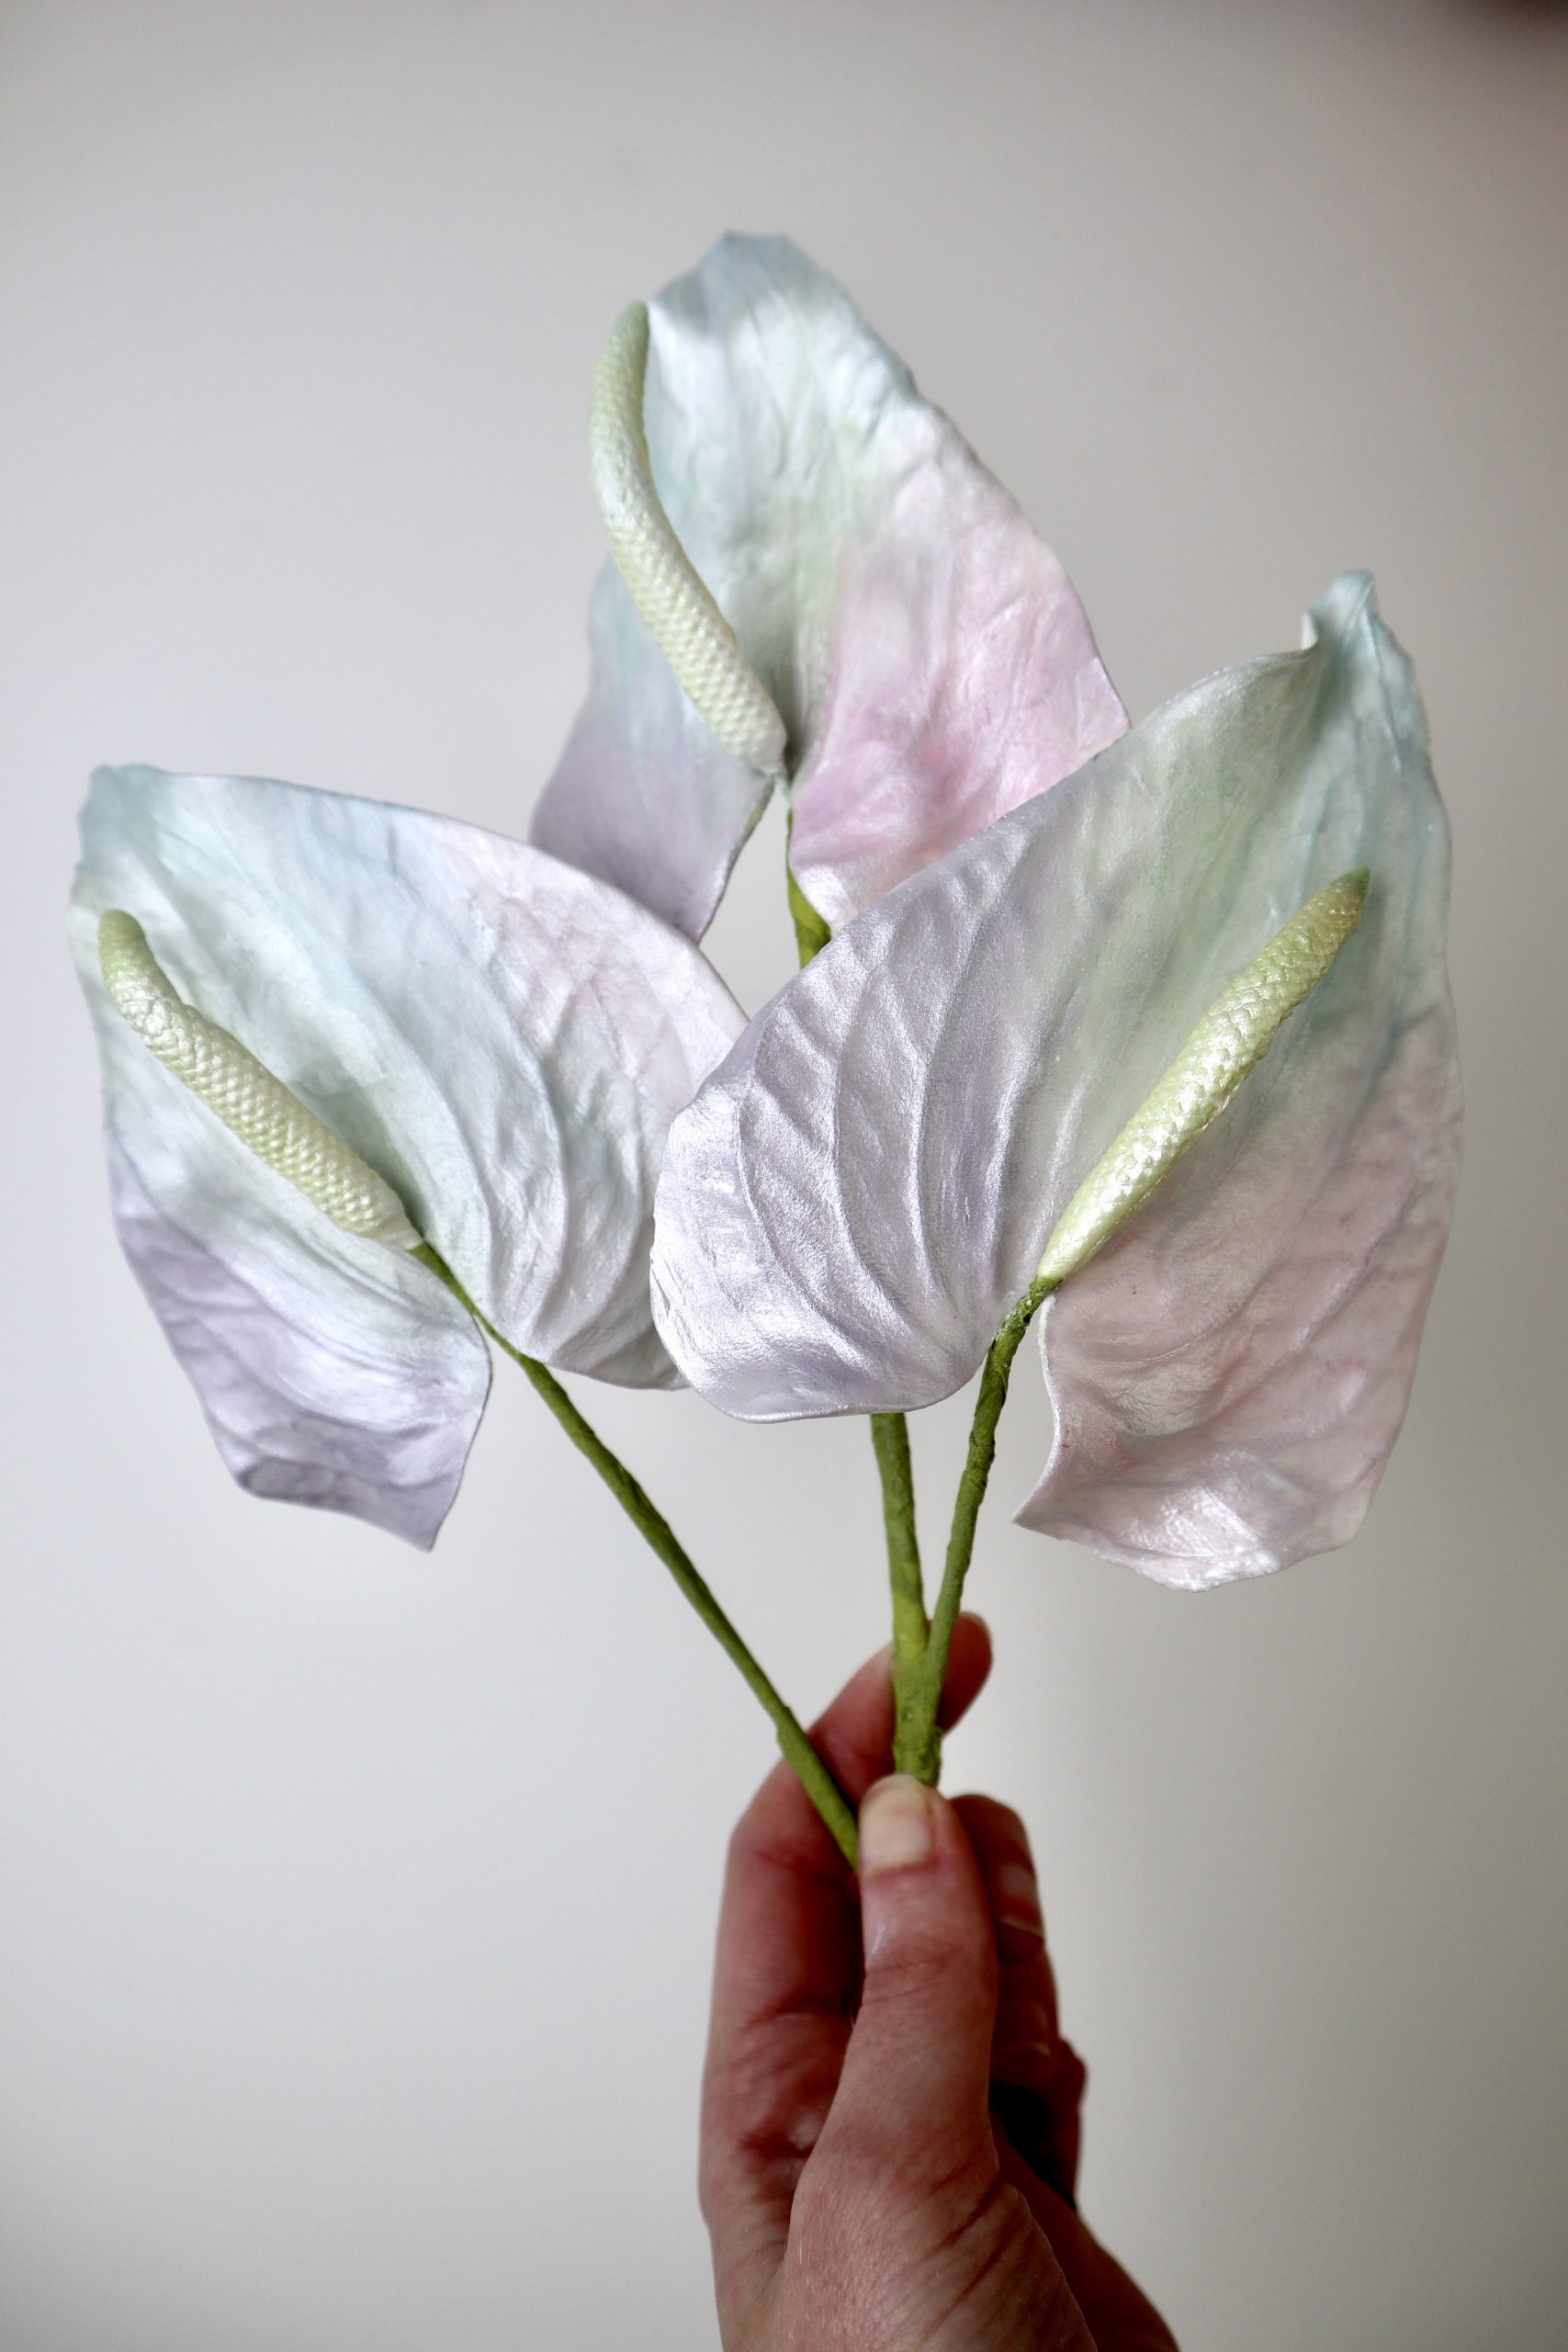
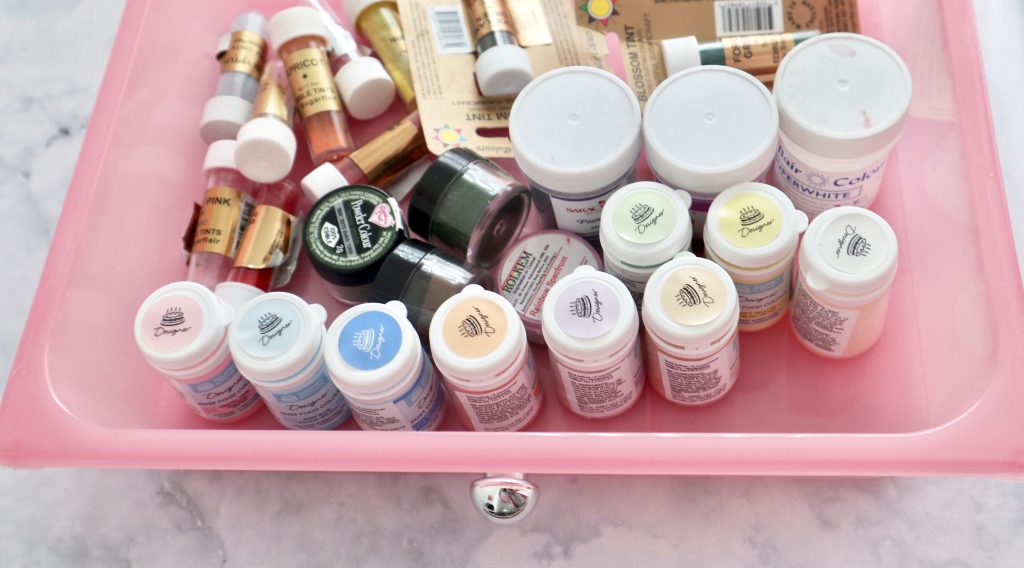
Do you have a drawer full of petal dusts like this one?
I used to have all my dusts stashed away in a drawer exactly like this! Until I found a much better way of storing and organising my petal dusts…
If you’re anything like me, you’ll have so many petal dust colours from different brands that all come in different shapes and are really difficult to organise and store. I wanted to find a way to organise petal dusts to make it easier to see exactly which colours I had, and organise them so I could easily find the colours that I need my sugar flower projects.
So I started organising my petal dust into palettes in categories. I can now see exactly what colours I have available and I can easily grab a palette and start working on a sugar flower project.
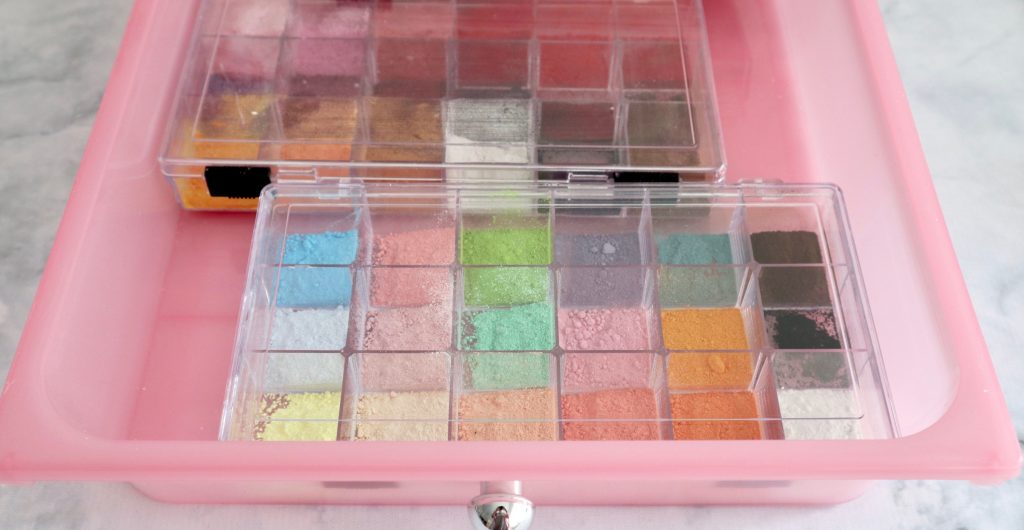
Here I have some of my most used petal dust palettes. My vintage rose palette, my foliage palette and my pastels palette. I have organised all my dusts into the vintage rose palette that I most frequently use for my vintage sugar roses. So I have lots of pinks, purples and peaches, as well as some white, black and brown for mixing vintage shades and tints.
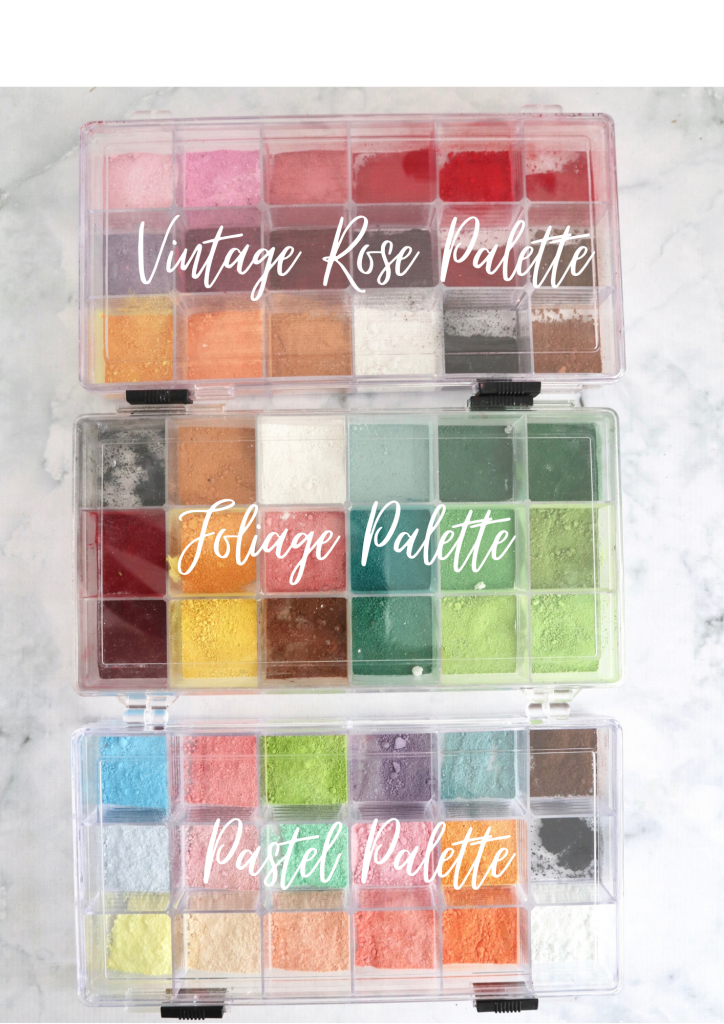
I don’t recommend organising the petal dusts by colour, like having all your pinks in one palette and all your reds in another because when you are dusting a pink rose, for example. As well as using lots of different shades of pink, you may also need reds, greens and purple as well as some white, brown and black for mixing. So if you’ve organised them by colour, you’re going to need to pull out several of your palettes at a time to work on one rose.
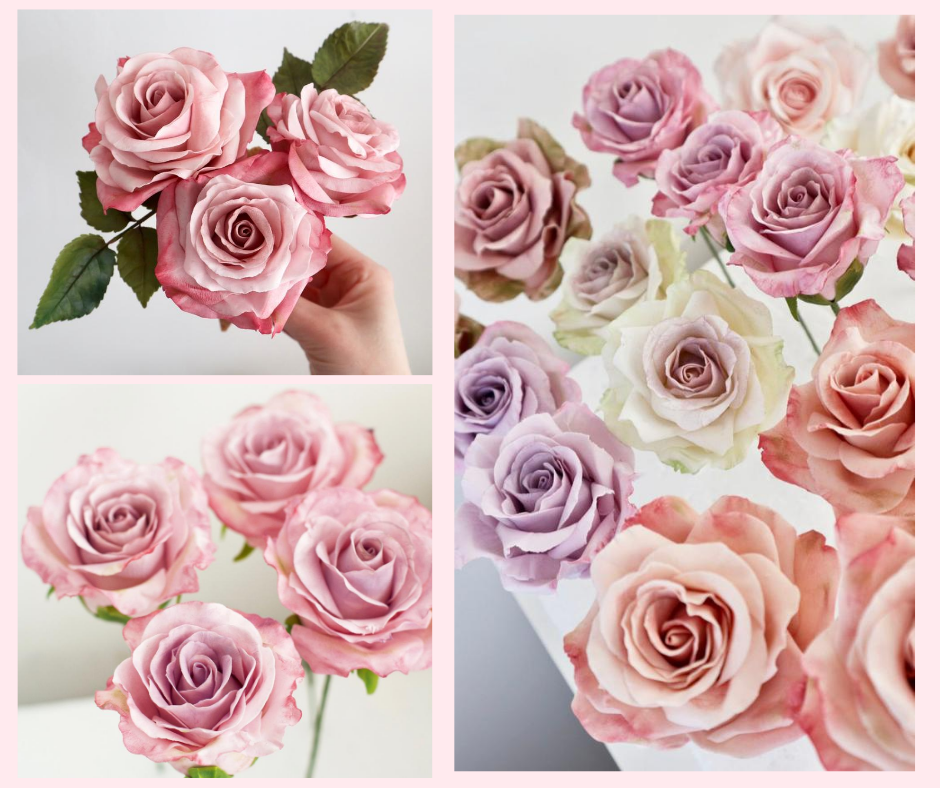
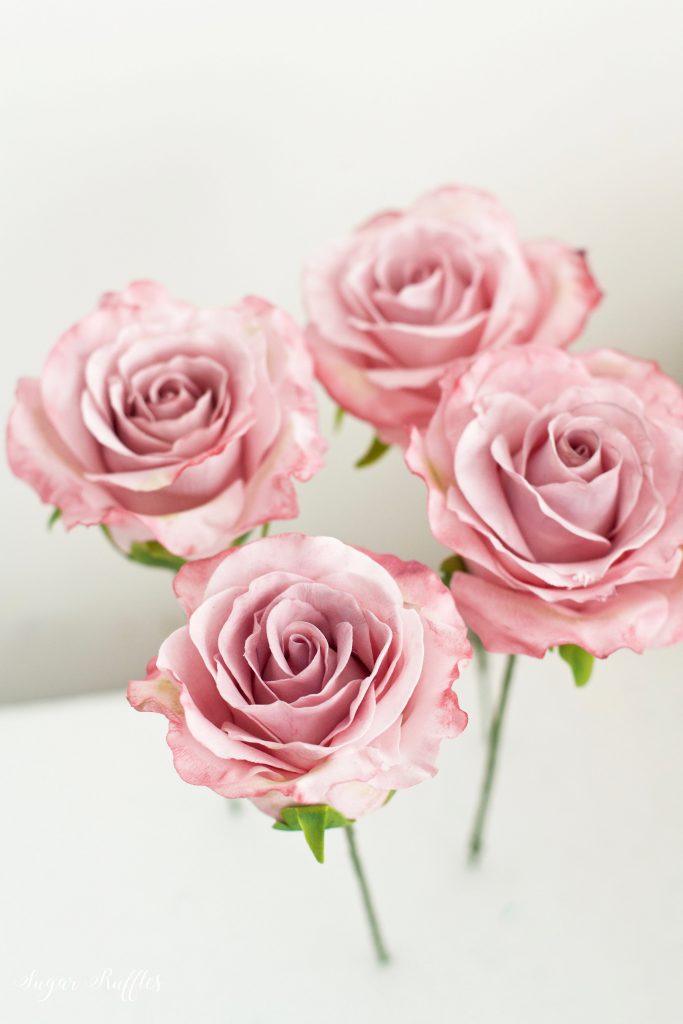
By organising the dusts into categories in this way it means that when I dusted my pink Memory Lane roses I was able to just pull out the vintage rose and the foliage palette to use.
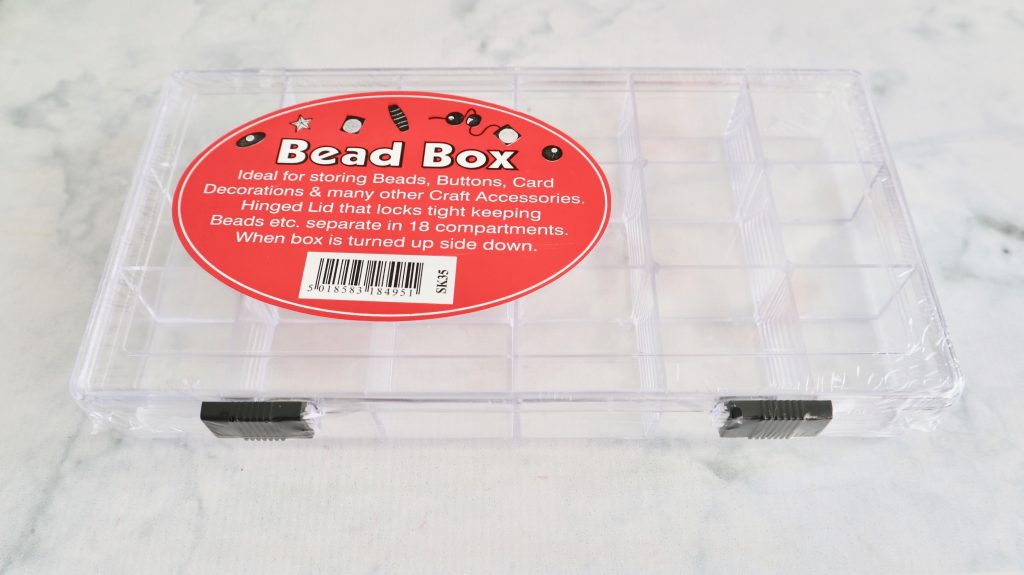
So let’s take a look at how I put the palette together. I always start with a bead box, which you can find on amazon here.
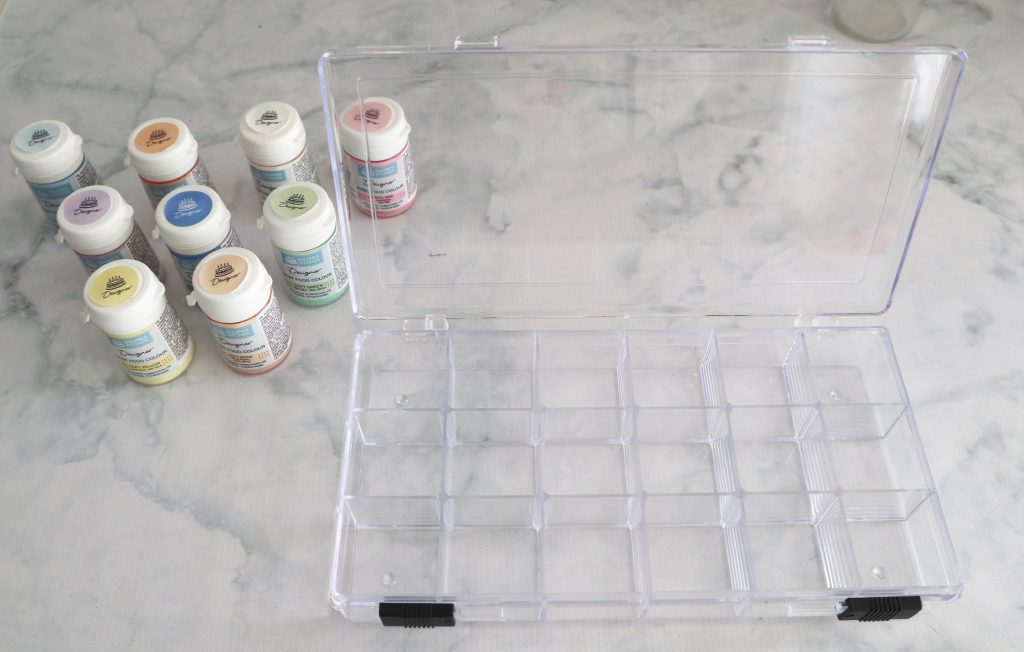
Then I gather up all the dusts that I want to add to a particular palette. Here I’m creating a pastels palette which will be really handy for dusting pastel flowers such as hydrangeas.
Then I pour each of the dusts into the cavities of the bead box and start to fill it up with all the colours. I always add white, brown and black to each of my palettes so that I can easily mix different shades, tints and vintage colours.
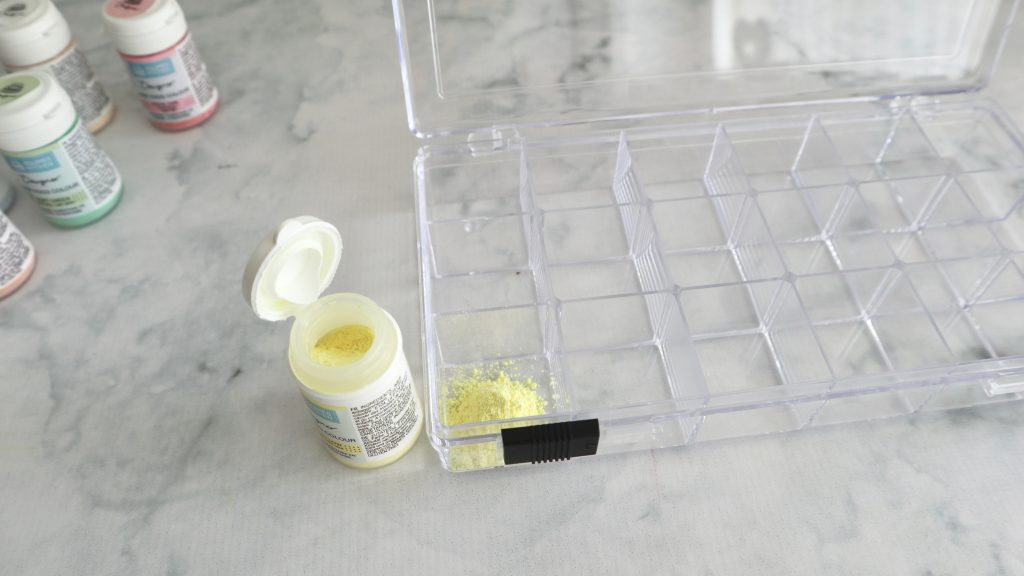
As you pour all your dust colours in, make sure you make a note of all the colours you have added, so if you run out you can easily restock with your favourites. (I have a handy template for you to record all the dusts you add to your palette at the end of this blog post.
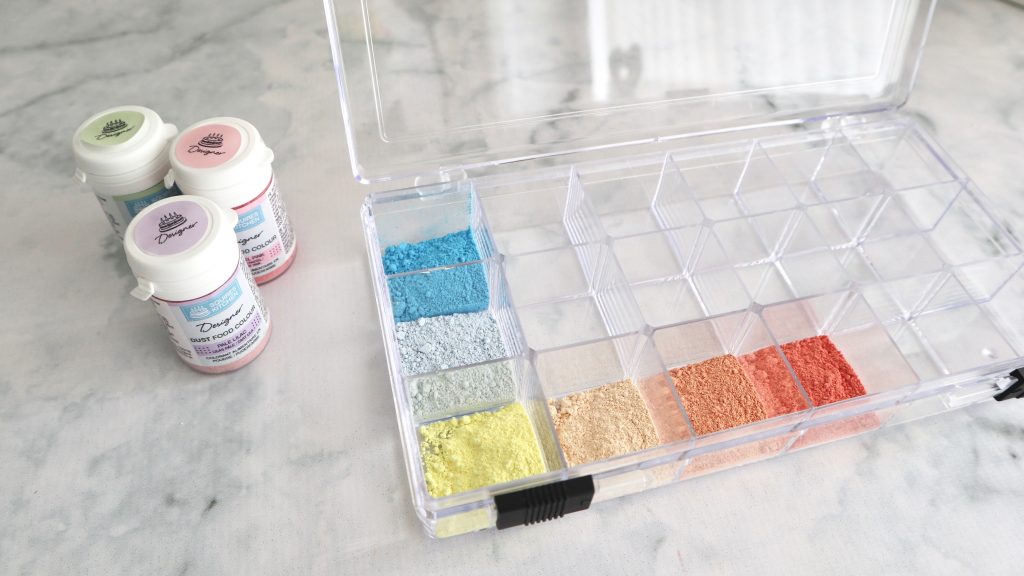
Then once you have added all your petal dusts to the palette you can easily store it in a drawer or stacked on top of each other ready for your next sugar flower dusting project.
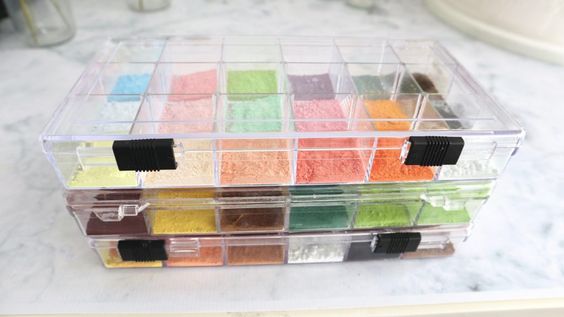
Some other ideas for palettes are a ‘brights’ palette, a ‘neutrals’ palette, ‘bold sugar rose’ palette, ‘winter’ palette, ‘spring flowers’ palette. The options are endless.
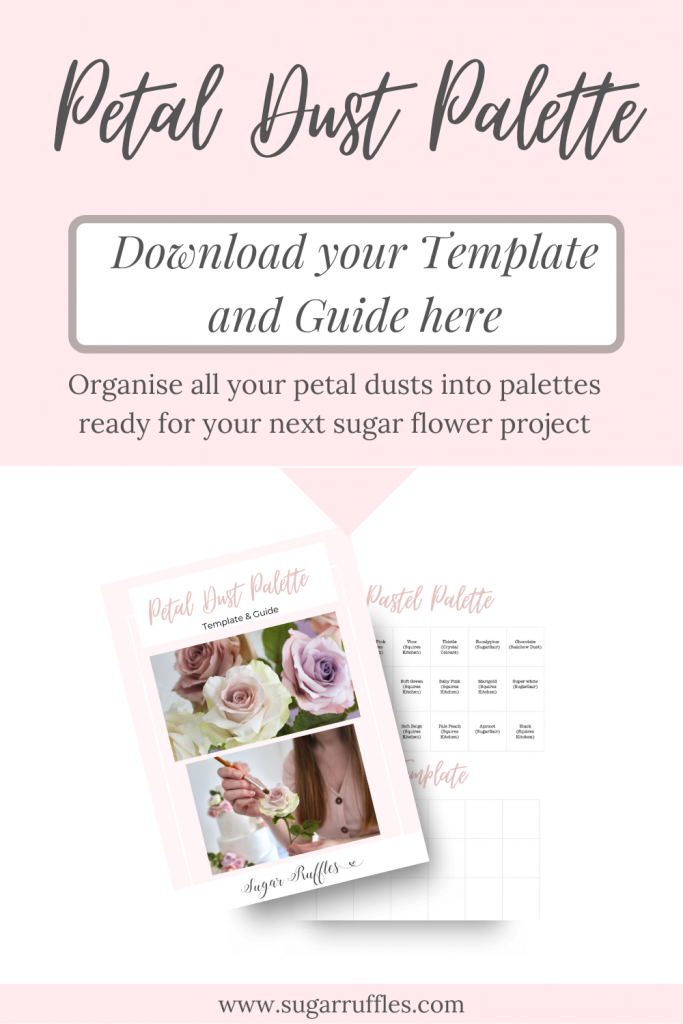
I have include a a guide to all the petal dust I have used in my pastel palette below as well as a template you can use to record all your petal dust colours for your own palette below. Click there to download it now!
Don’t forget to save this ‘How to organise Petal Dusts’ guide for later and pin it to Pinterest.
You can share the palettes you create on social media using the hashtag #petaldustpalette and tag me @sugarruffles, so I can see how you have decided to categorised all your dusts.
Next week I’ll be sharing a guide to “How to mix the perfect dusky pink colour’ for sugar flowers, so make sure you’re signed up to our newsletter here to be notified, as soon as it become available.
You can also find my sugar craft dusts explained post here which breaks down all the different types of dusts you can use in your cake decorating.

