Warning: filemtime(): stat failed for /nas/content/live/charlottetyson/wp-content/themes/showit/assets/pub.css in /nas/content/live/charlottetyson/wp-content/themes/showit/pubs/mwan96bstycae3nlbiterg/20240915140508Sdrqgam/functions.php on line 321
Warning: filemtime(): stat failed for /nas/content/live/charlottetyson/wp-content/themes/showit/assets/pub.js in /nas/content/live/charlottetyson/wp-content/themes/showit/pubs/mwan96bstycae3nlbiterg/20240915140508Sdrqgam/functions.php on line 322
Wedding cake designer, Disney enthusiast, and lover of all things sugar flowers and weddings.
MEET charlotte
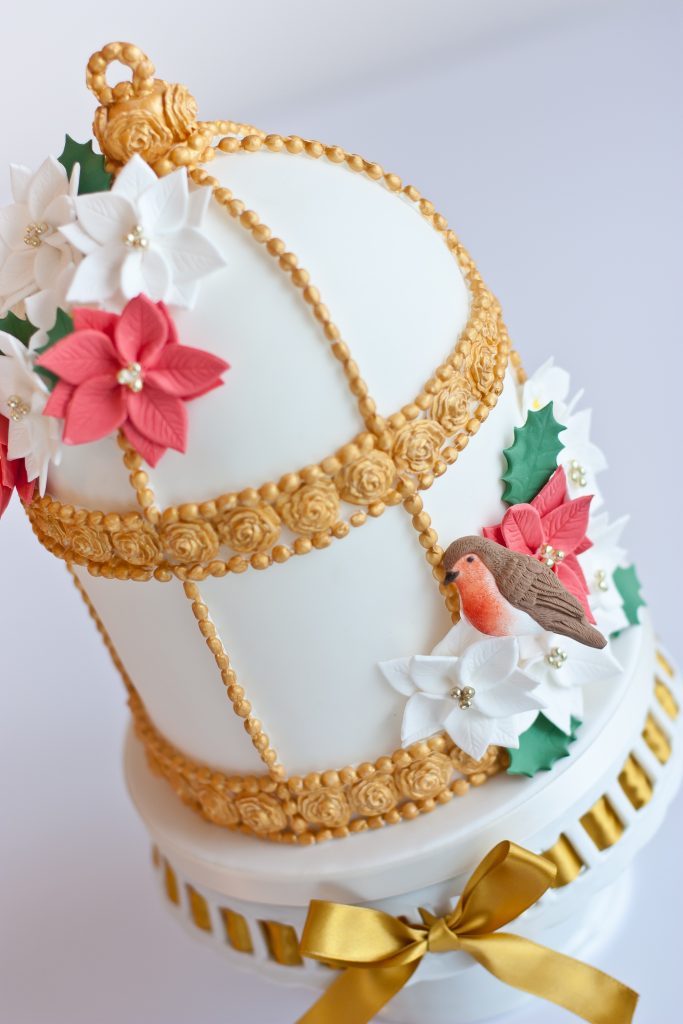
In this tutorial I will be showing you how to make this birdcage Christmas cake, with a cute little robin, poinsettia flowers and Christmas roses. It is a really lovely Christmas cake idea, which is simple yet really effective. It would look beautiful as part of a Christmas celebration or even a Christmas wedding.
You will need
-A 6” round fruit cake -6” semi sphere fruit cake -8” iced cake drum -Red, white, green and brown gum paste -Petunia cutter and veiner set (Petal craft) -Paintbrush -Edible glue -Small piping bag and nozzle -Royal icing -Circle cutter -Holly plunge cutter and veiner -Small blossom plunge cutter -Foam flower former -Beadmaker -Sharp kinife -Rose silicone mould -gold edible paint -gold dragees -yellow nonpareils -Rose leaf plunge cutter and veiner -Robin silicone mould -Red orange and black edible food colouring dusts -gold sparkle edible shimmer dust
Preparation
Cover each of the cakes with marzipan and white sugarpaste. Stack the cakes on an 8” iced cake drum.
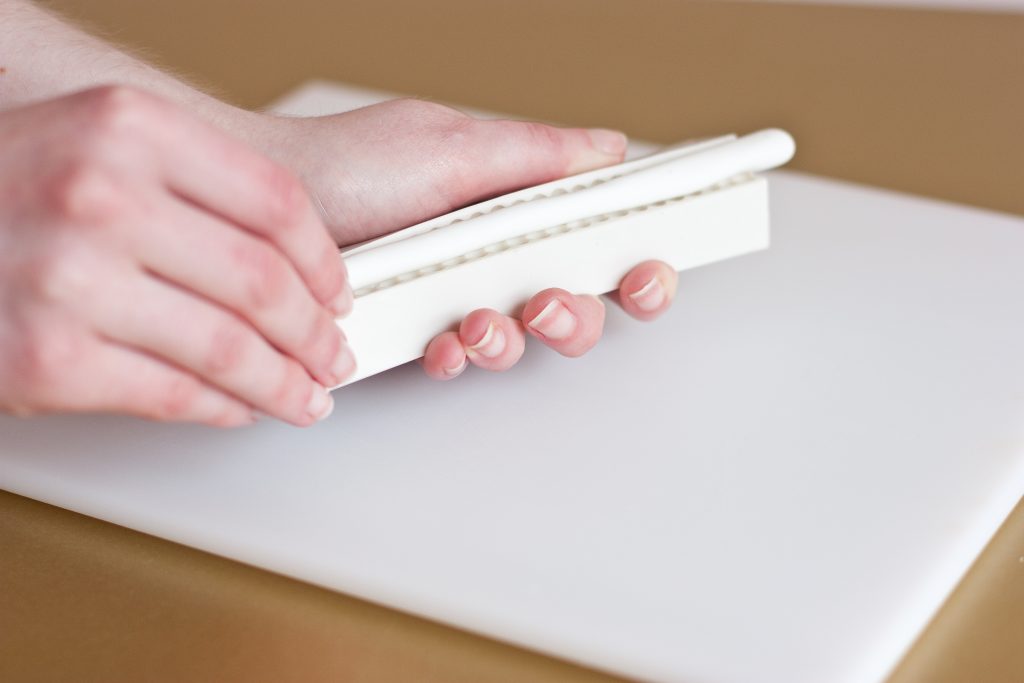
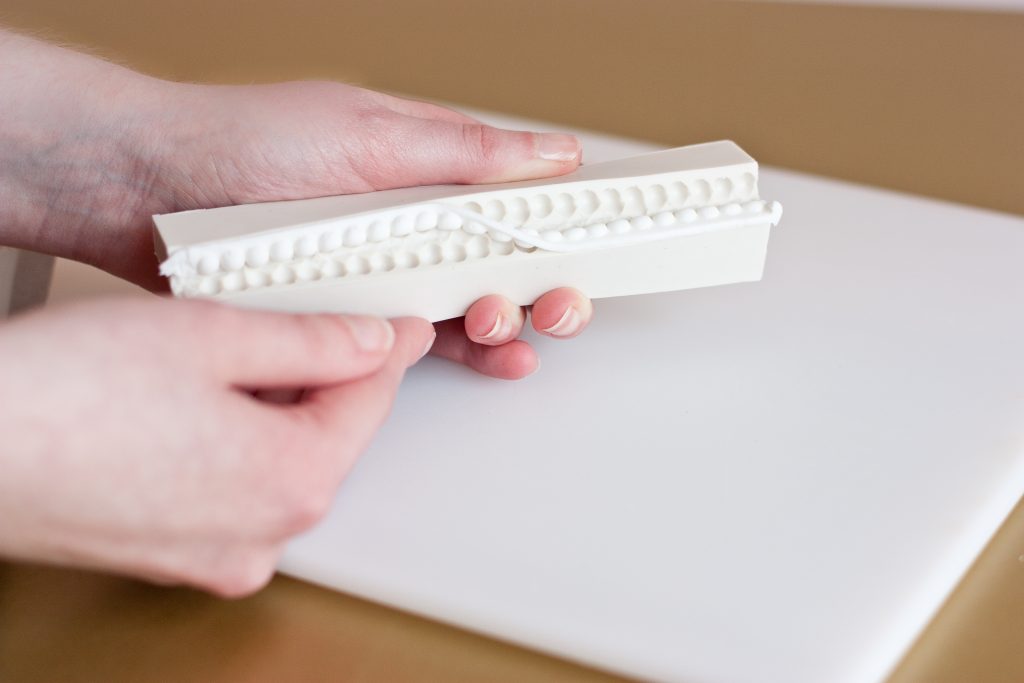
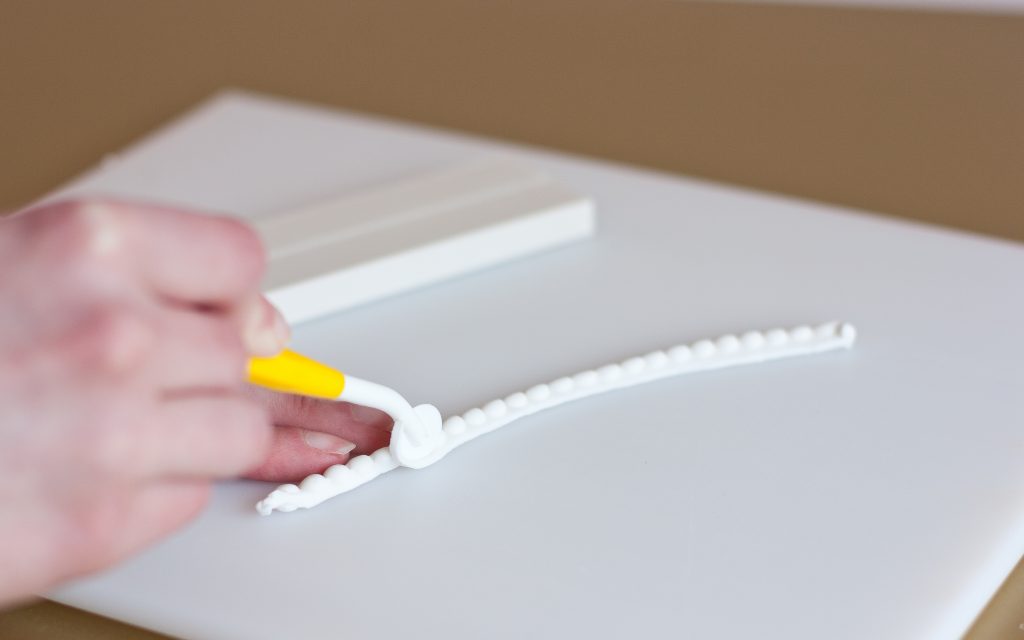
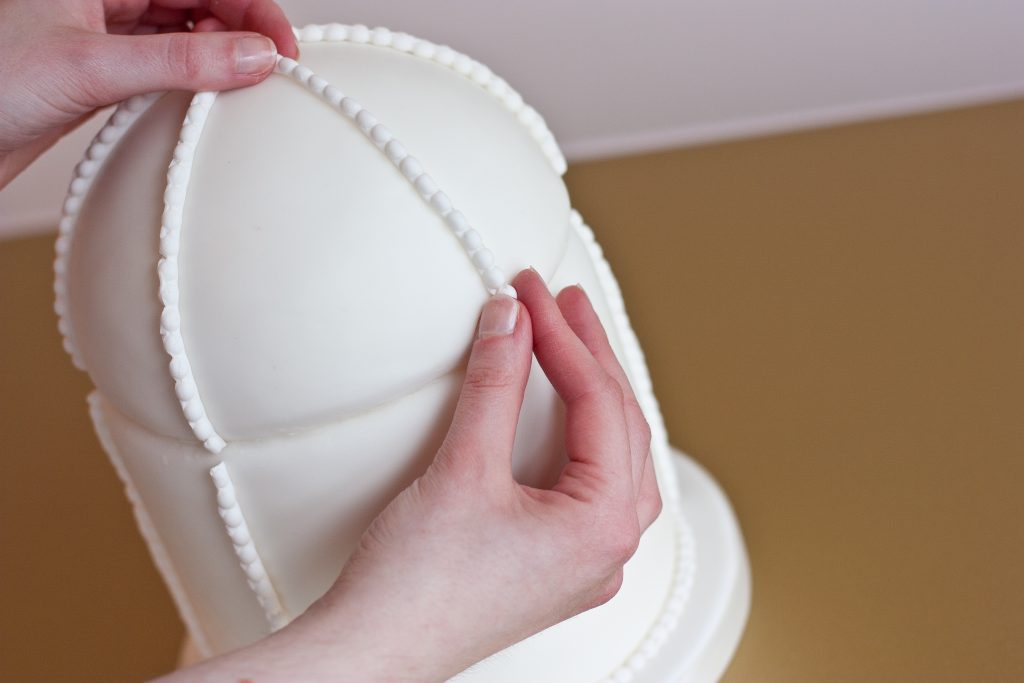
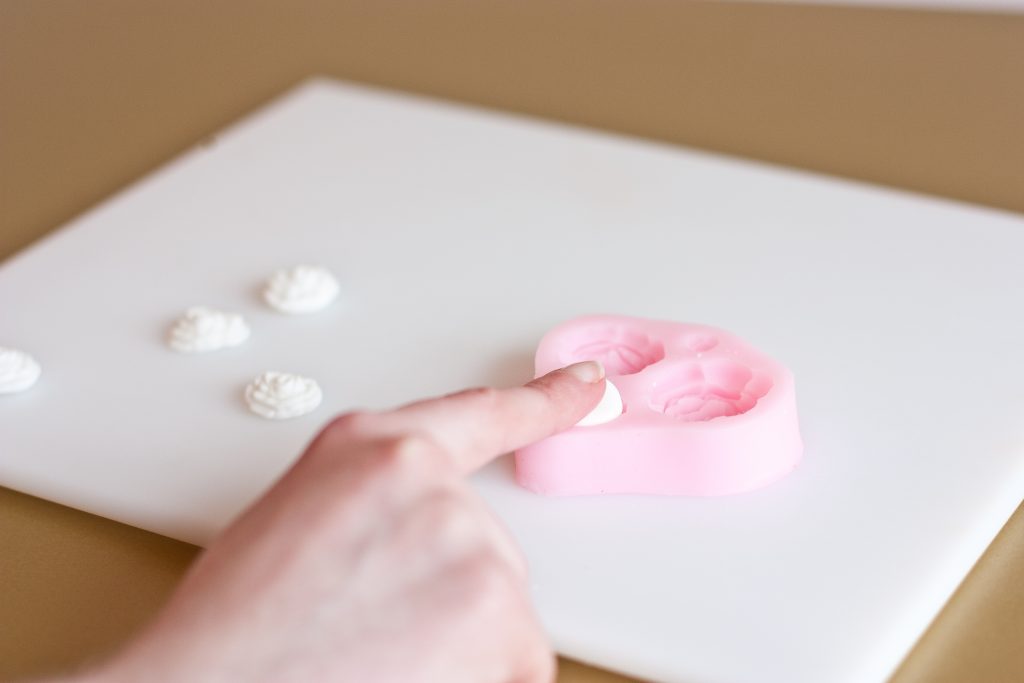
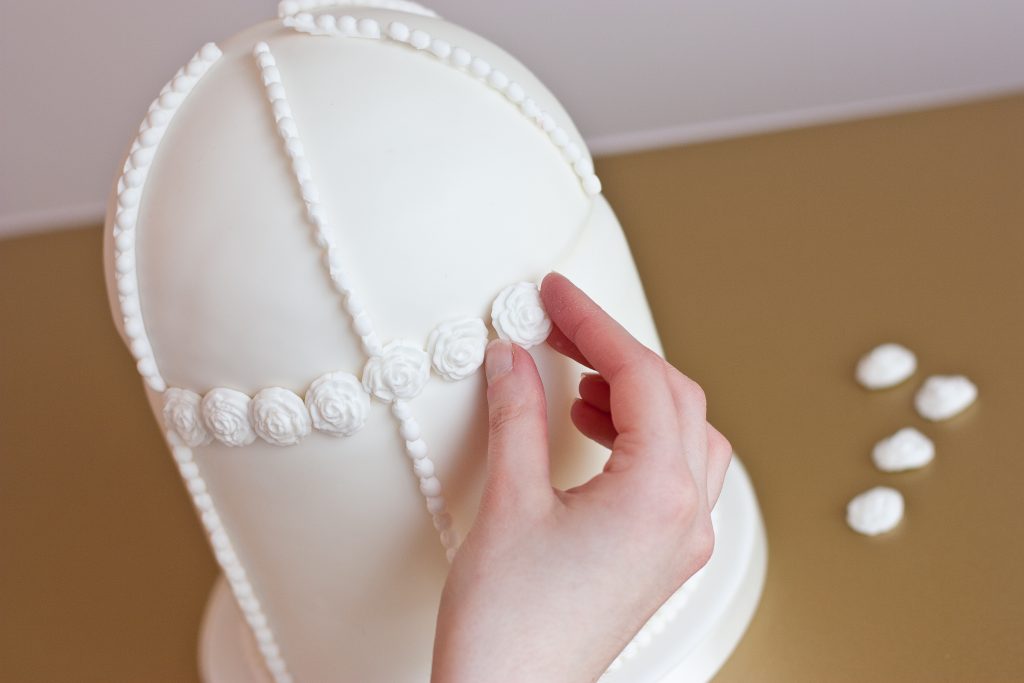
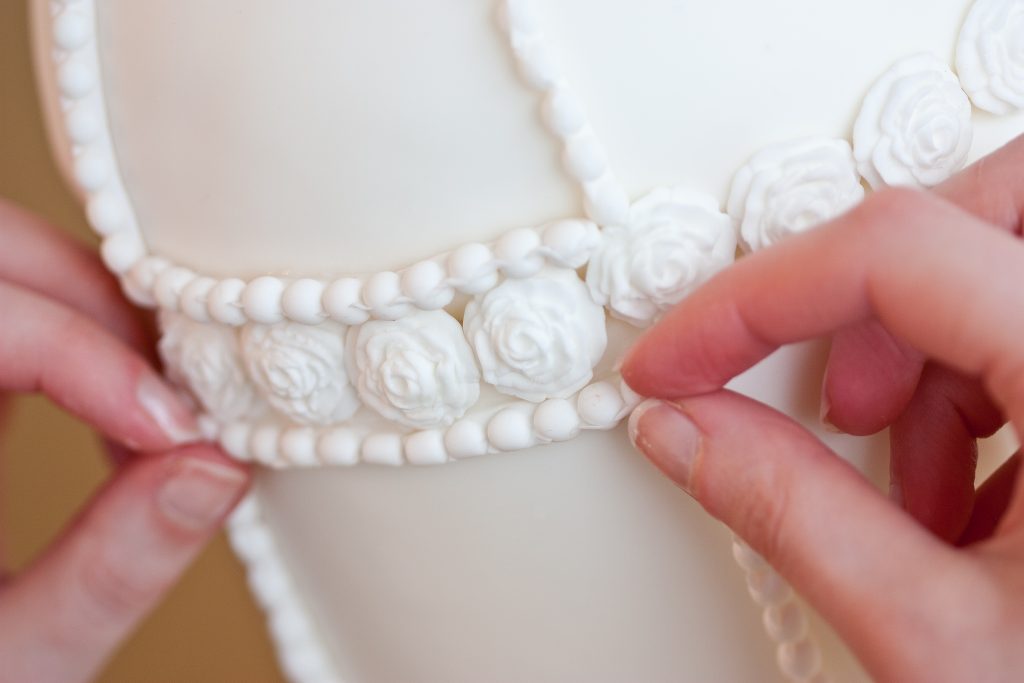
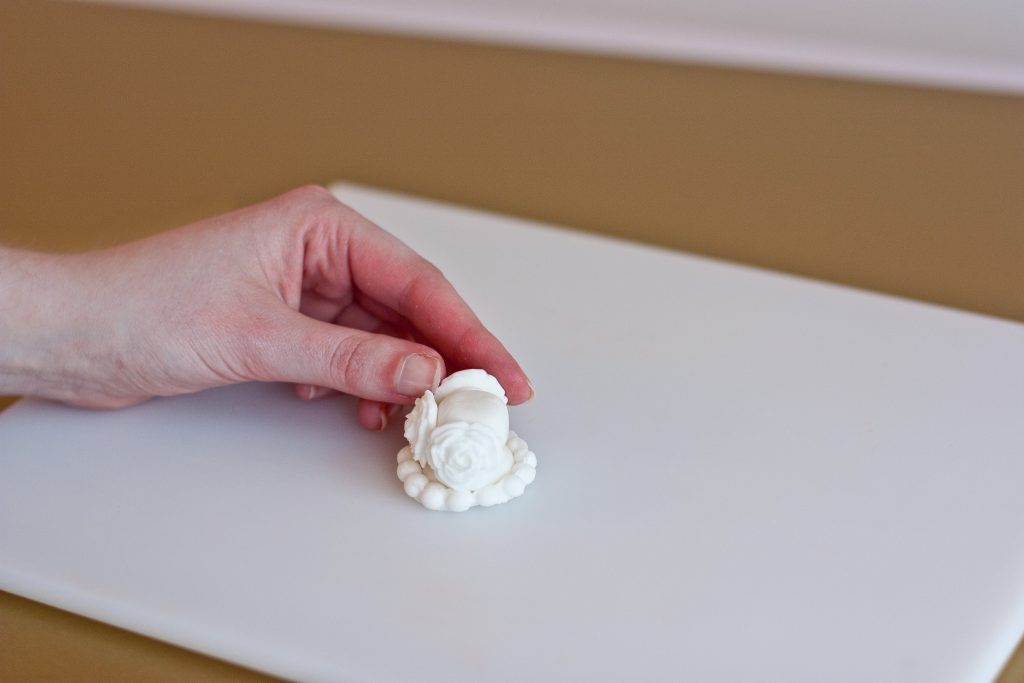
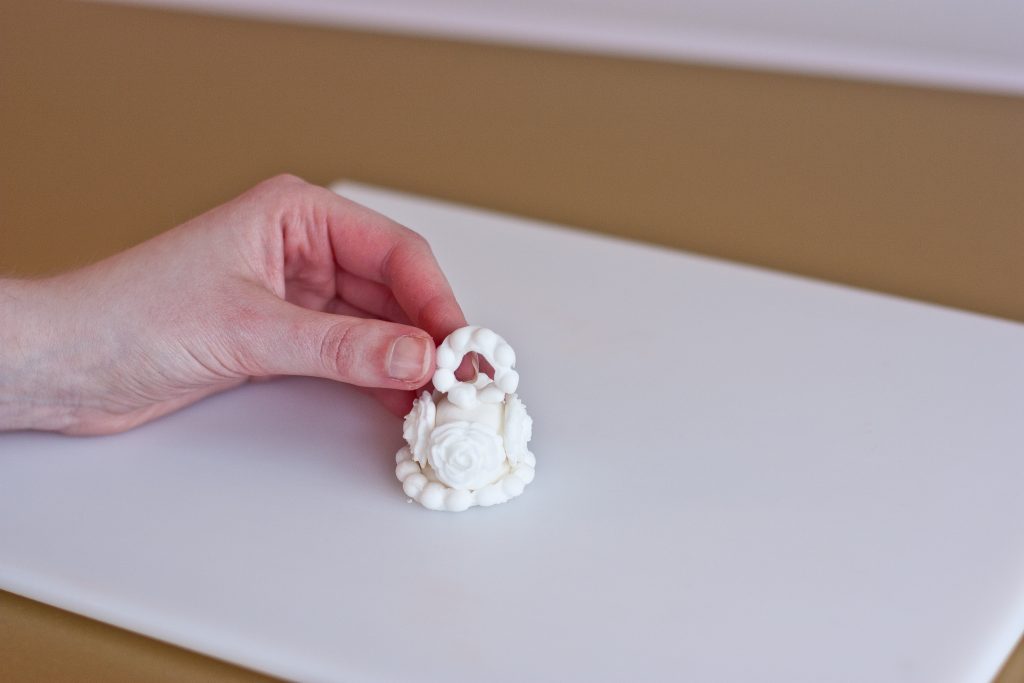
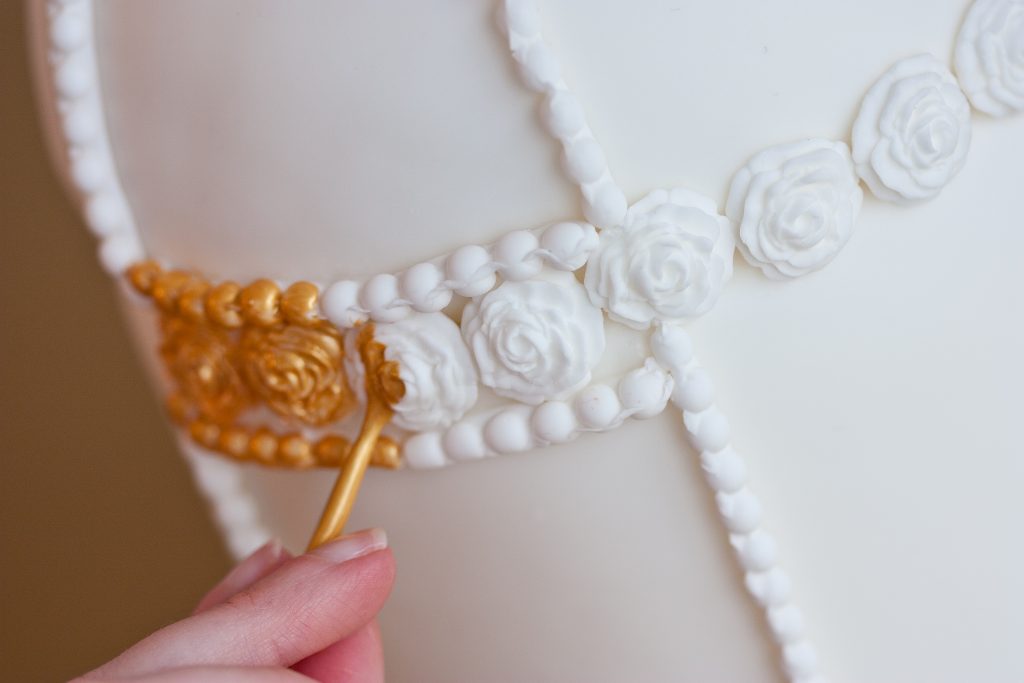
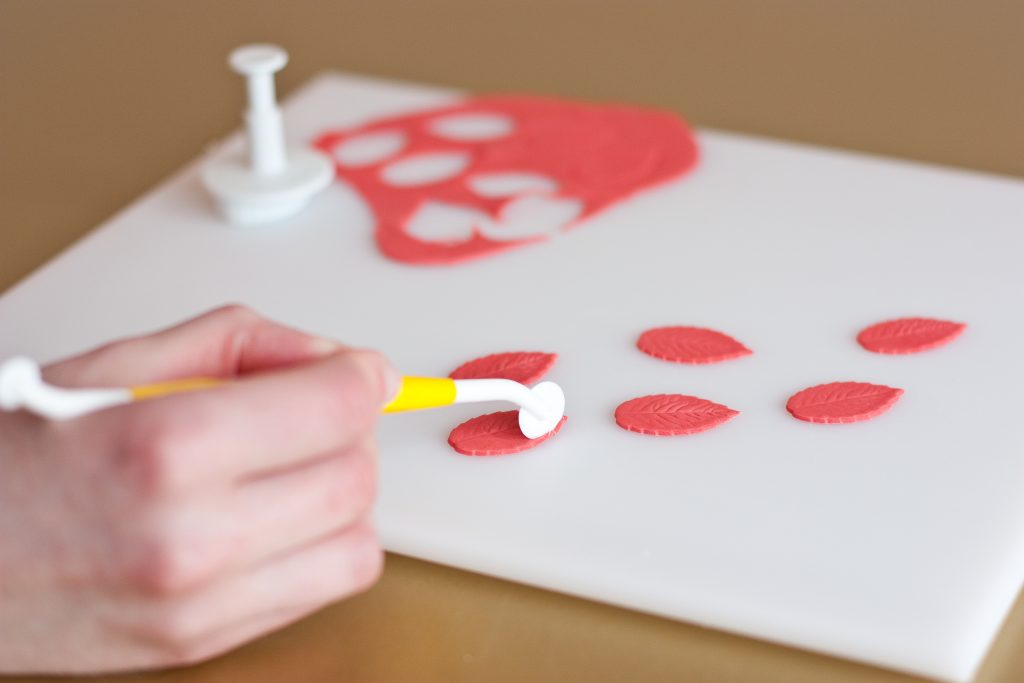
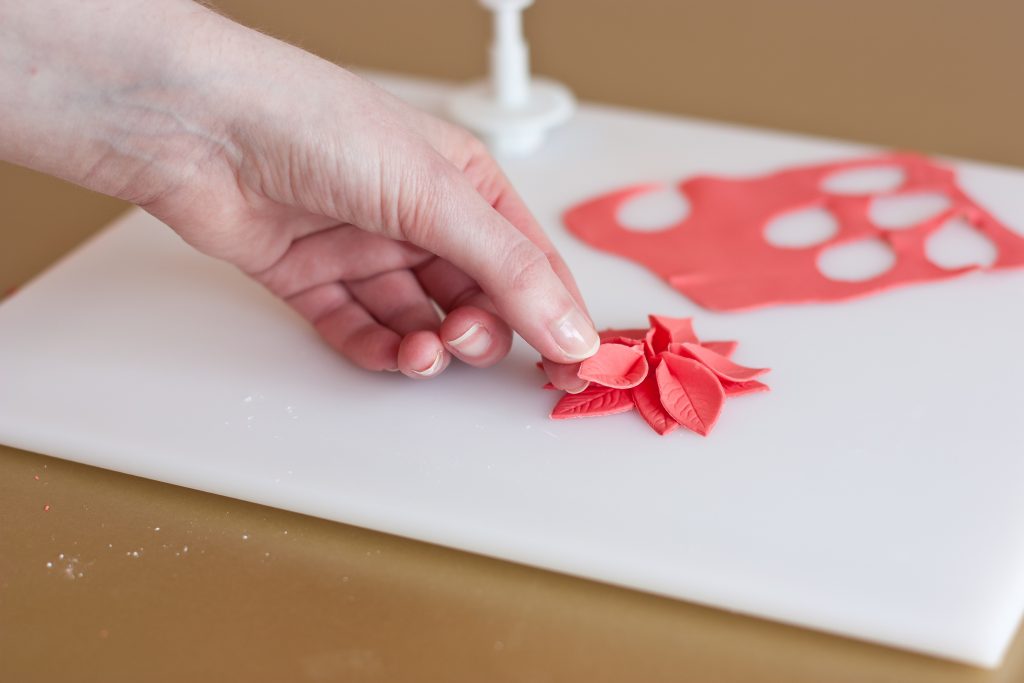
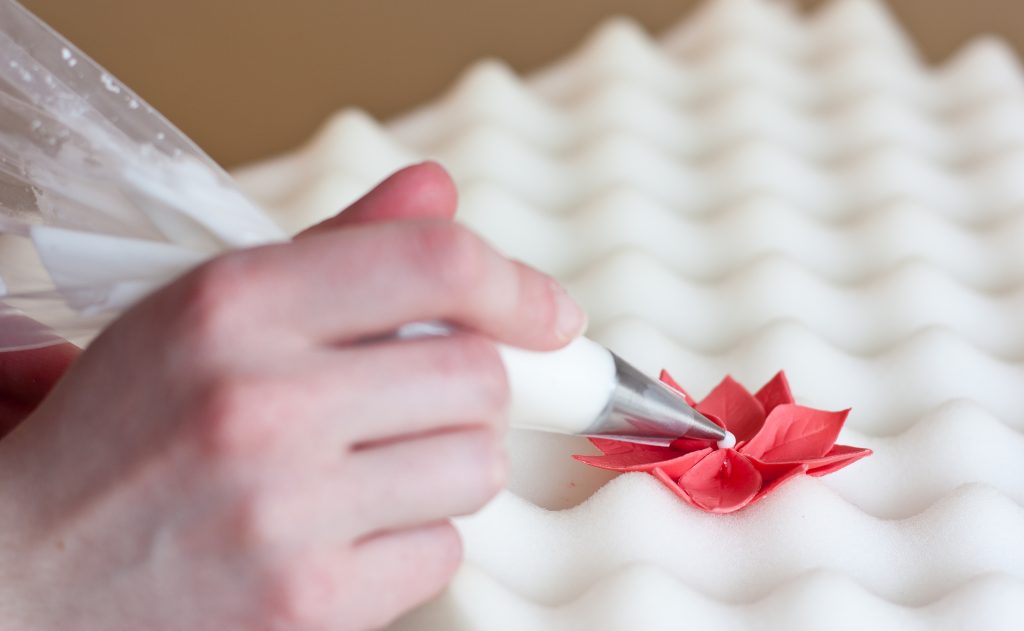
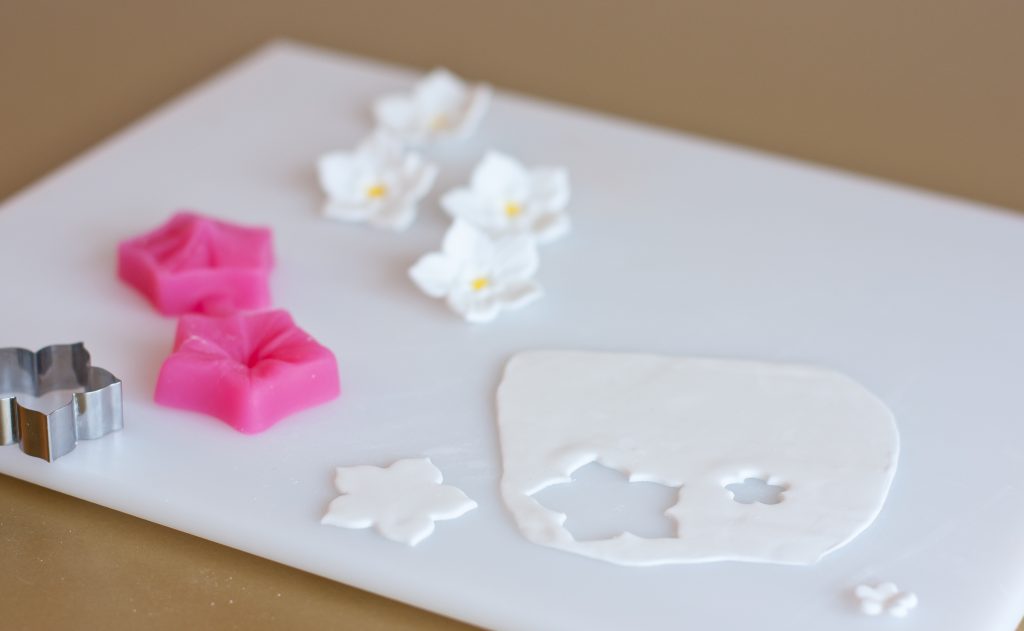
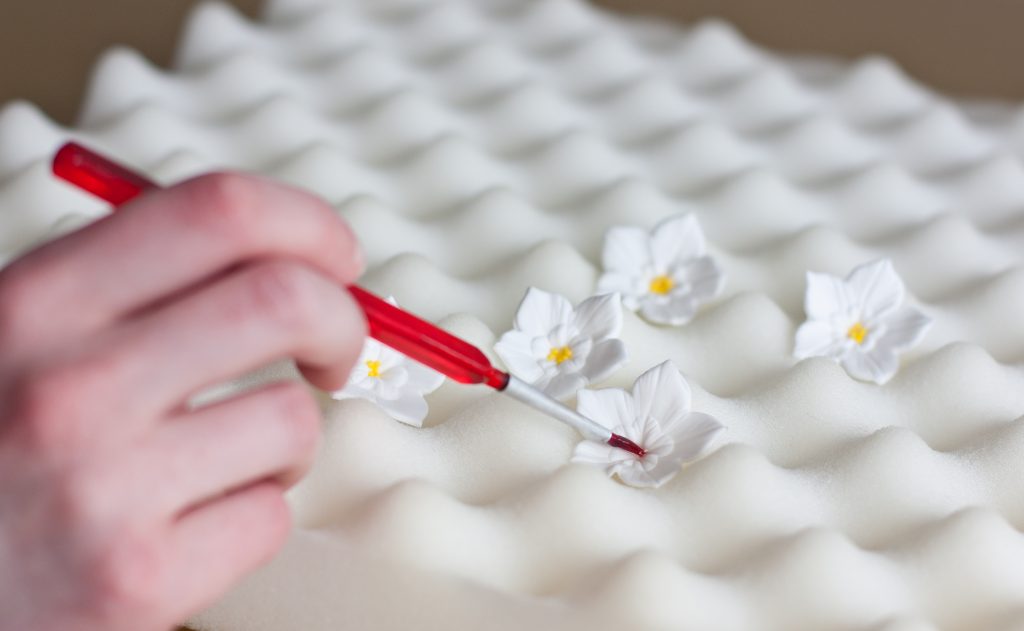
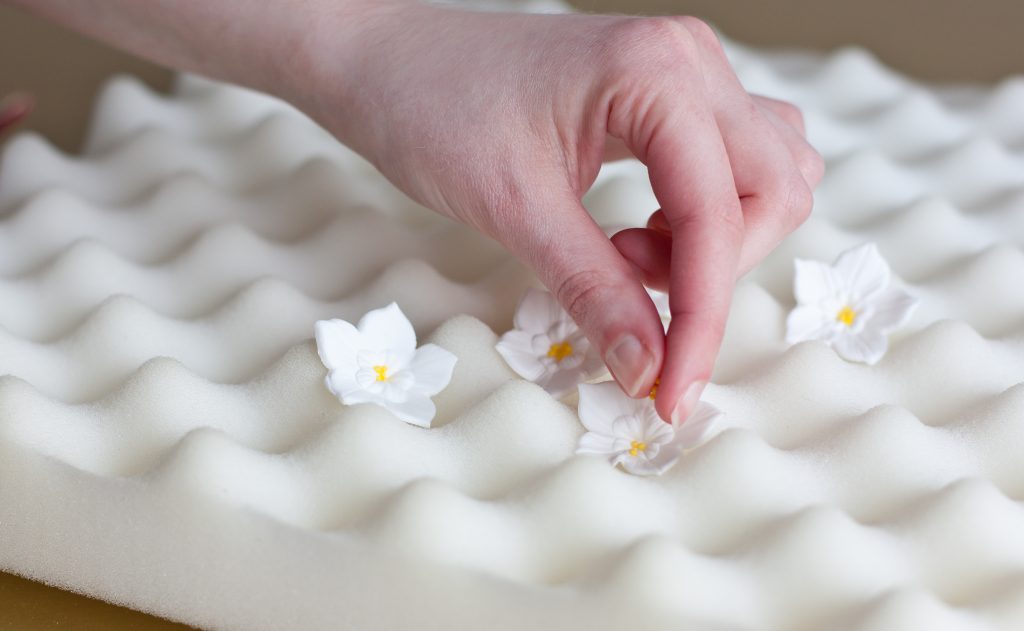
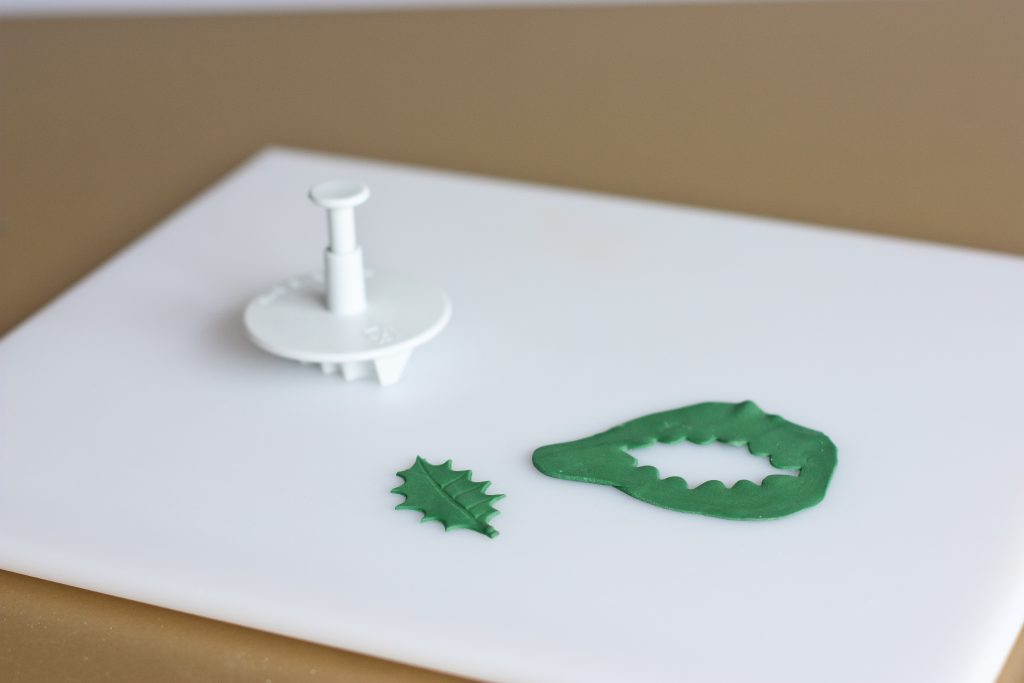
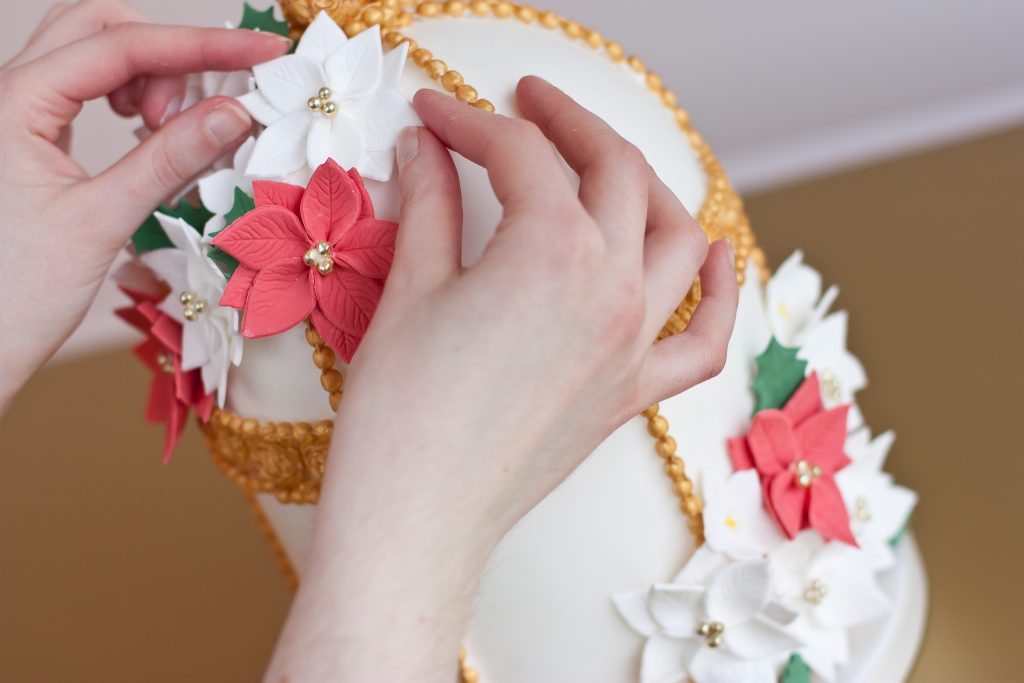
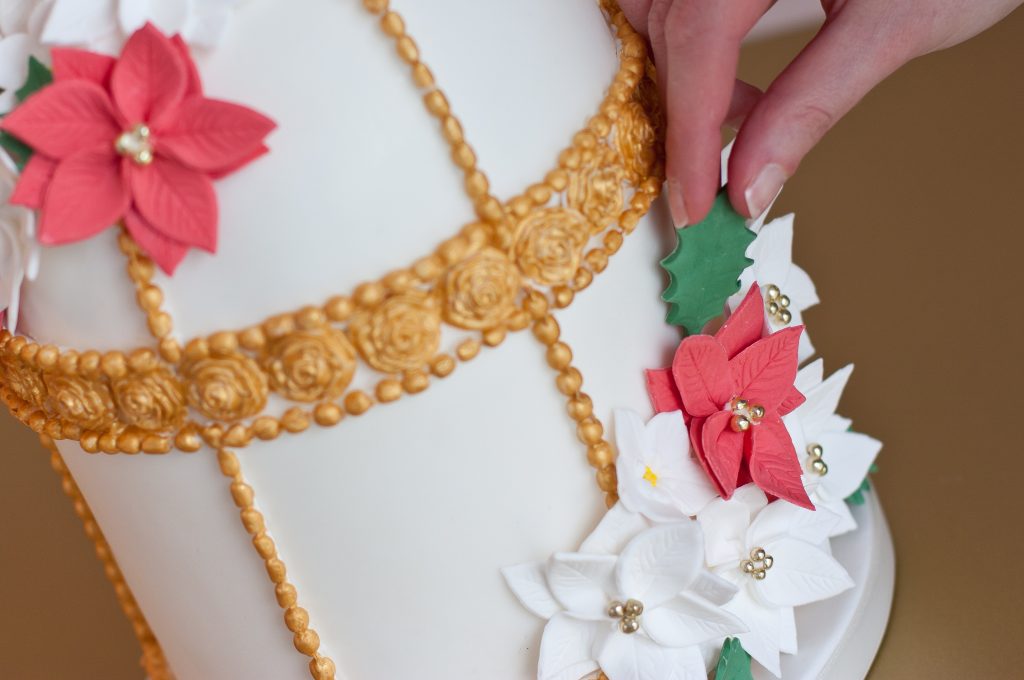
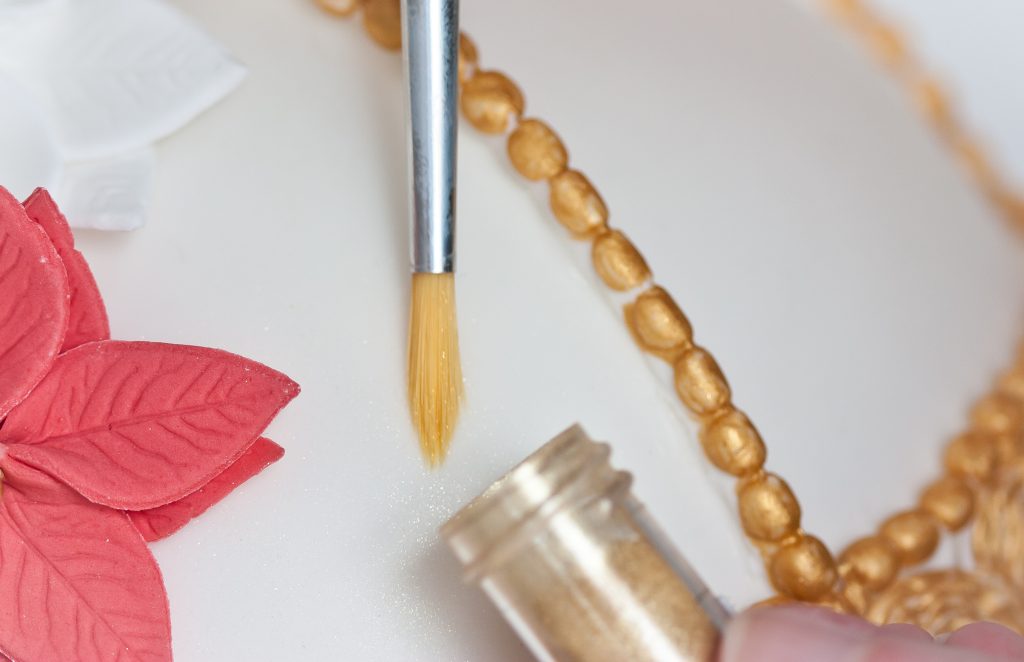
Roll out a thin sausage shape of gum paste and insert into the bead maker mould. Close the bead maker, pressing firmly.Run a sharp knife along the edge of the bead maker, trimming any excess gum paste.Open the bead maker and remove the string of beads from the mould.Trim any excess gum paste from the edge of the beads using a circle cutter. Repeat to make several strings of beads.Attach the beads to the cake, securing with royal icing. Arrange the beads to create 6 distinct sections of your bird cage cake.Press a small piece of gum paste into the rose mould to create several roses.Attach the roses to the cake along the join line with royal icing.Create some additional strings of beads (steps 1-4) and attach to the cake above and below the roses to finish the edges of the rose border. Repeat this process to create a rose border along the bottom. of the cake.To create the top handle of the bird cage, roll a ball of gum paste attaching beads to the bottom and roses to the sides.Create a small loop with a string of beads and allow to dry before attaching on top to create the handle. Secure the handle to the top of the cake using royal icing.Paint each of the beads and roses on the cake with edible gold paint.To make the poinsettia flowers roll out some red gum paste and cut out 5 or 6 leaf shapes using the rose leaf cutter. Trim the edges of each of the leaves.Arrange 5 or 6 petals together, joining in the centre and secure with edible glue.Repeat step 12 to create another set of petals. This time pinching the bottom of each petal together.Stick the pinched petals on top of the first set of petals with edible glue.Allow to dry in the foam flower former and then pipe some royal icing into the centre of the poinsettia flower. Place 3 gold dragees on the royal icing to create the centre of the poinsettia flower. Repeat steps 12-16 using white gum paste to create a white poinsettia.TocreatetheChristmasrose,roll out some white gum paste and use the petunia cutter to cut out several shapes.Then cut out several small blossom shapes.Place the petunia shape inside the petunia veiner with the blossom shape on top and press securely. Repeat with each of the cut outs and allow to dry in a flower former.Paintsomeedibleglueintothe centre of the flowers.Sprinkle some yellow nonpareils into the centre of each of the flowers.Next roll out some green gum paste and use the plunger to cut out and vein come holly leaf shapes.Arrange the poinsettia flowers and Christmas roses on the cake securing with royal icing.Arrange the holly leaves between the flowers, filling any gaps.Push some brown gum paste into the top section of the robin mould and some white gum paste into the bottom section.Remove the gumpaste robin from the mould and paint the breast of the robin using a combination of red and yellow edible dusts.Paint the beak and eye of the robin with black edible dust.Place the robin amongst the flowers on the cake, securing with royal icing.Finally, using a large paintbrush, brush some gold sparkle dust over the white icing of the cake to create a subtle shimmer.
I hope you enjoyed this Christmas Cake Idea- A Birdcage Cake Tutorial. Check out some more of our tutorials below.
P.S I love seeing the cakes that you’re making, so if you use one of my tutorials please tag @sugarruffles in your Instagram photos and stories so I can take a look!
Disclosure: This post contains affiliate links and/or paid partnerships. This means that if you click on one of these links and make a purchase, I may receive a small commission or compensation at no additional cost to you. Rest assured, I only recommend products and services that I genuinely believe in and trust. Your support […]
Welcome to my first ‘behind the scenes’ blog post. I am going to be sharing some behind the scenes images and the stories behind the cakes, starting with July 2021! After such a long time in lockdown without any weddings, it has been so lovely to get back to making cakes, but wow, its been […]
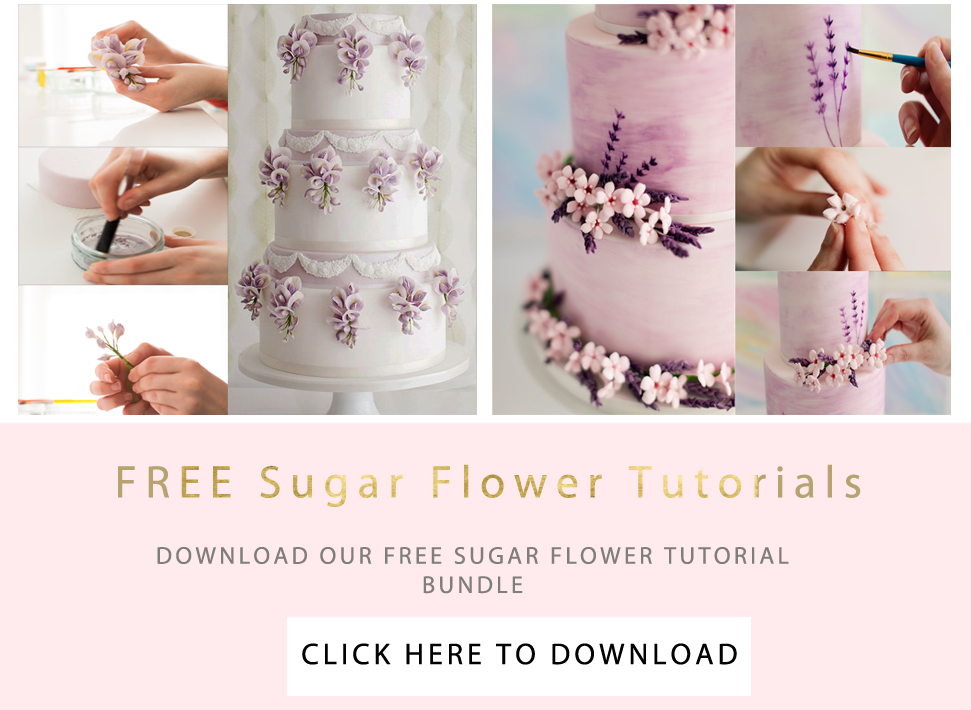
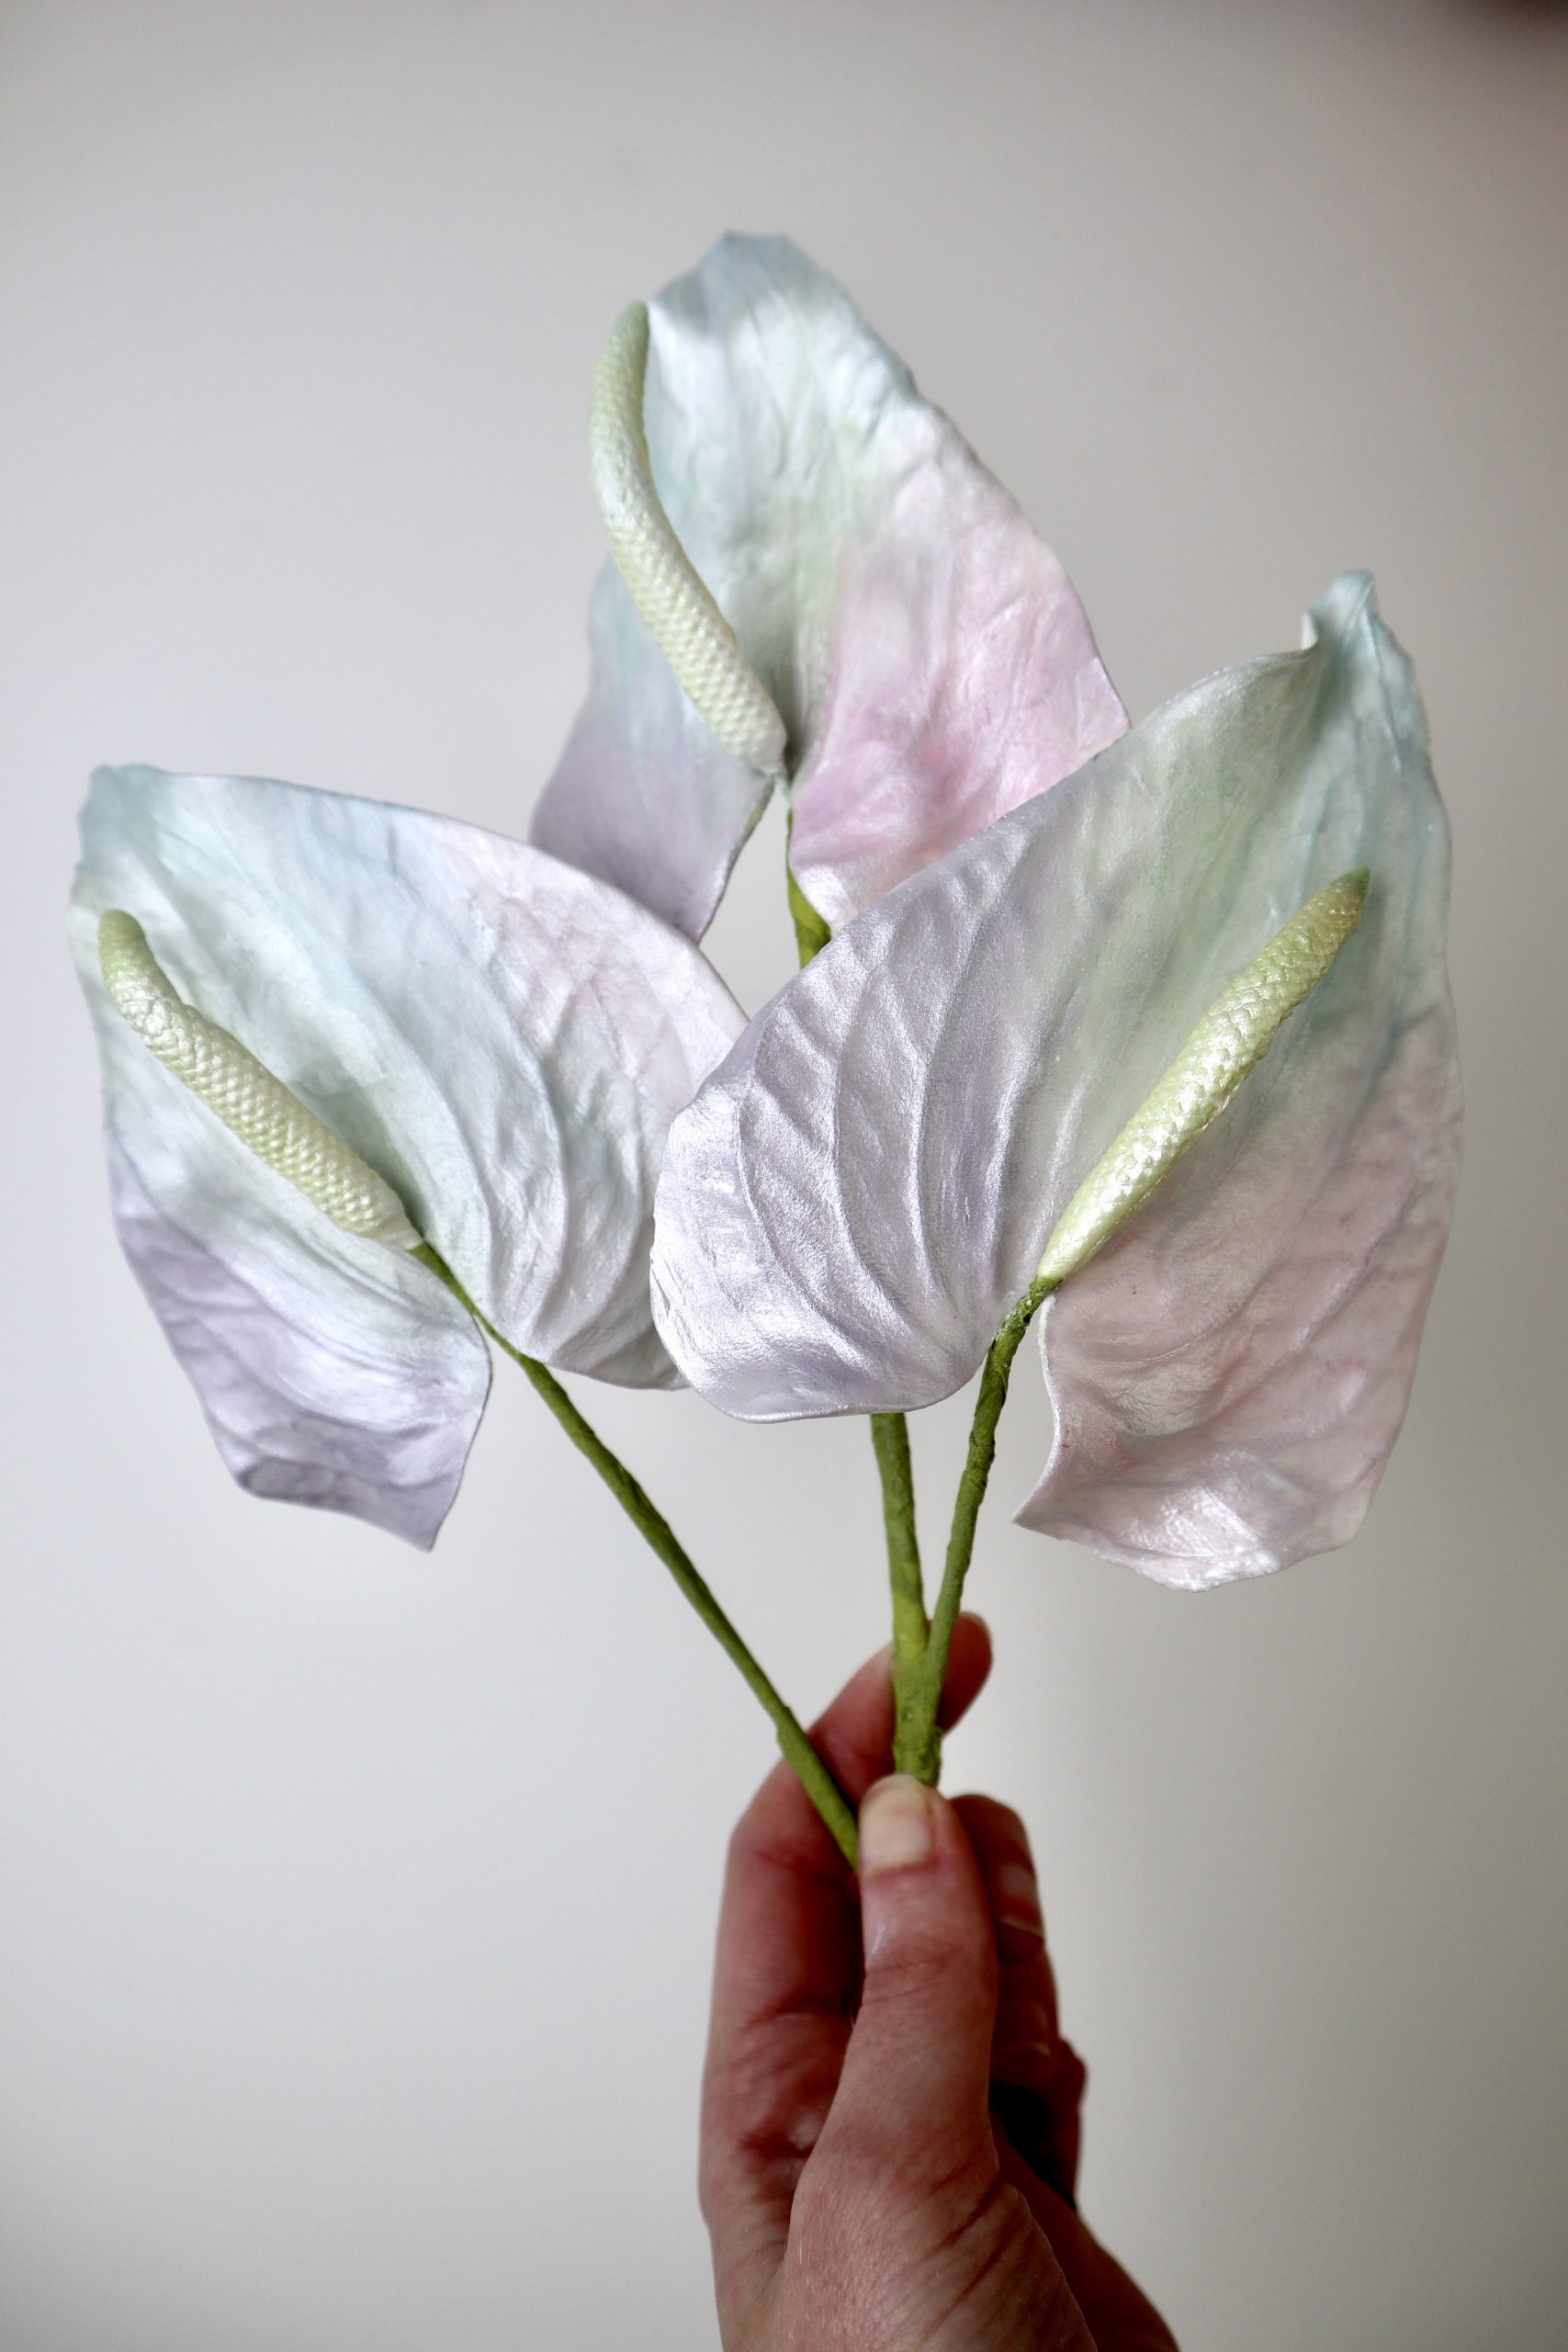
Today I’m sharing our brand new iridescent anthurium sugar flower tutorial. A FREE step by step video tutorial on how to use petal and lustre dusts to create a iridescent effect on sugar anthurium flowers. Also know as unicorn anthuriums, these are such a fun flower to make and colour. I first saw these flowers […]
Earlier this month I took part in the #meetthemaker challenge over on instagram. A 6 day challenge designed to tell you a bit about the story of my business, with a new prompt each day. Say Hello The first prompt in the #meetthemakerweek challenge was ‘Say Hello’. So I’m saying hello and telling you a little about […]
Take a look at our online sugar flower classes, workshops and courses. Here you can learn how to create beautiful sugar flowers, as well as advanced petal dusting techniques and the art of sugar flower arranging. Join us in our community of sugar flower creators from around the world. Learn new skills, and create beautiful works of art!
Take a look at our online sugar flower classes, workshops and courses. Here you can learn how to create beautiful sugar flowers, as well as advanced petal dusting techniques and the art of sugar flower arranging. Join us in our community of sugar flower creators from around the world. Learn new skills, and create beautiful works of art!